
Hot Dishes
Braised Pork Ribs with Taro
timer
38 MIN
signal_cellular_alt
Advanced
person
4 servings
About This Recipe
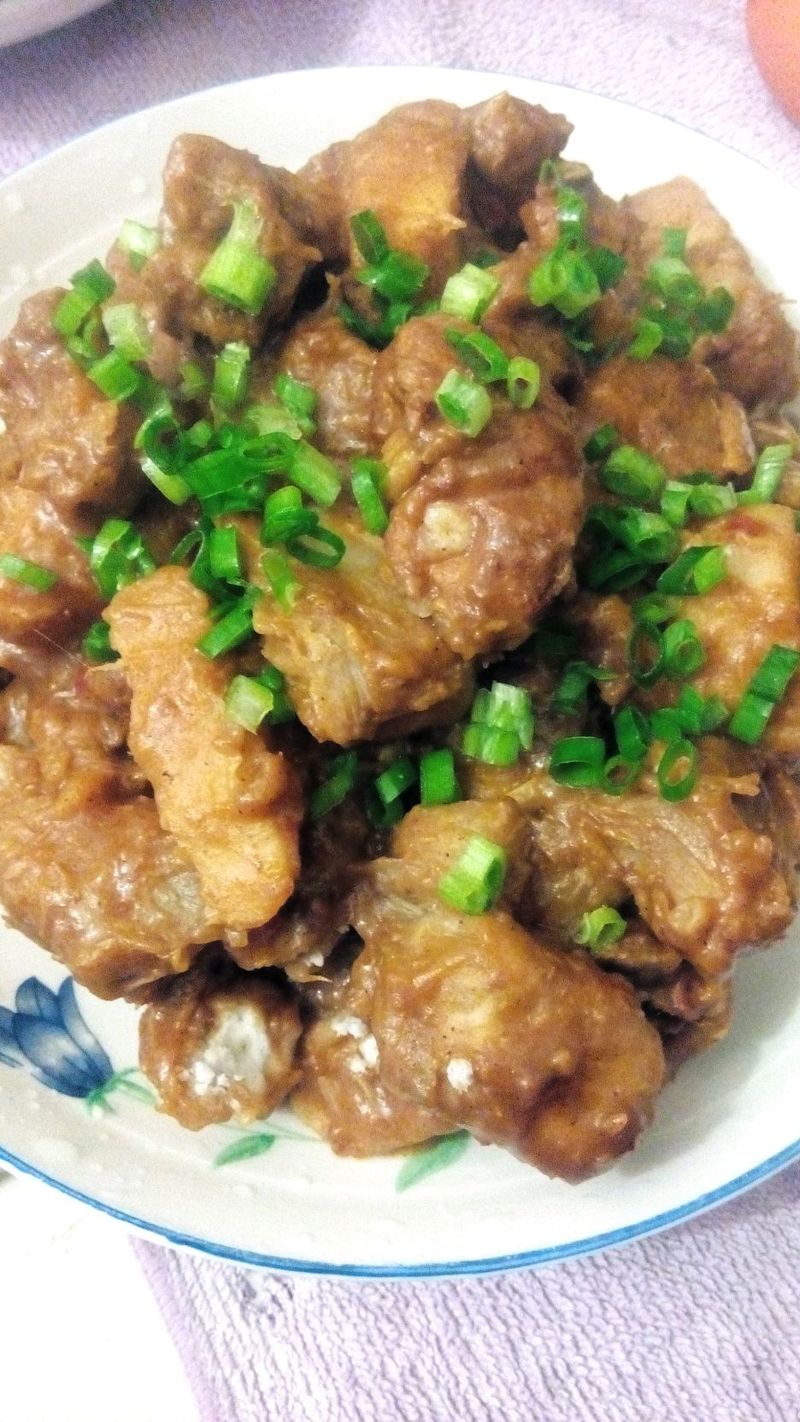
This savory Braised Taro with Ribs recipe is a comforting and aromatic dish that combines tender ribs with creamy taro in a rich, flavorful sauce. The ribs are first blanched with ginger and cooking wine to remove impurities, then stir-fried with garlic and ginger until golden. A blend of bean paste, soy sauce, oyster sauce, and five-spice powder adds depth, while star anise infuses a warm, fragrant note. The taro soaks up the delicious braising liquid, becoming melt-in-your-mouth tender after simmering for 30 minutes. Perfect with steamed rice, this dish is a hearty and satisfying meal that highlights the natural sweetness of taro and the umami richness of the ribs. A must-try for lovers of homestyle Chinese cooking!
Instructions
Detailed preparation guide
servings
4
Total Time
38m
shopping_basket Ingredients
Main Ingredients
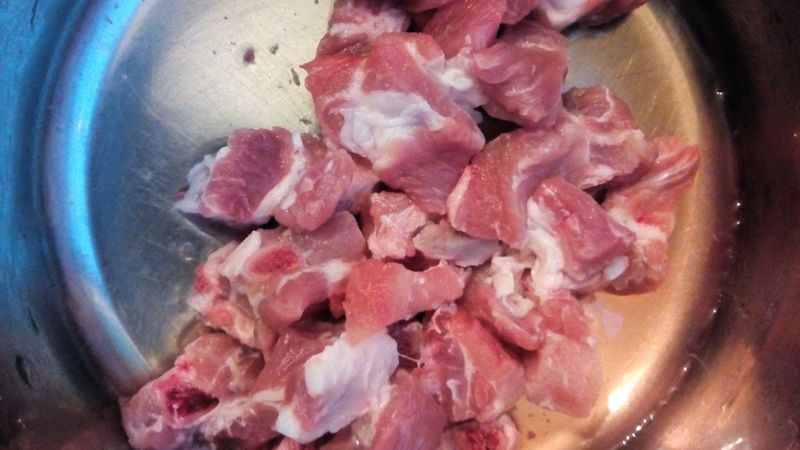
- ribs 400g
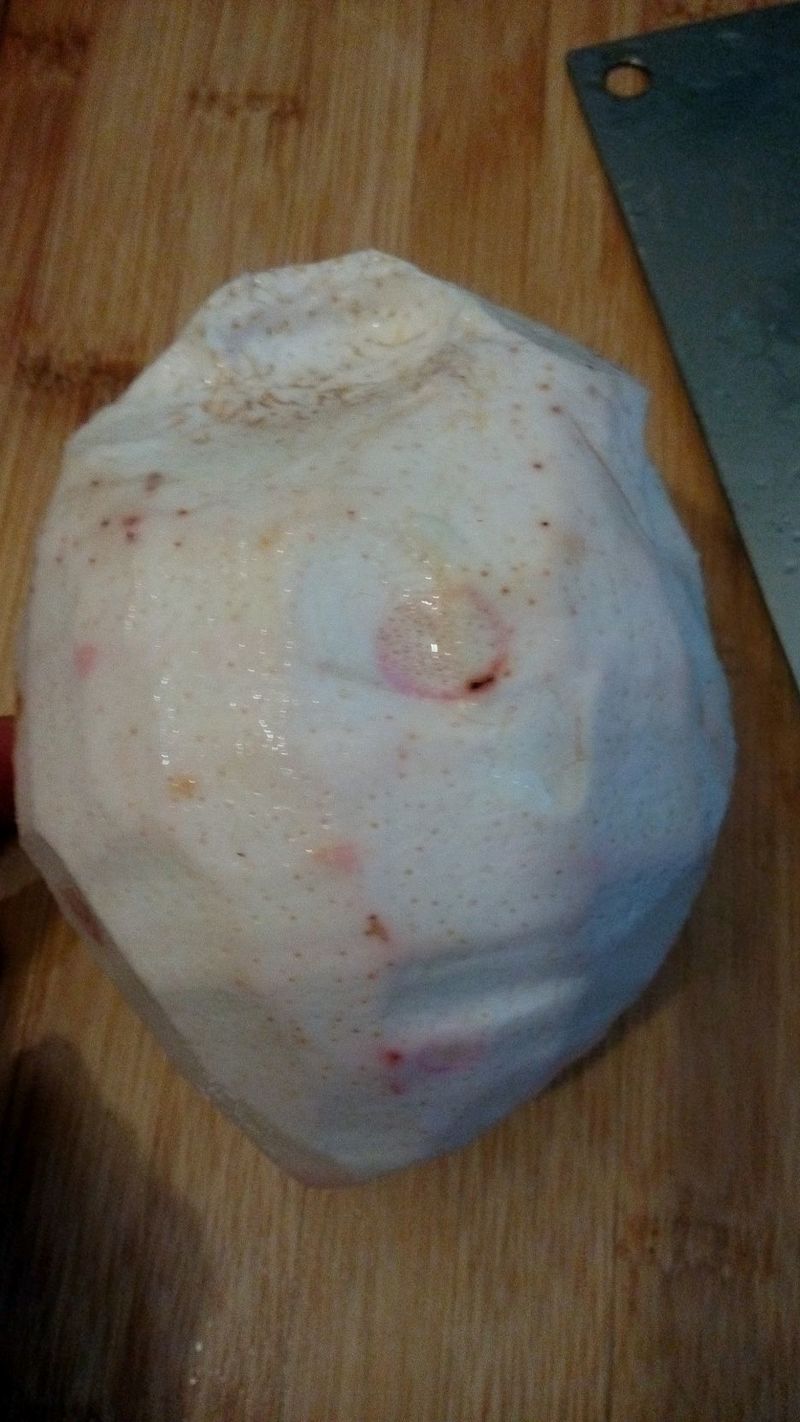
- taro 300g
The aromatics
- star anise 2 pieces
- garlic 3 cloves
- ginger 15g
The sauce & seasonings
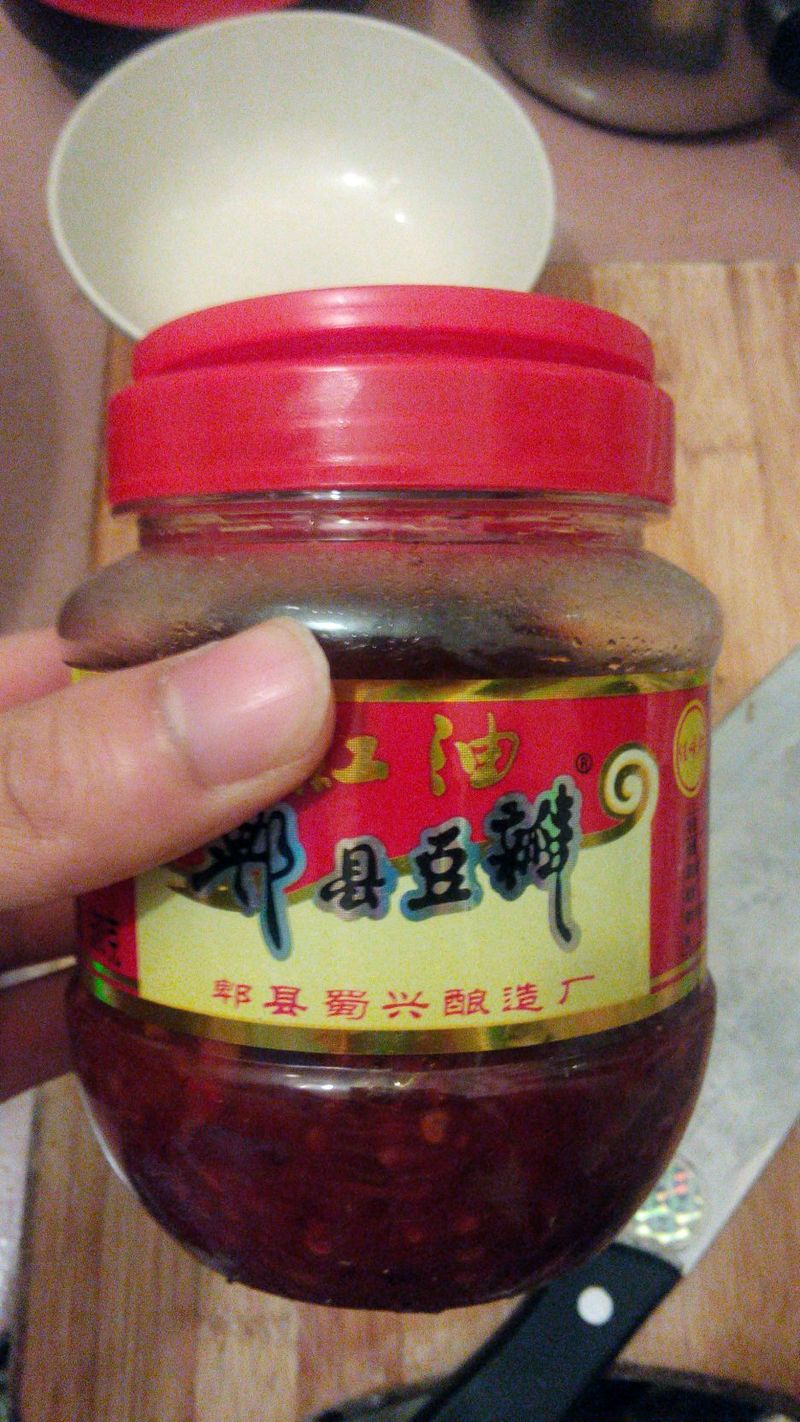
- bean paste 2 tbsp
- soy sauce 2 tbsp
- oyster sauce 1 tbsp
- five-spice powder 1 tsp
- cooking wine 2 tbsp
menu_book Directions
1
Step 1
Prepare the ribs
2
Step 2
Prepare the taro
3

Step 3
Prepare the star anise, garlic, and ginger
4
Step 4
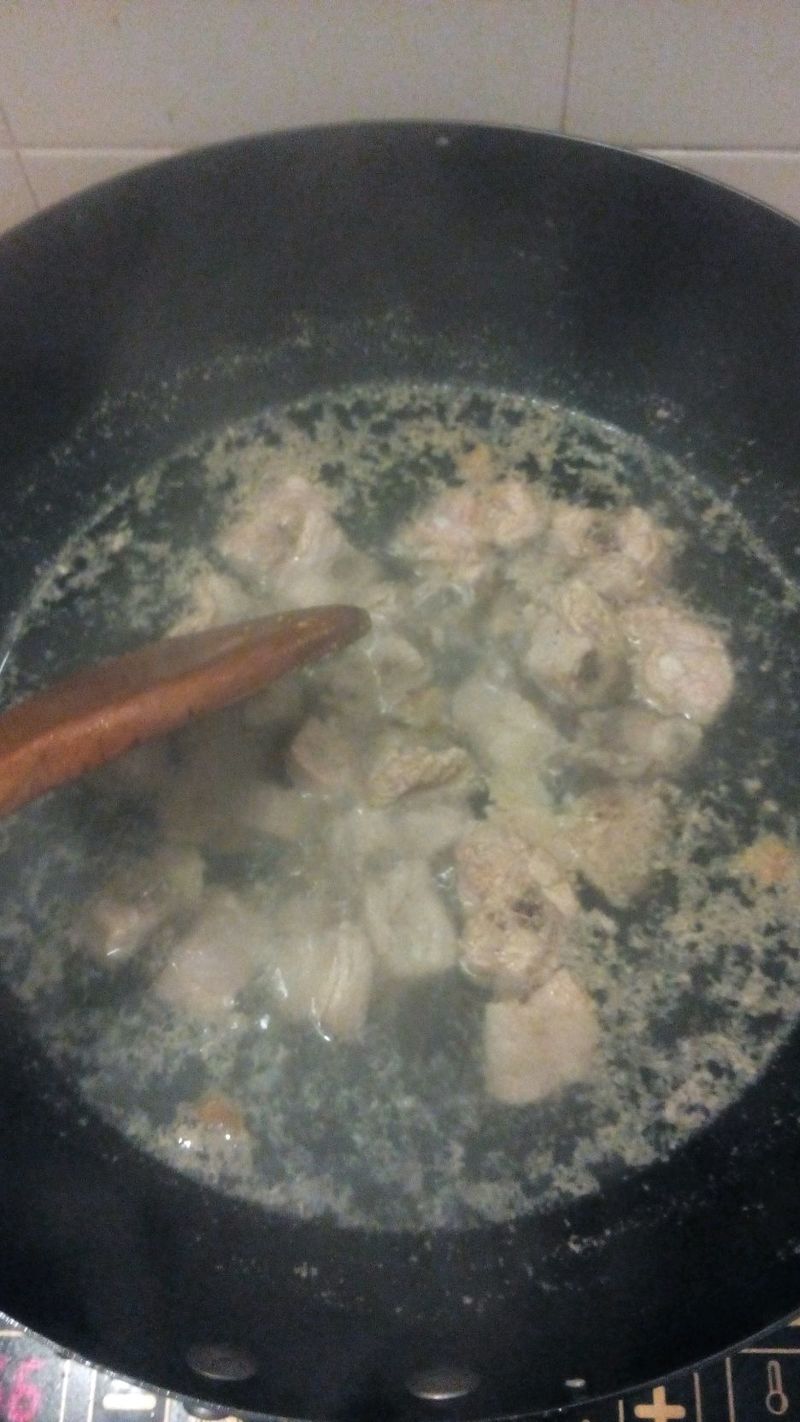
Boil water in a pot, add cooking wine and ginger, and blanch the ribs
5
Step 5
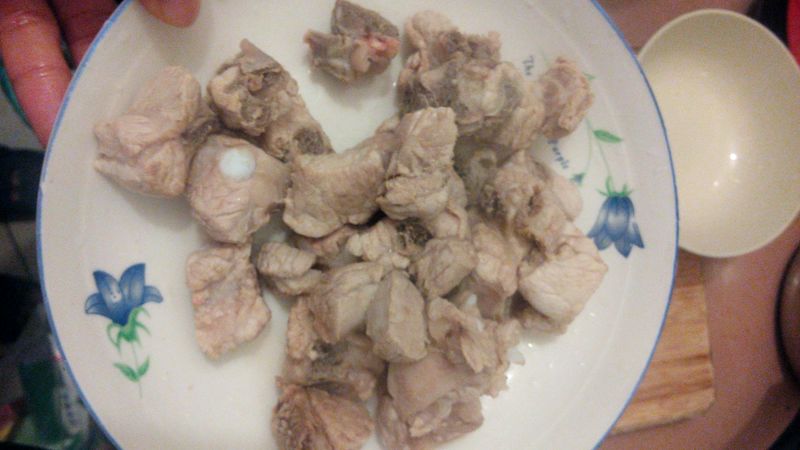
Remove the ribs from the pot and set aside
6
Step 6
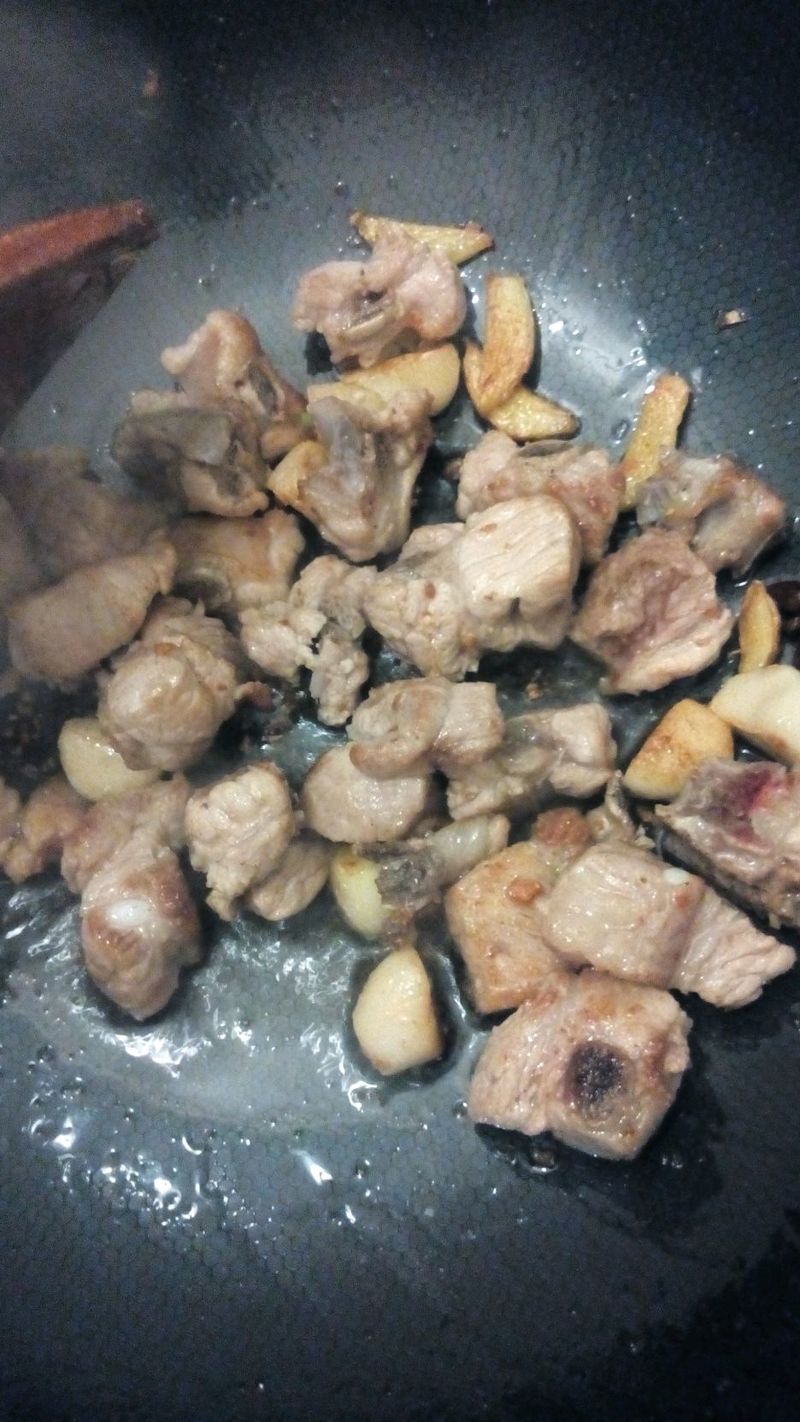
Heat oil in another pot, add ginger and garlic to stir-fry until fragrant, then add the ribs and stir-fry until slightly golden brown
7
Step 7
Add bean paste, soy sauce, oyster sauce, and five-spice powder
8
Step 8
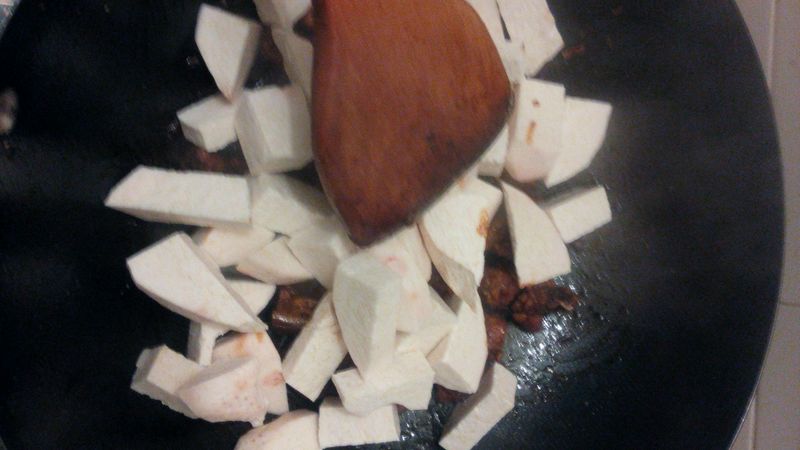
Add the diced taro
9
Step 9
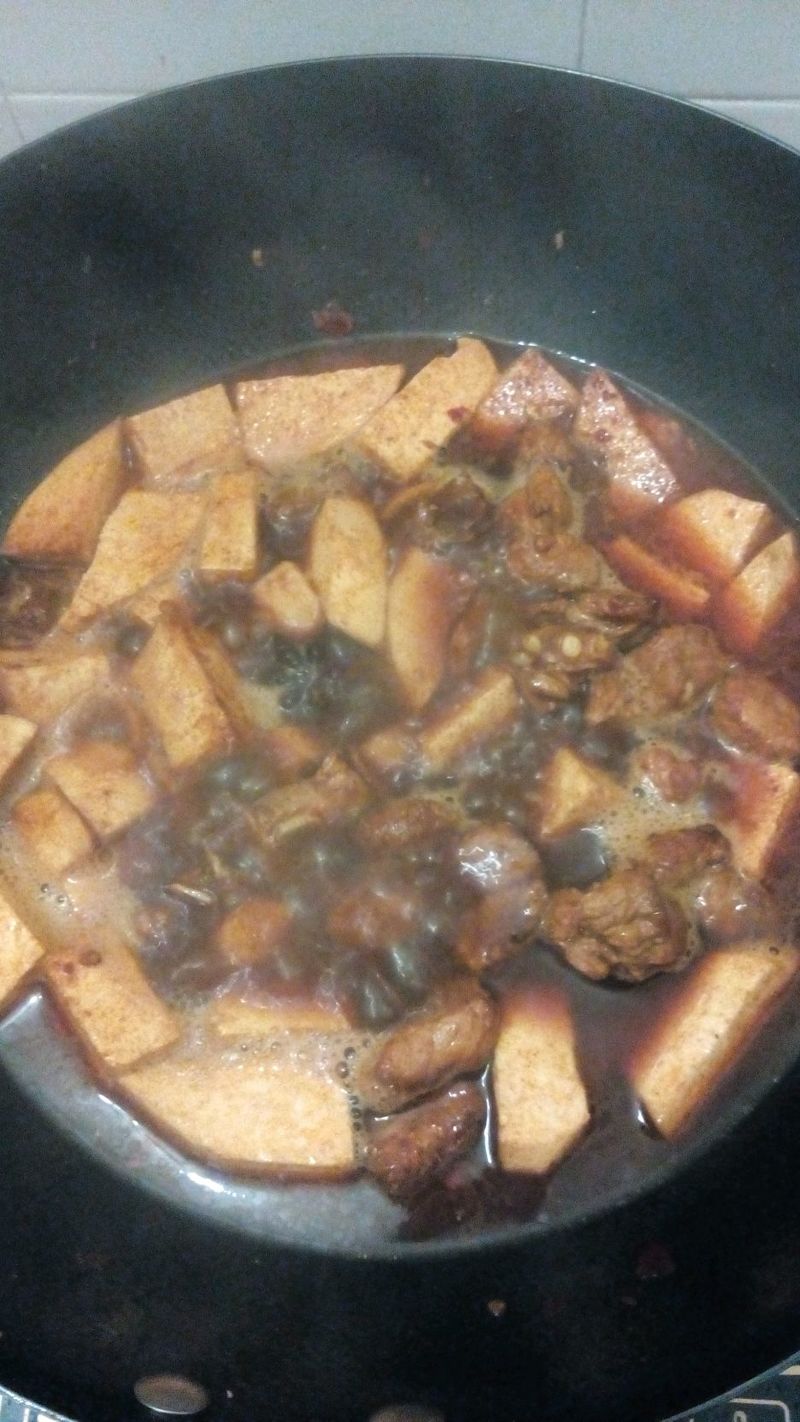
Add a small amount of cooking wine and enough hot water to cover the taro and ribs, and simmer for about 30 minutes
10
Step 10
Reduce the sauce and serve
Community Reflections
0.0
(0 reviews)
Please login to write a review
Write a Review
No reviews yet. Be the first to review this recipe!