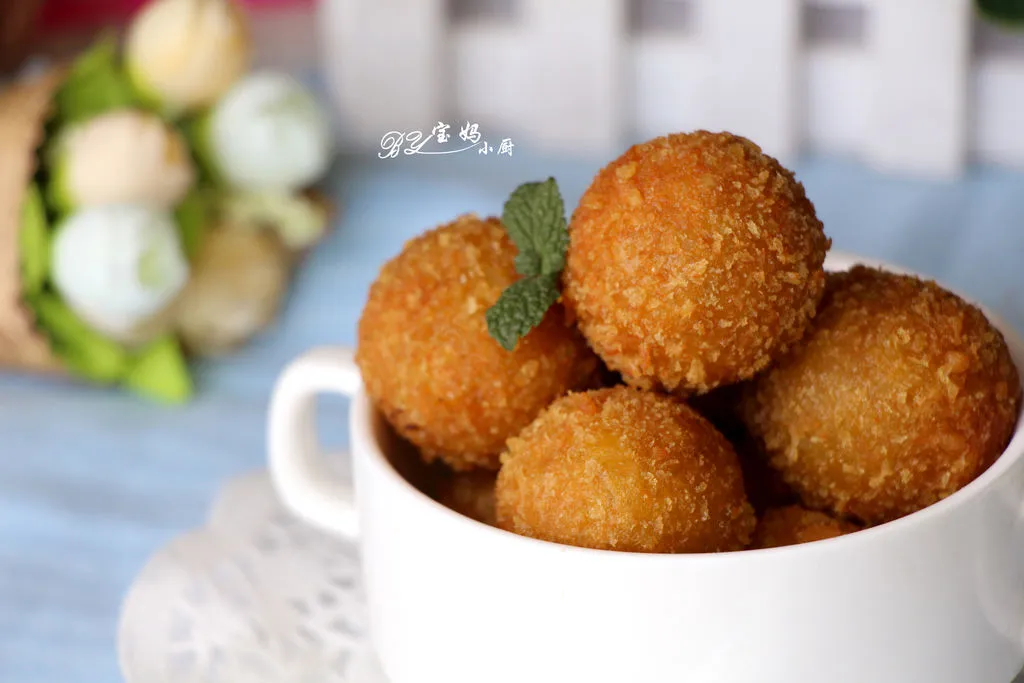
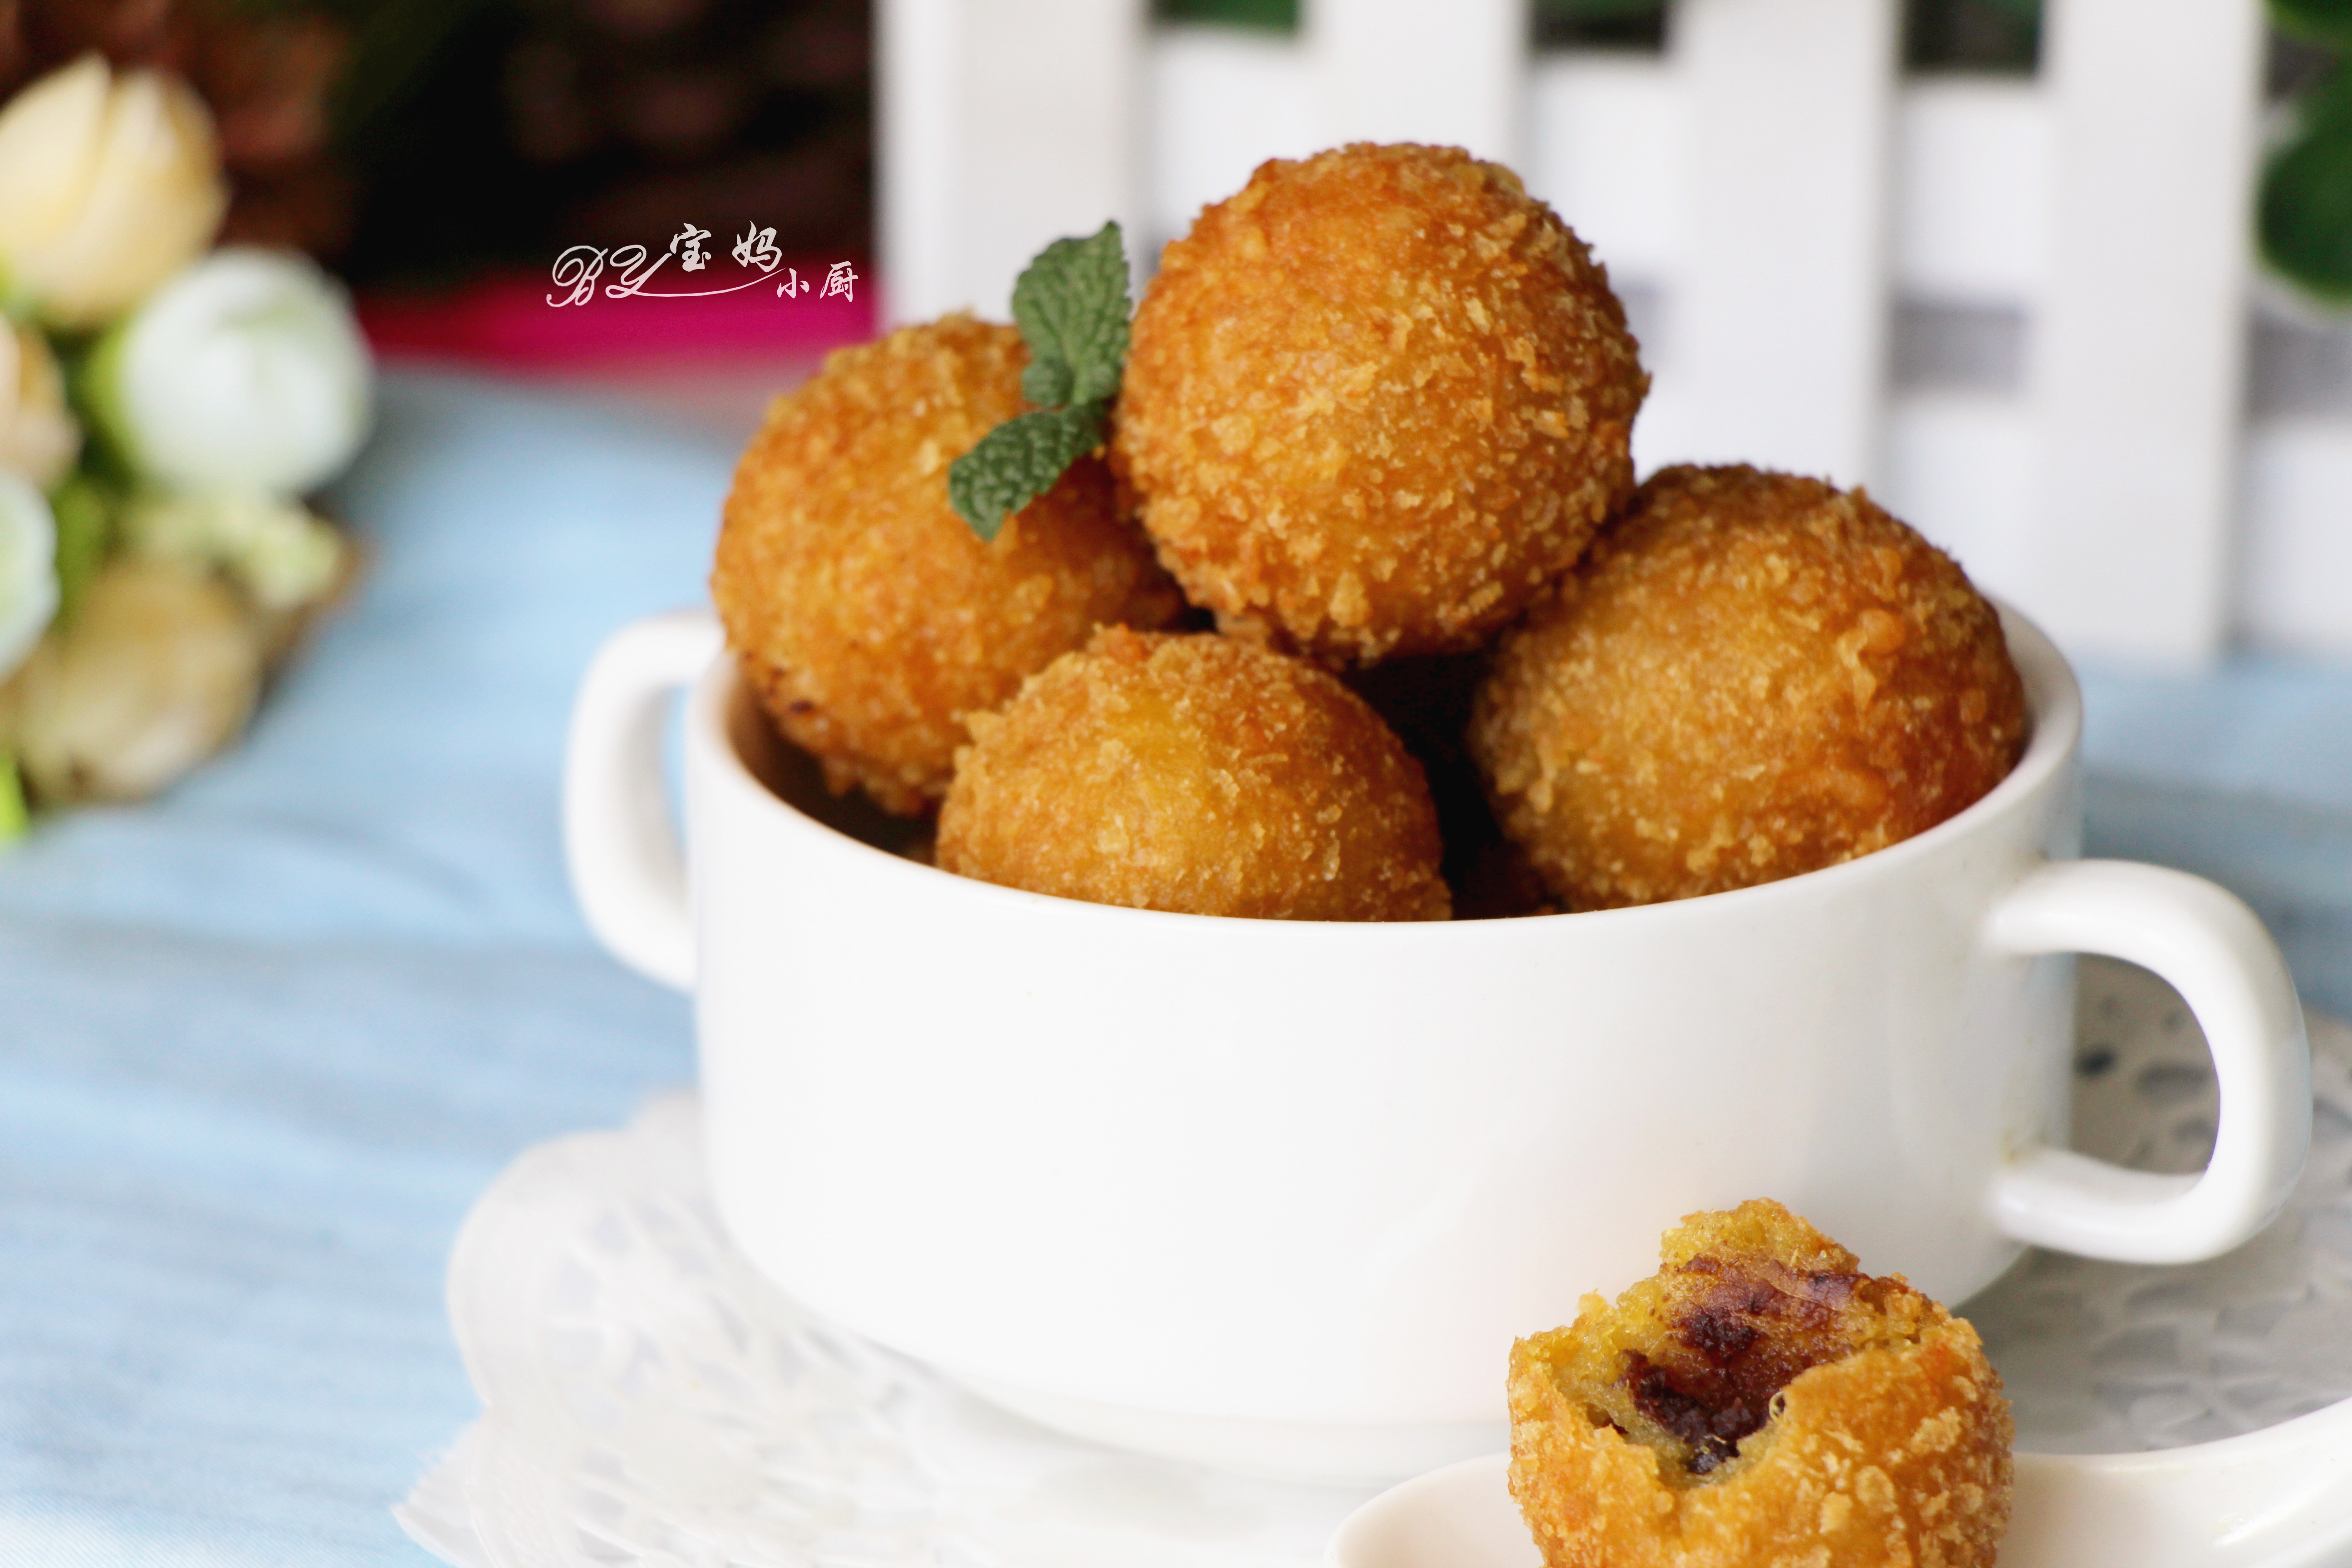
Mung Bean Paste Sweet Potato Ball
Indulge in these irresistible **Sweet Potato Bean Paste Balls**—a perfect blend of natural sweetness and crispy texture! Made with steamed sweet potatoes, glutinous rice flour, and a luscious bean paste filling, these golden-fried delights are a treat for any occasion. The dough is kneaded to perfection, ensuring a soft and chewy interior, while the crispy breadcrumb coating adds a satisfying crunch. Lightly sweetened with powdered sugar and fried to golden perfection, these bite-sized balls are a crowd-pleaser. Whether served as a snack or dessert, their unique combination of flavors and textures makes them truly special. Try this easy recipe for a delicious homemade treat that’s sure to impress!
15 Minutes
Advanced
4 servings
Ingredients
Metric
US
4 serving
Main Ingredients
🥩
sweet potatoes🥩
bean pasteThe aromatics
🧅
glutinous rice flour🧅
all-purpose flour🧅
eggs🧅
breadcrumbsThe sauce & seasonings
🧂
sugar powderInstructions
1. Step 1
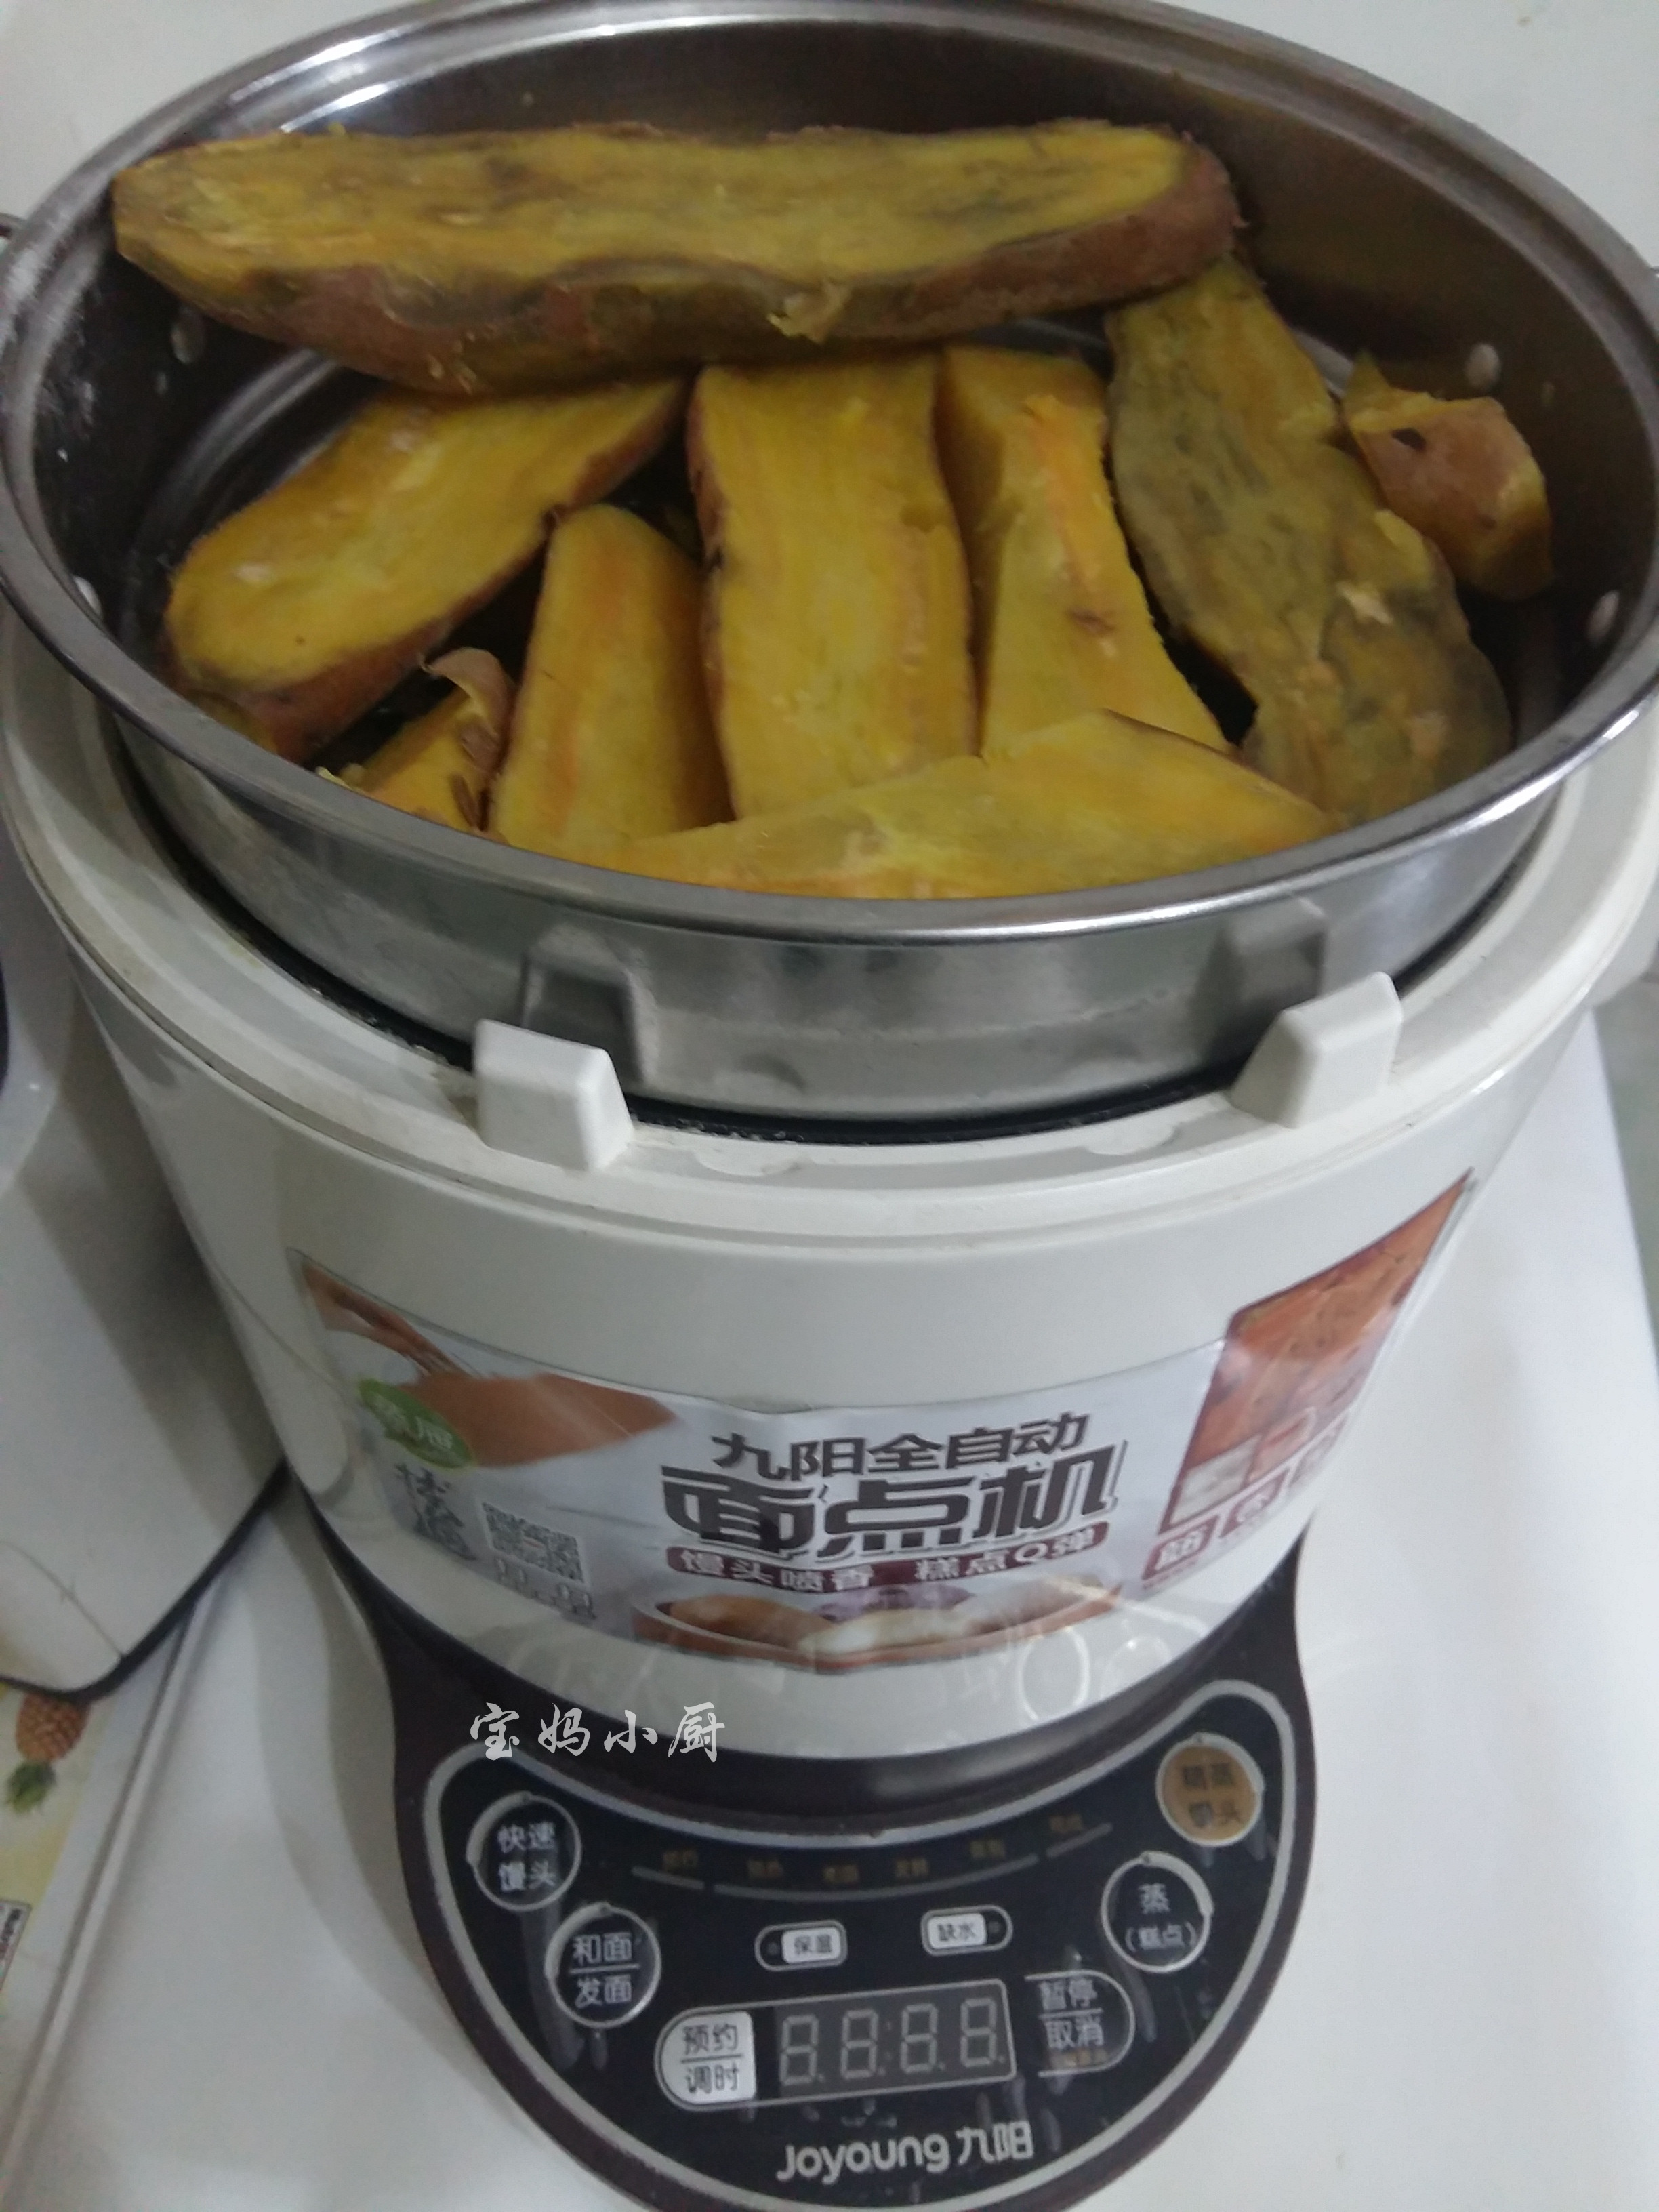
Wash and peel the sweet potatoes, then cut them into thick slices and steam until cooked.
2. Step 2
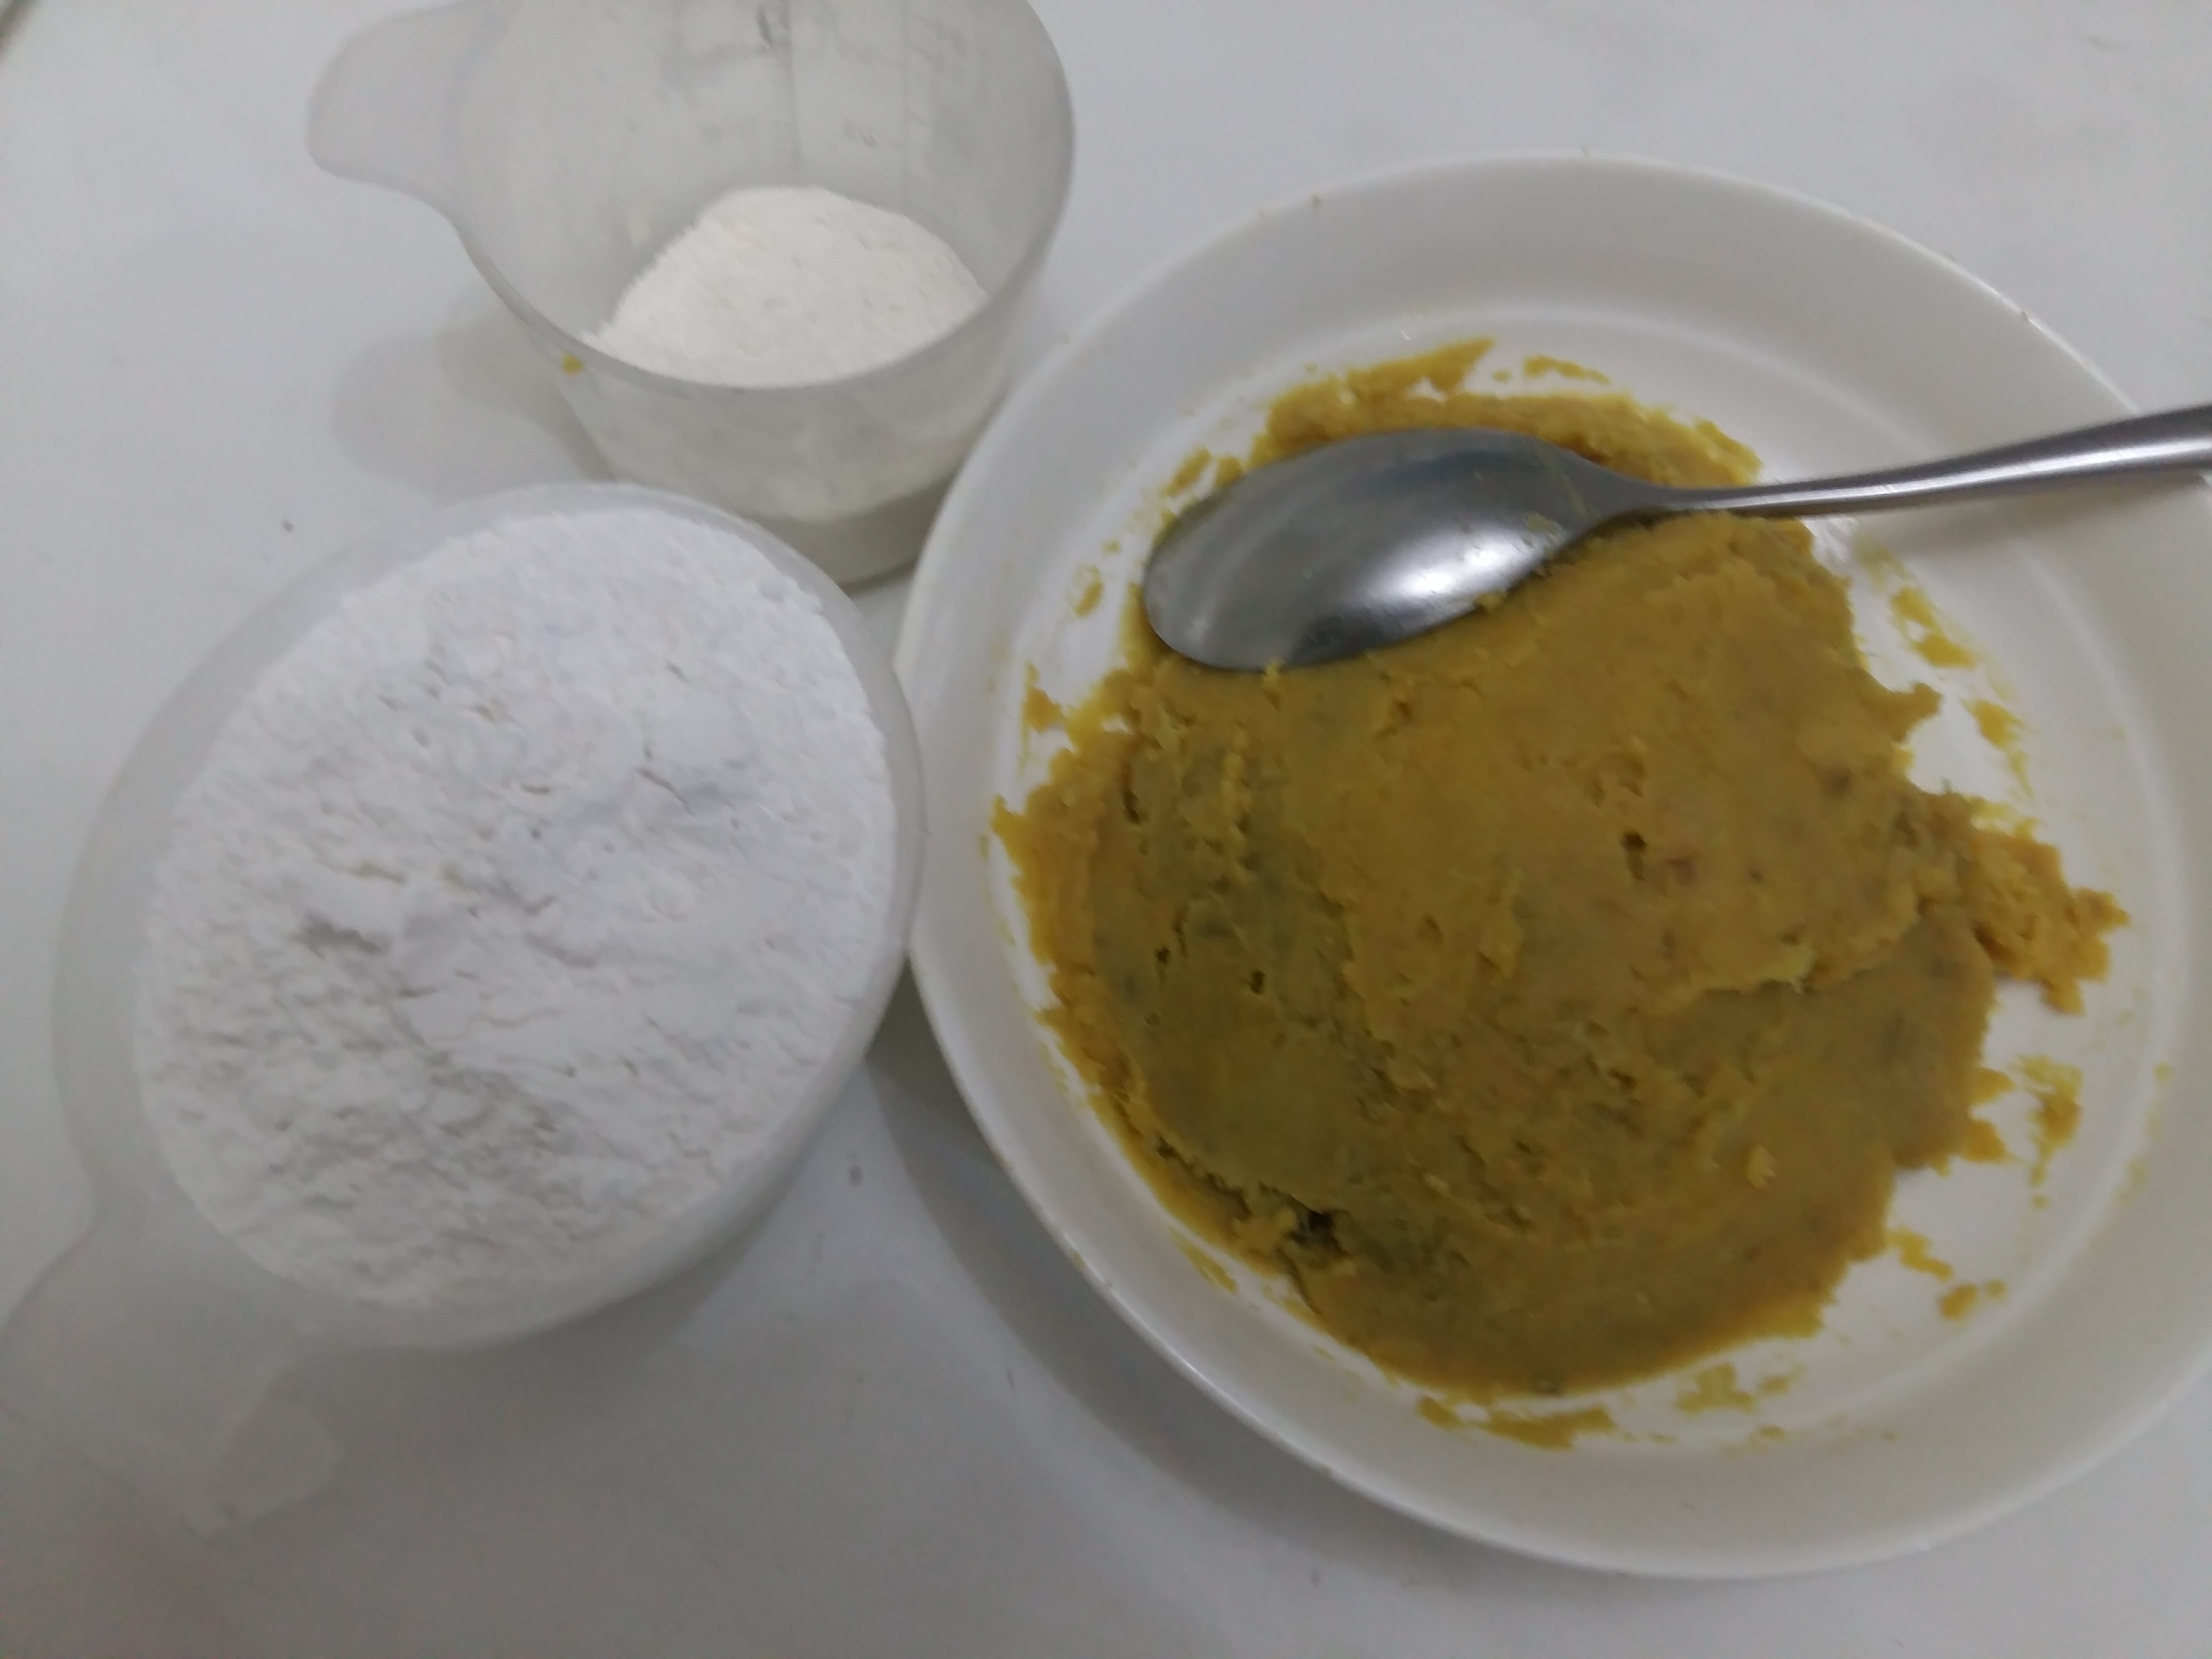
Remove the skin and mash the sweet potatoes into a fine paste using a spoon. Prepare the glutinous rice flour and all-purpose flour.
3. Step 3
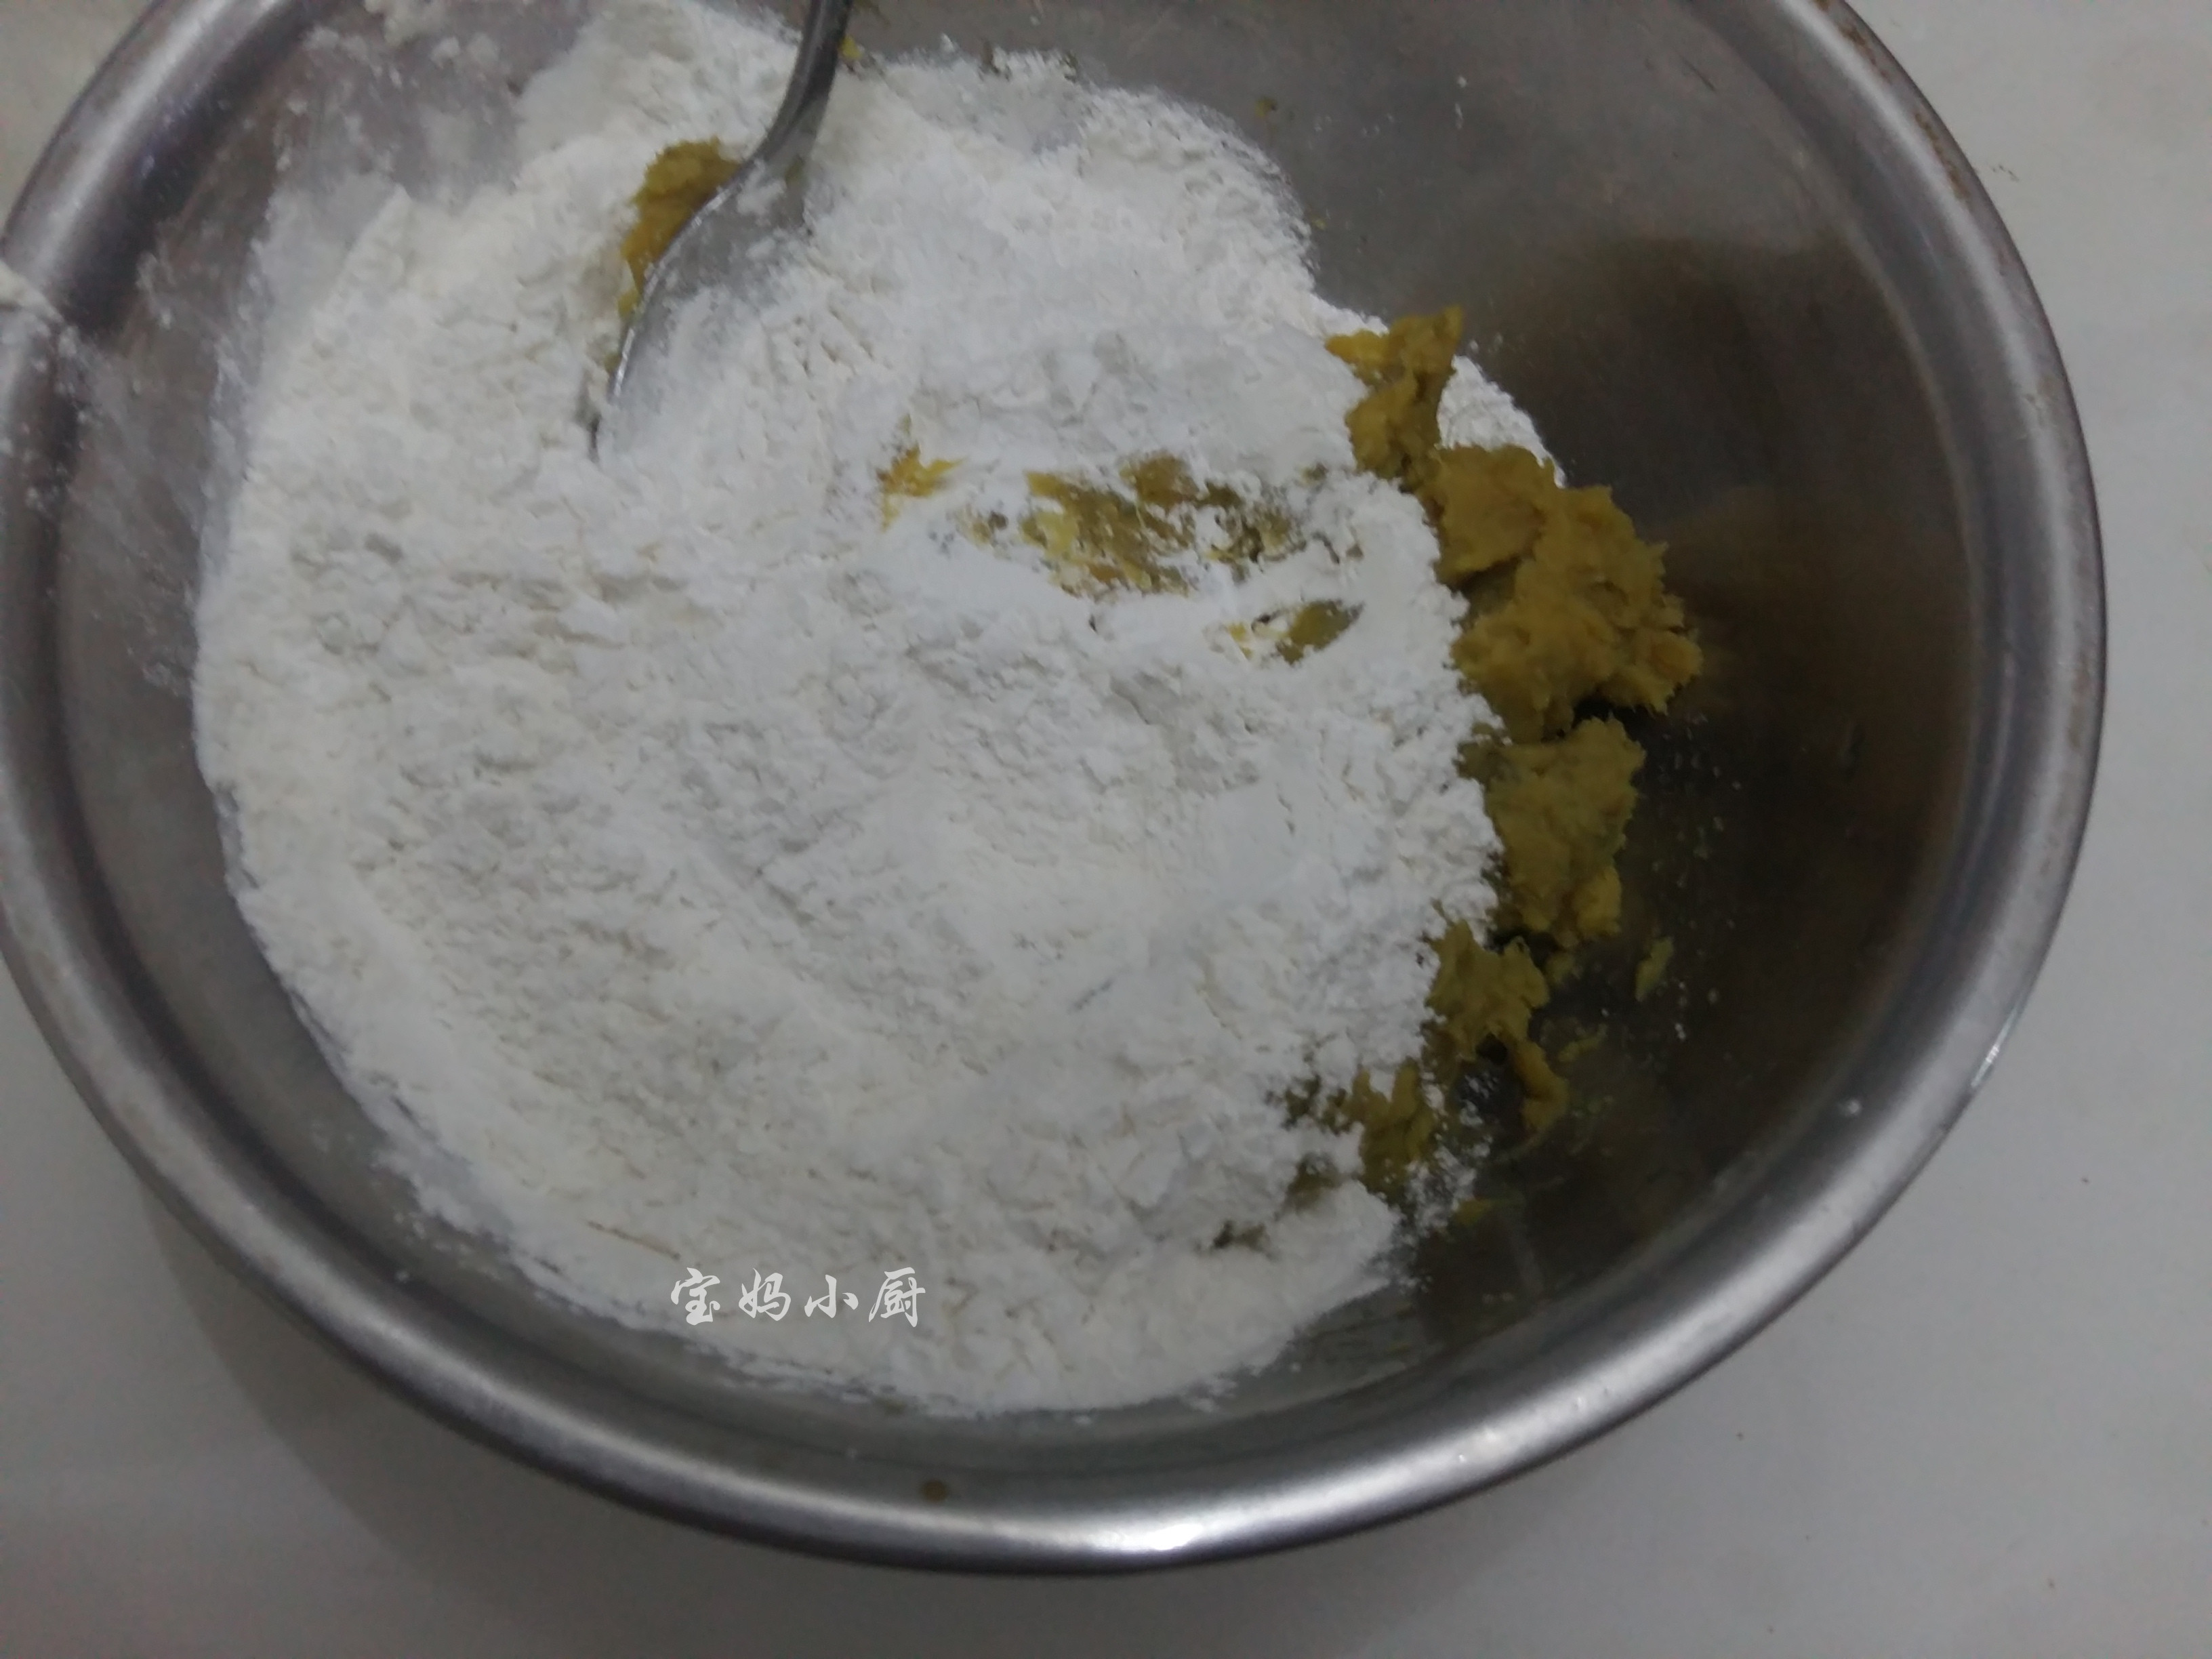
Place the sweet potato paste, glutinous rice flour, all-purpose flour, and sugar powder into a bowl.
4. Step 4
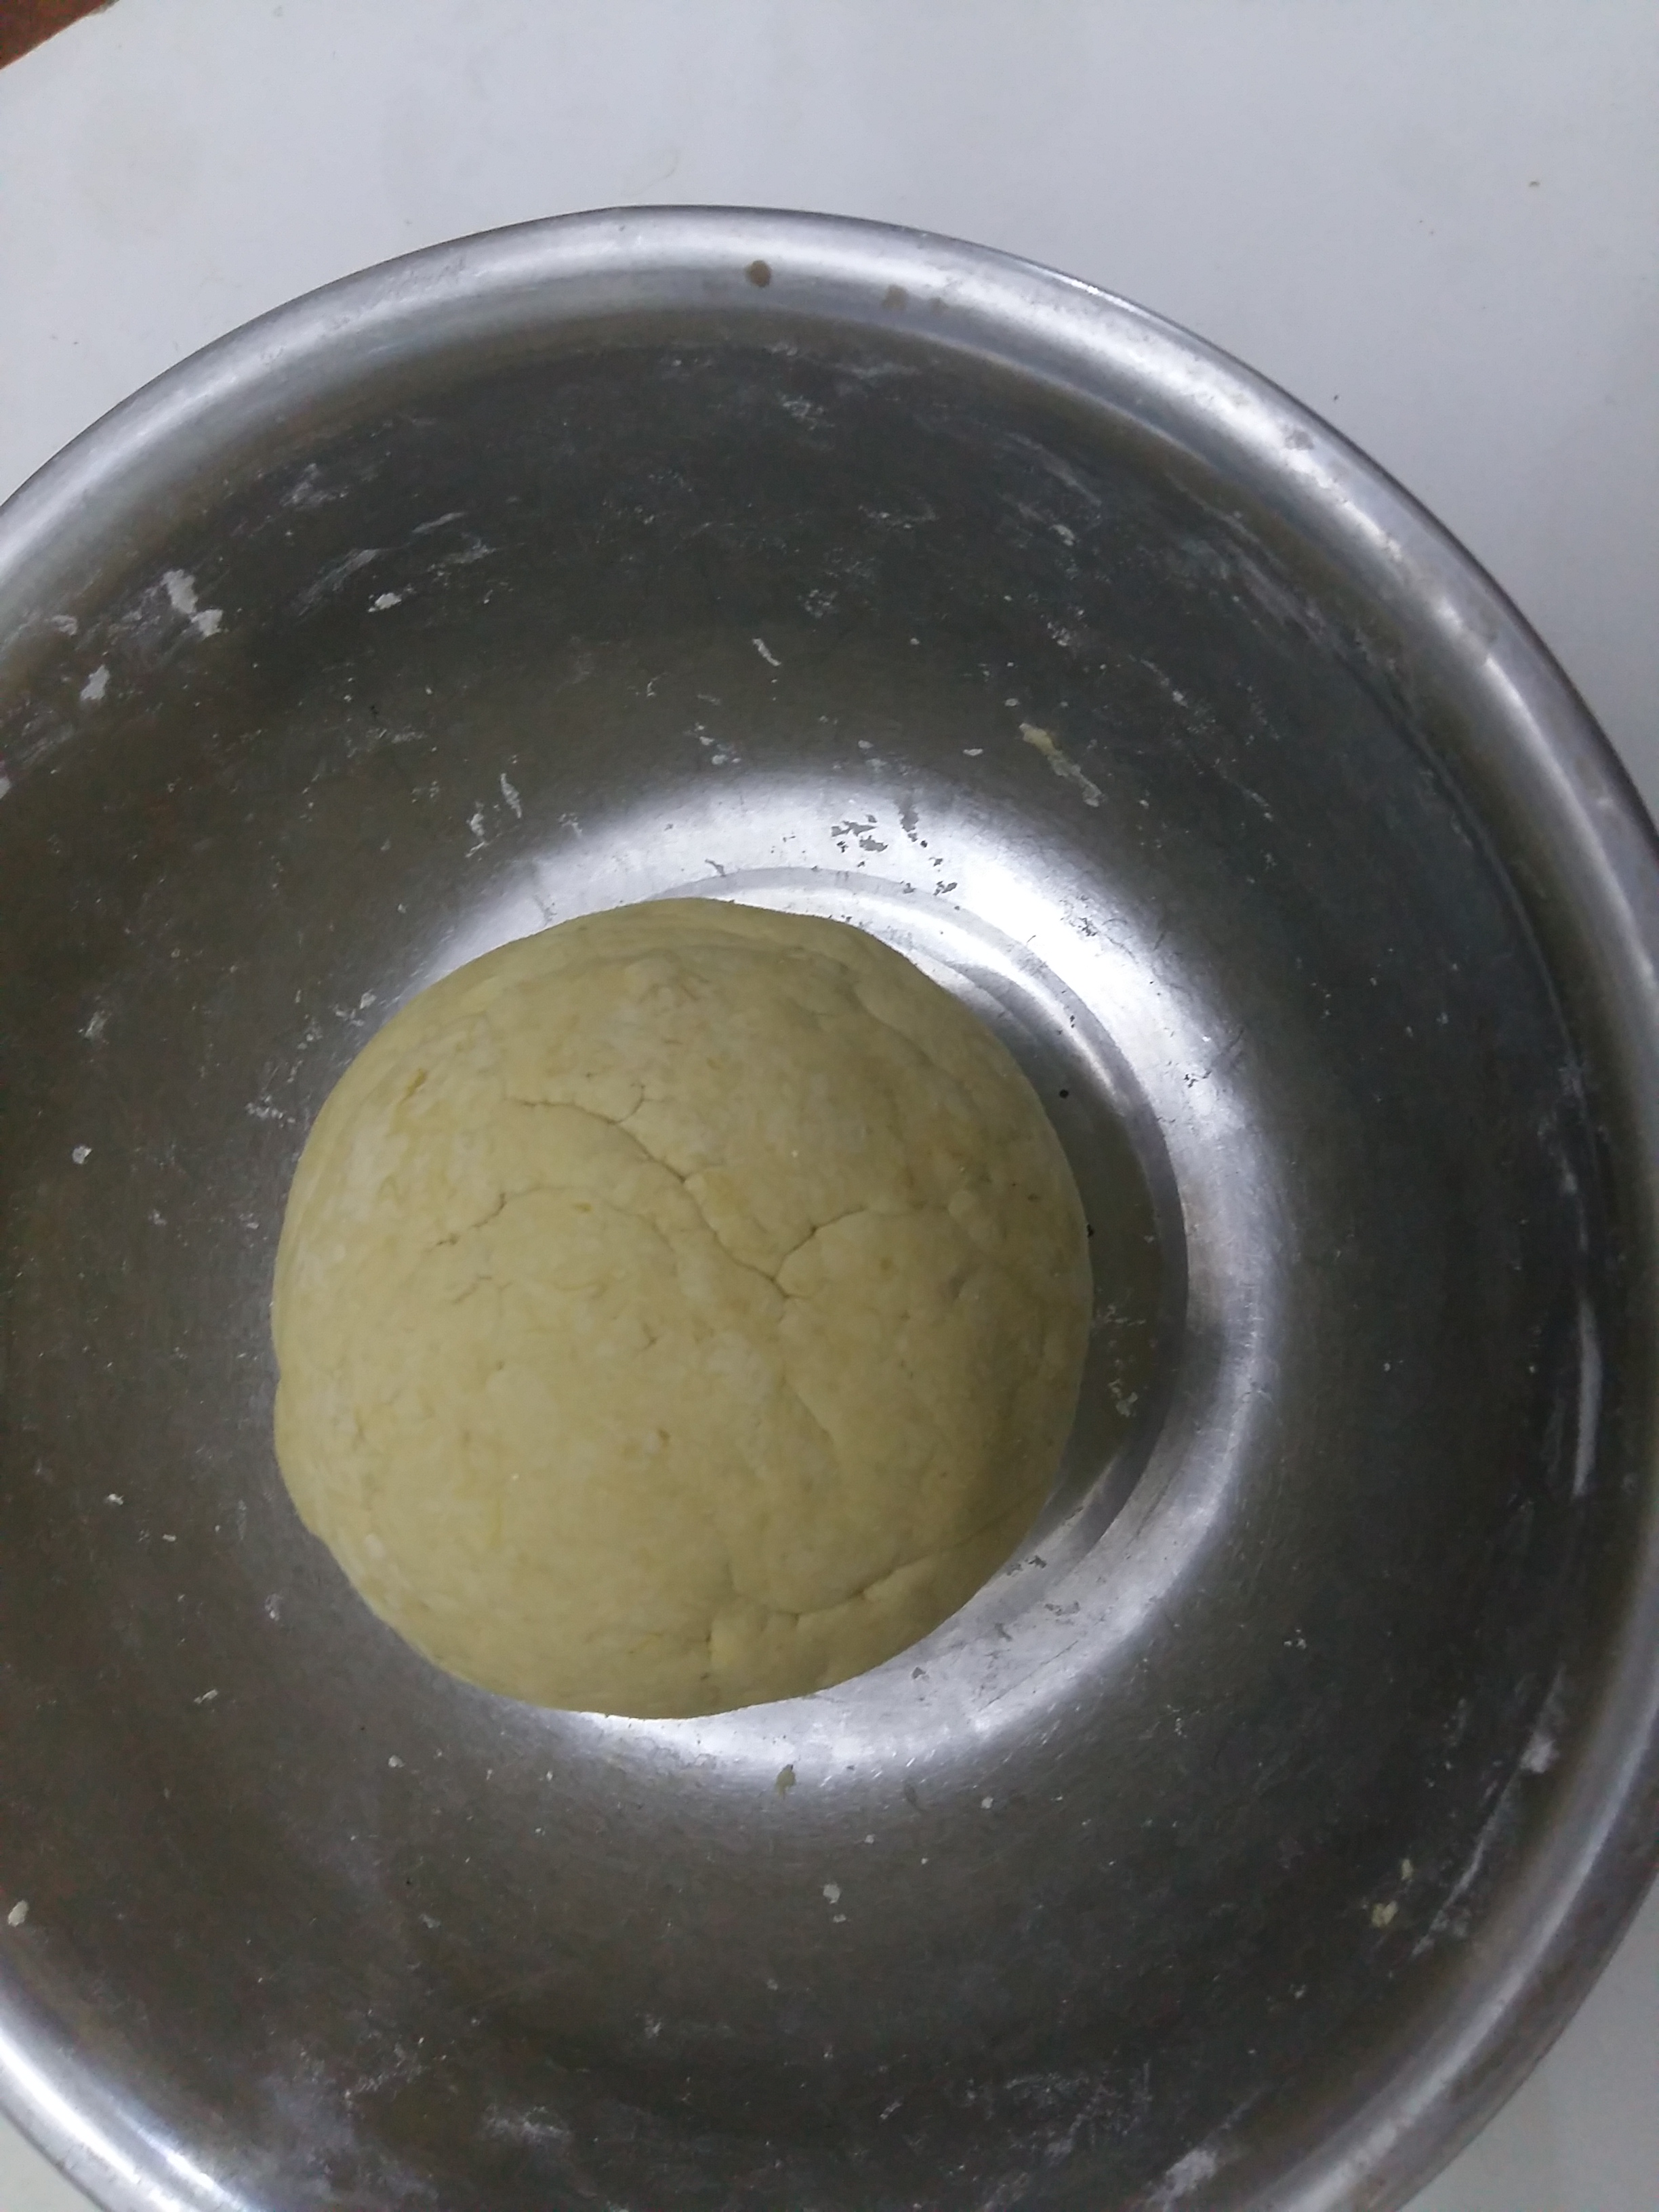
Knead the mixture into a dough (it may feel a bit hard at first), and let it rest for 15-20 minutes until it becomes soft and fine.
5. Step 5
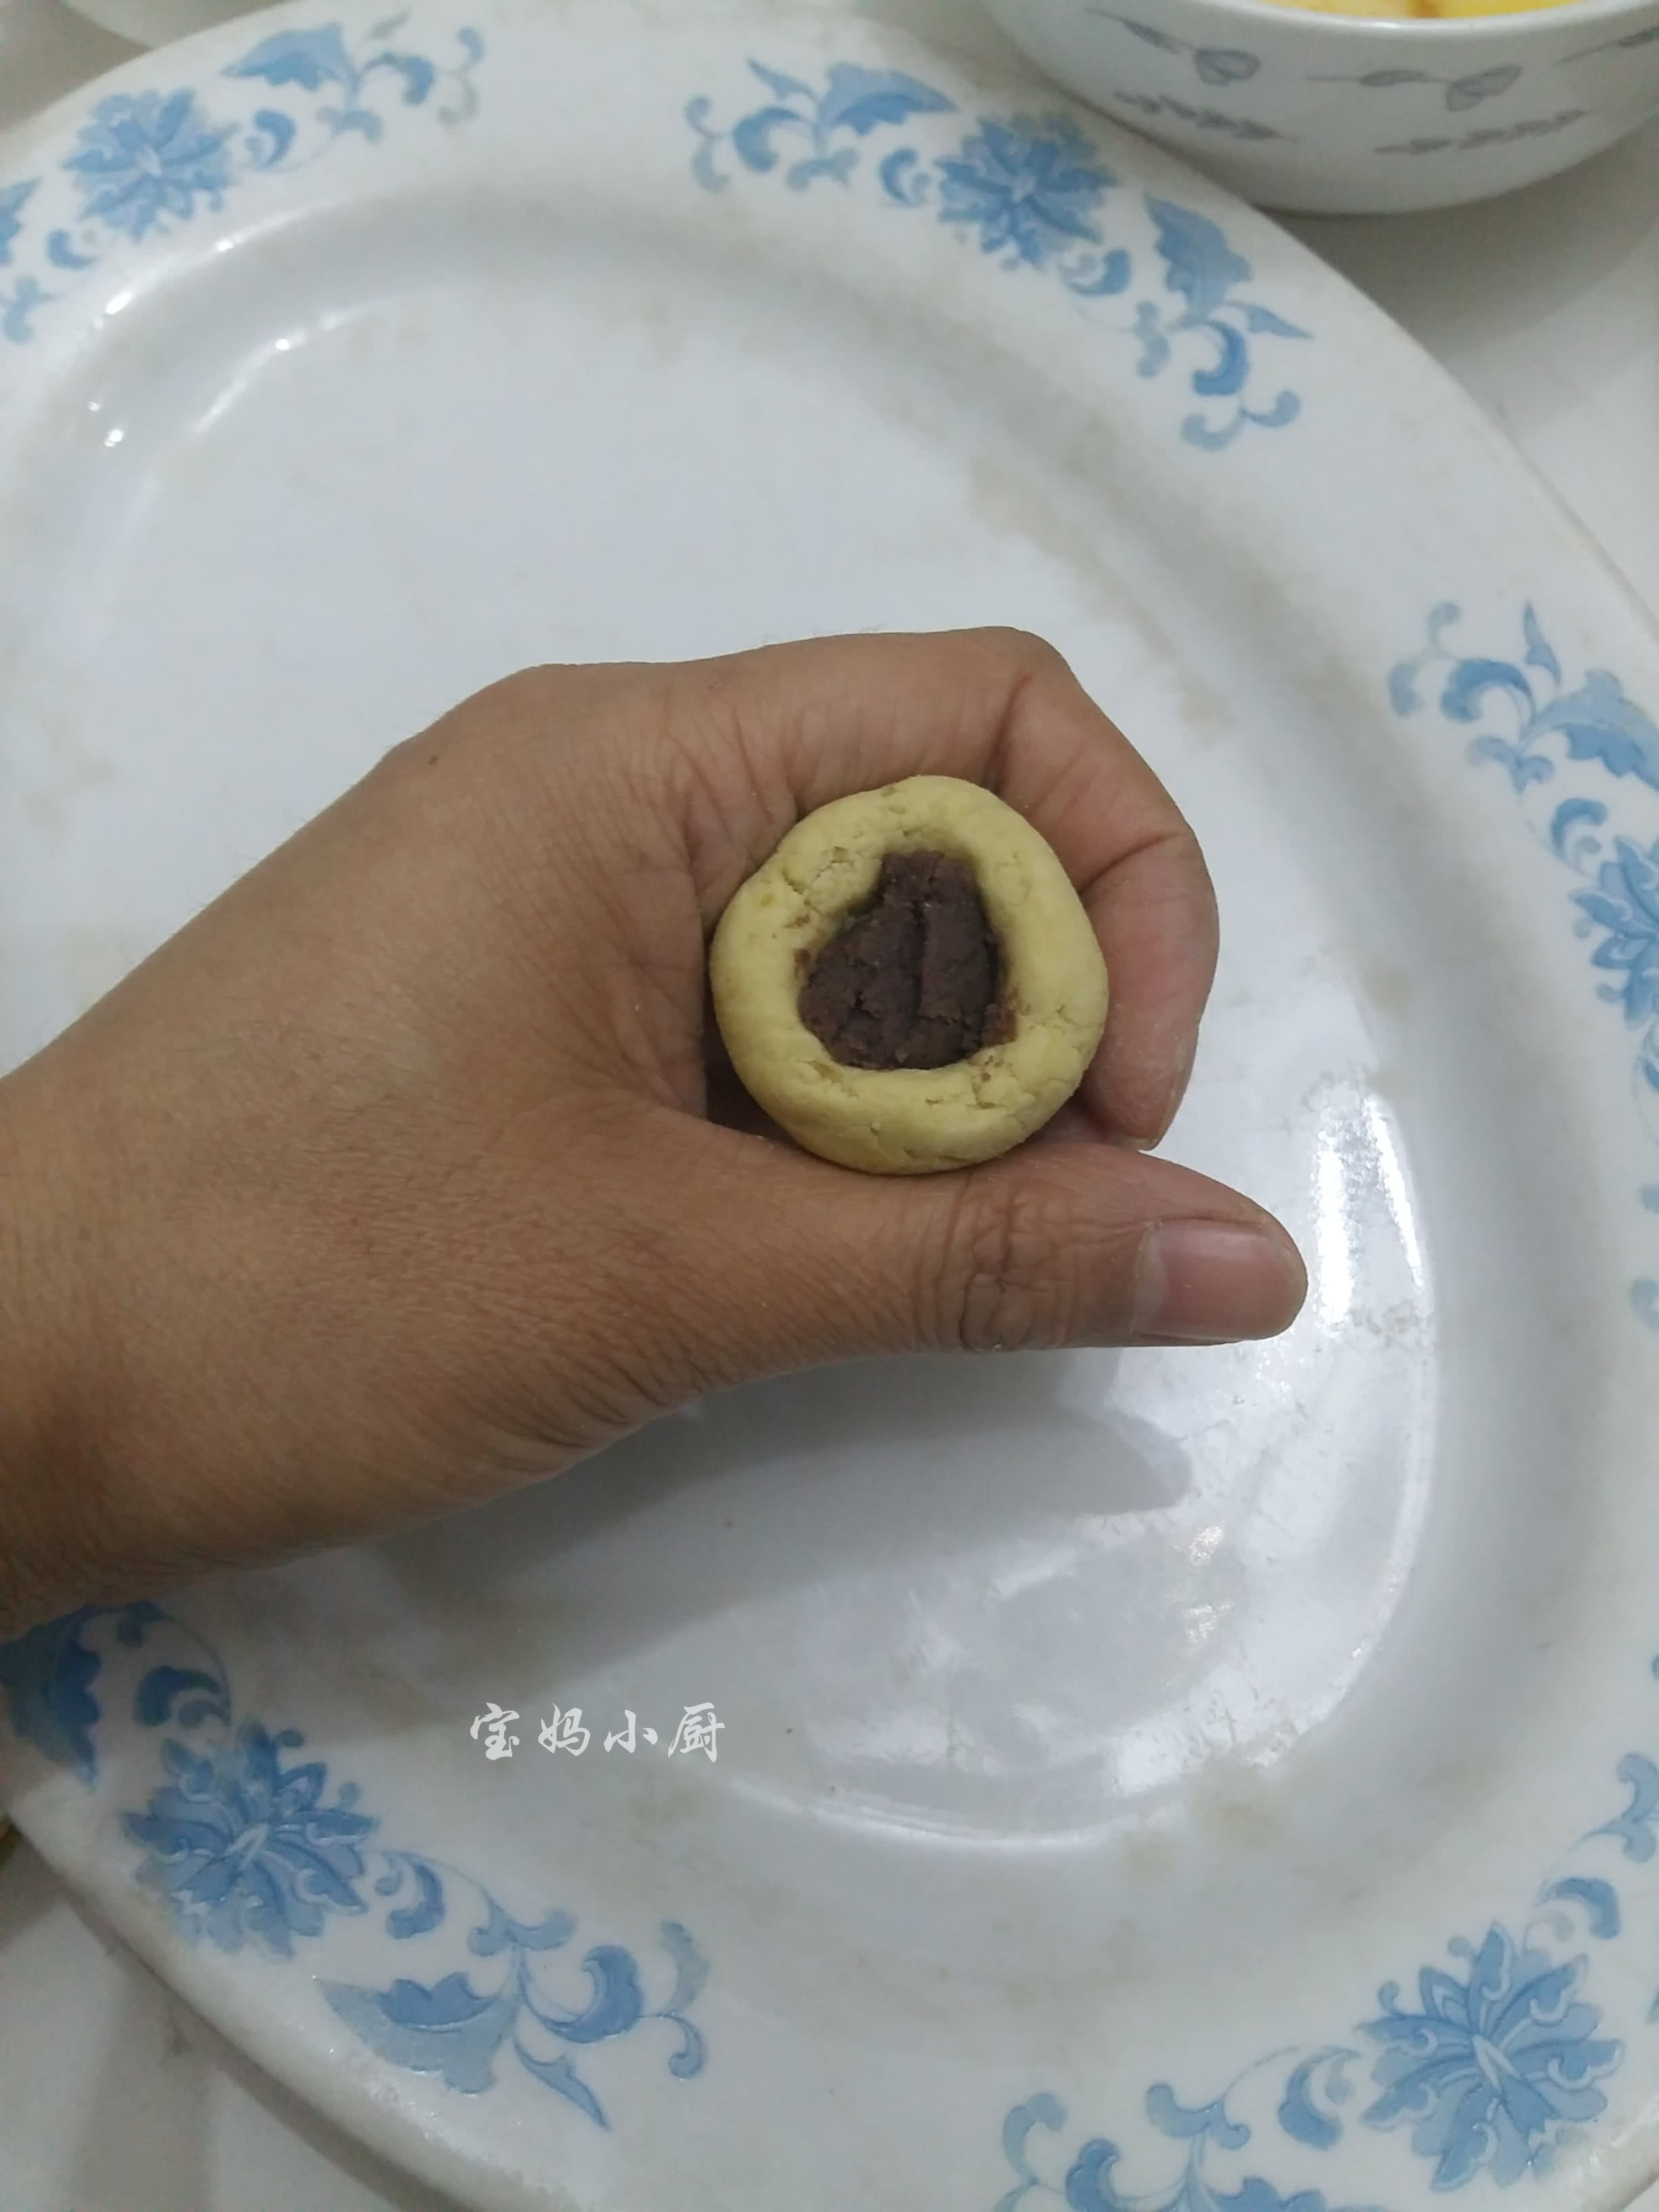
Knead the sweet potato dough until it is smooth, then divide it into small pieces and wrap them around the bean paste filling.
6. Step 6
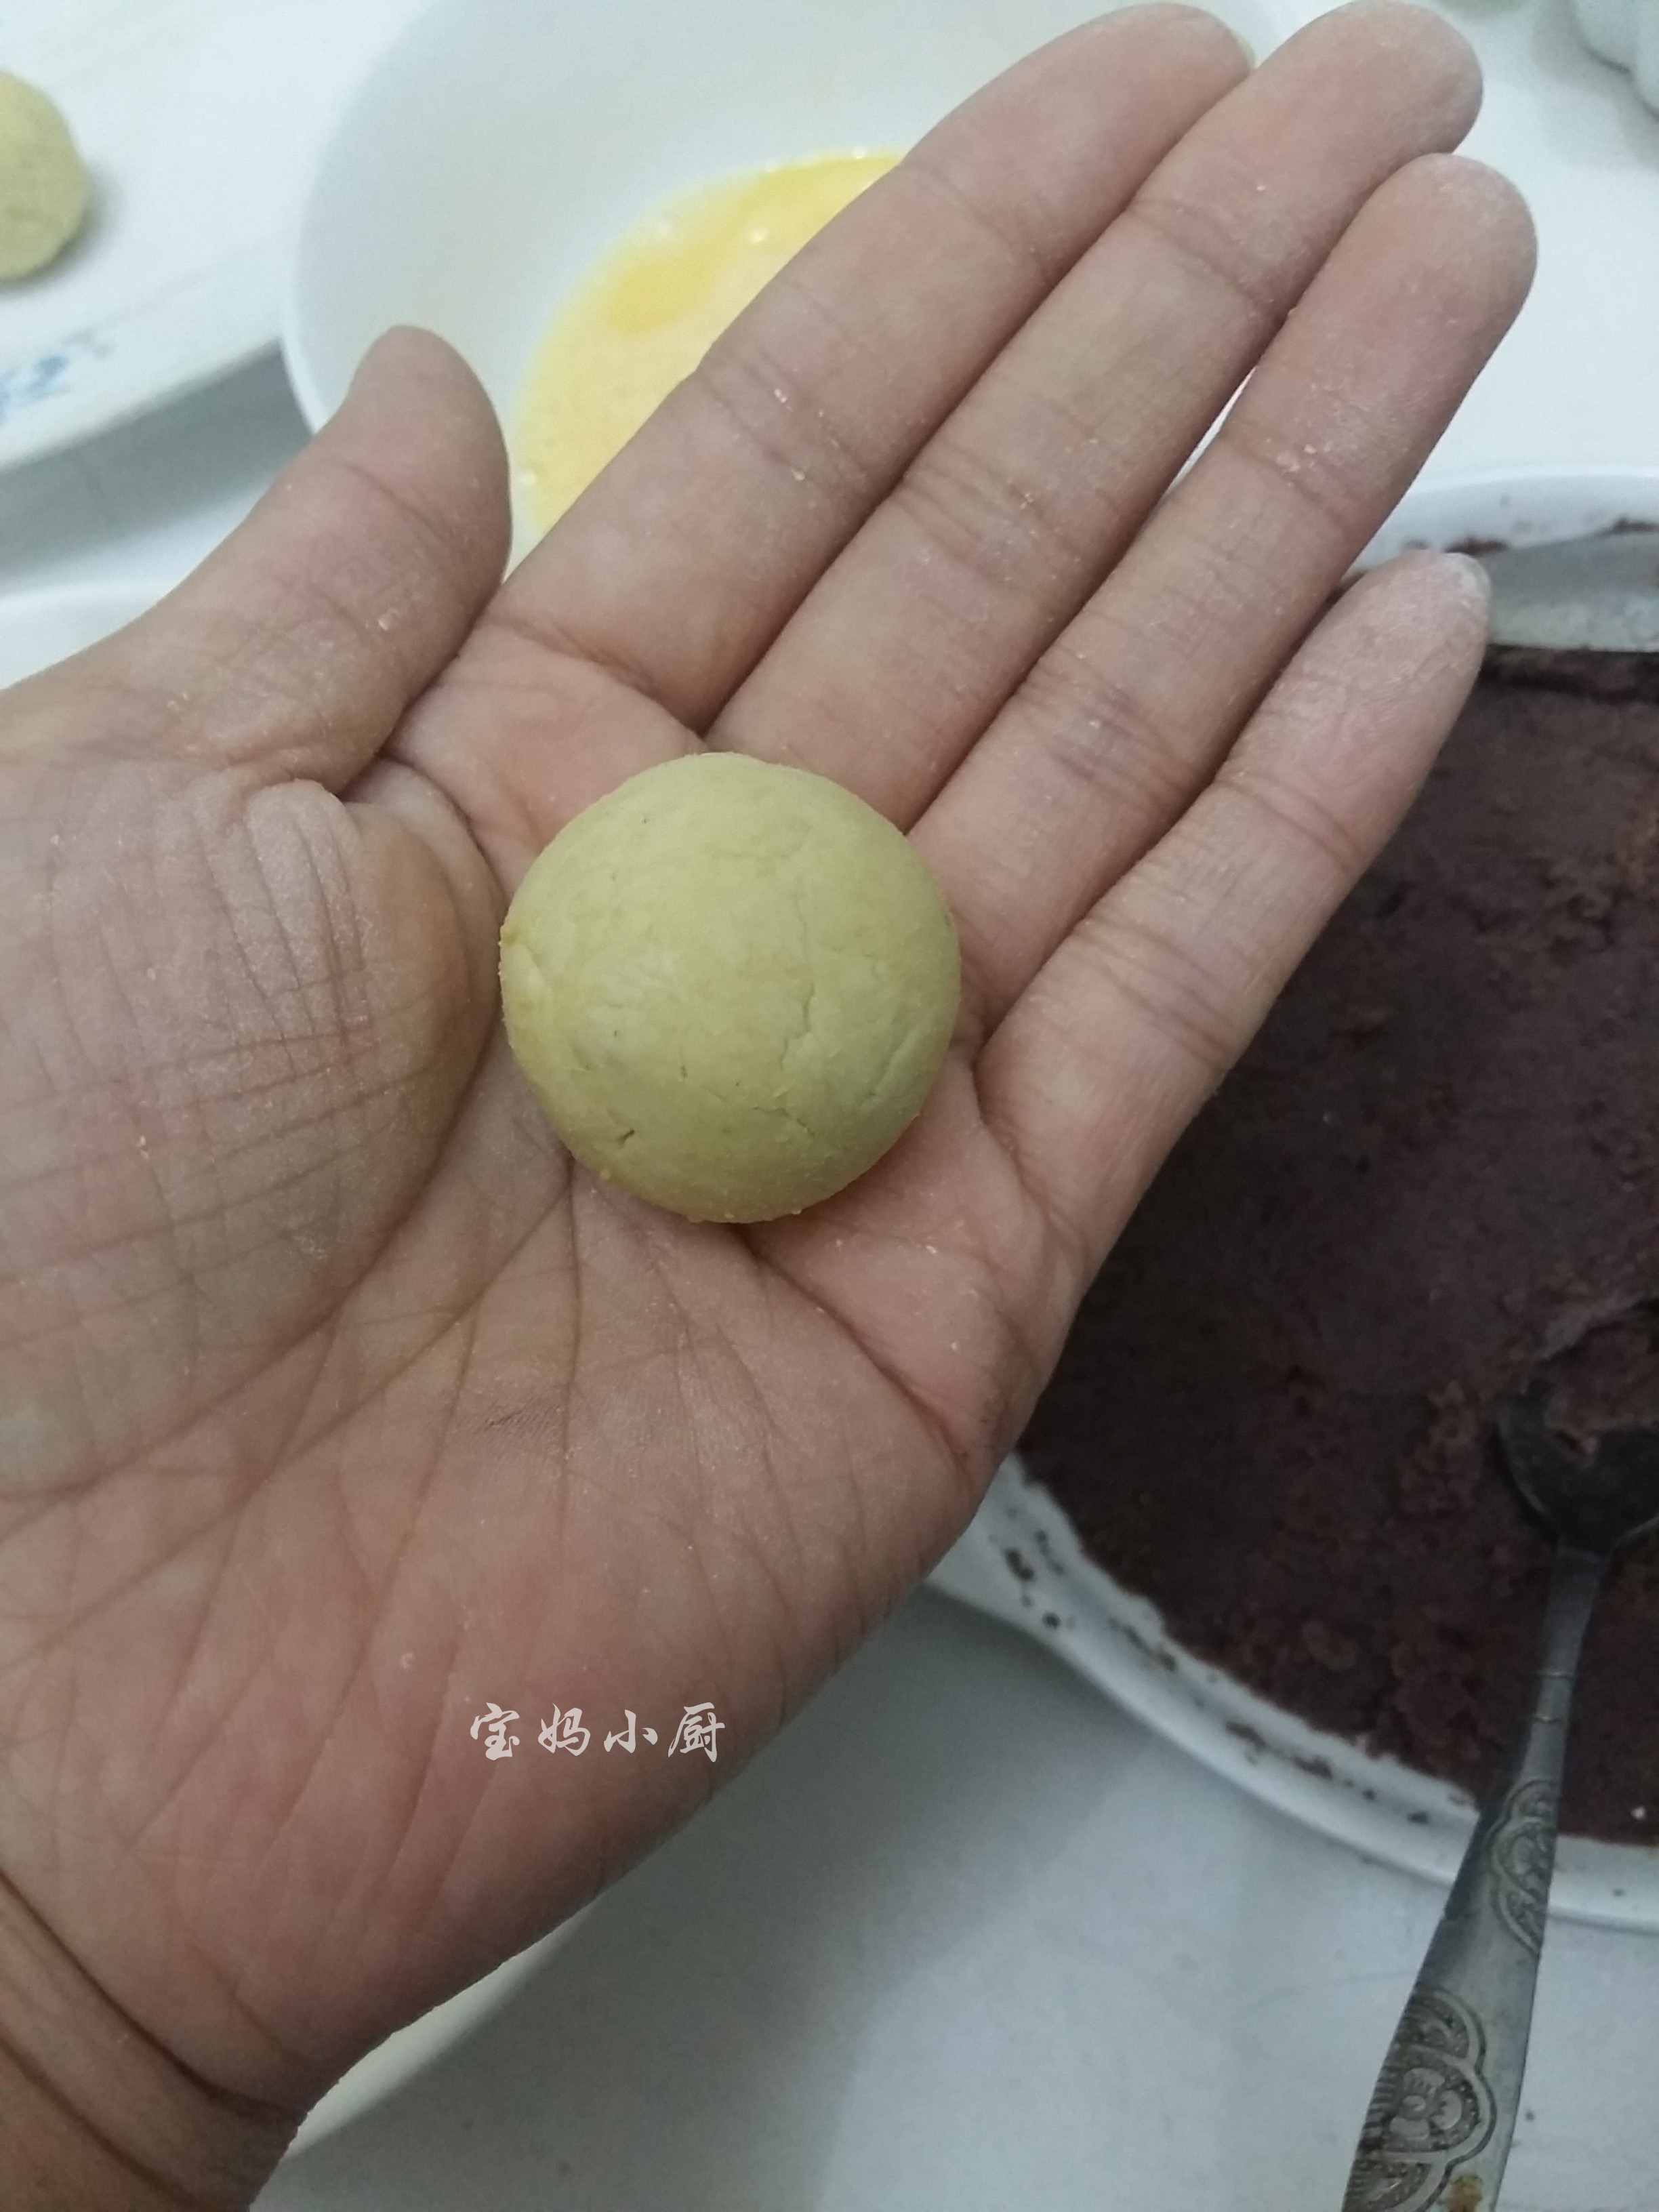
Shape the dough into small balls, about the size of a ping-pong ball.
7. Step 7
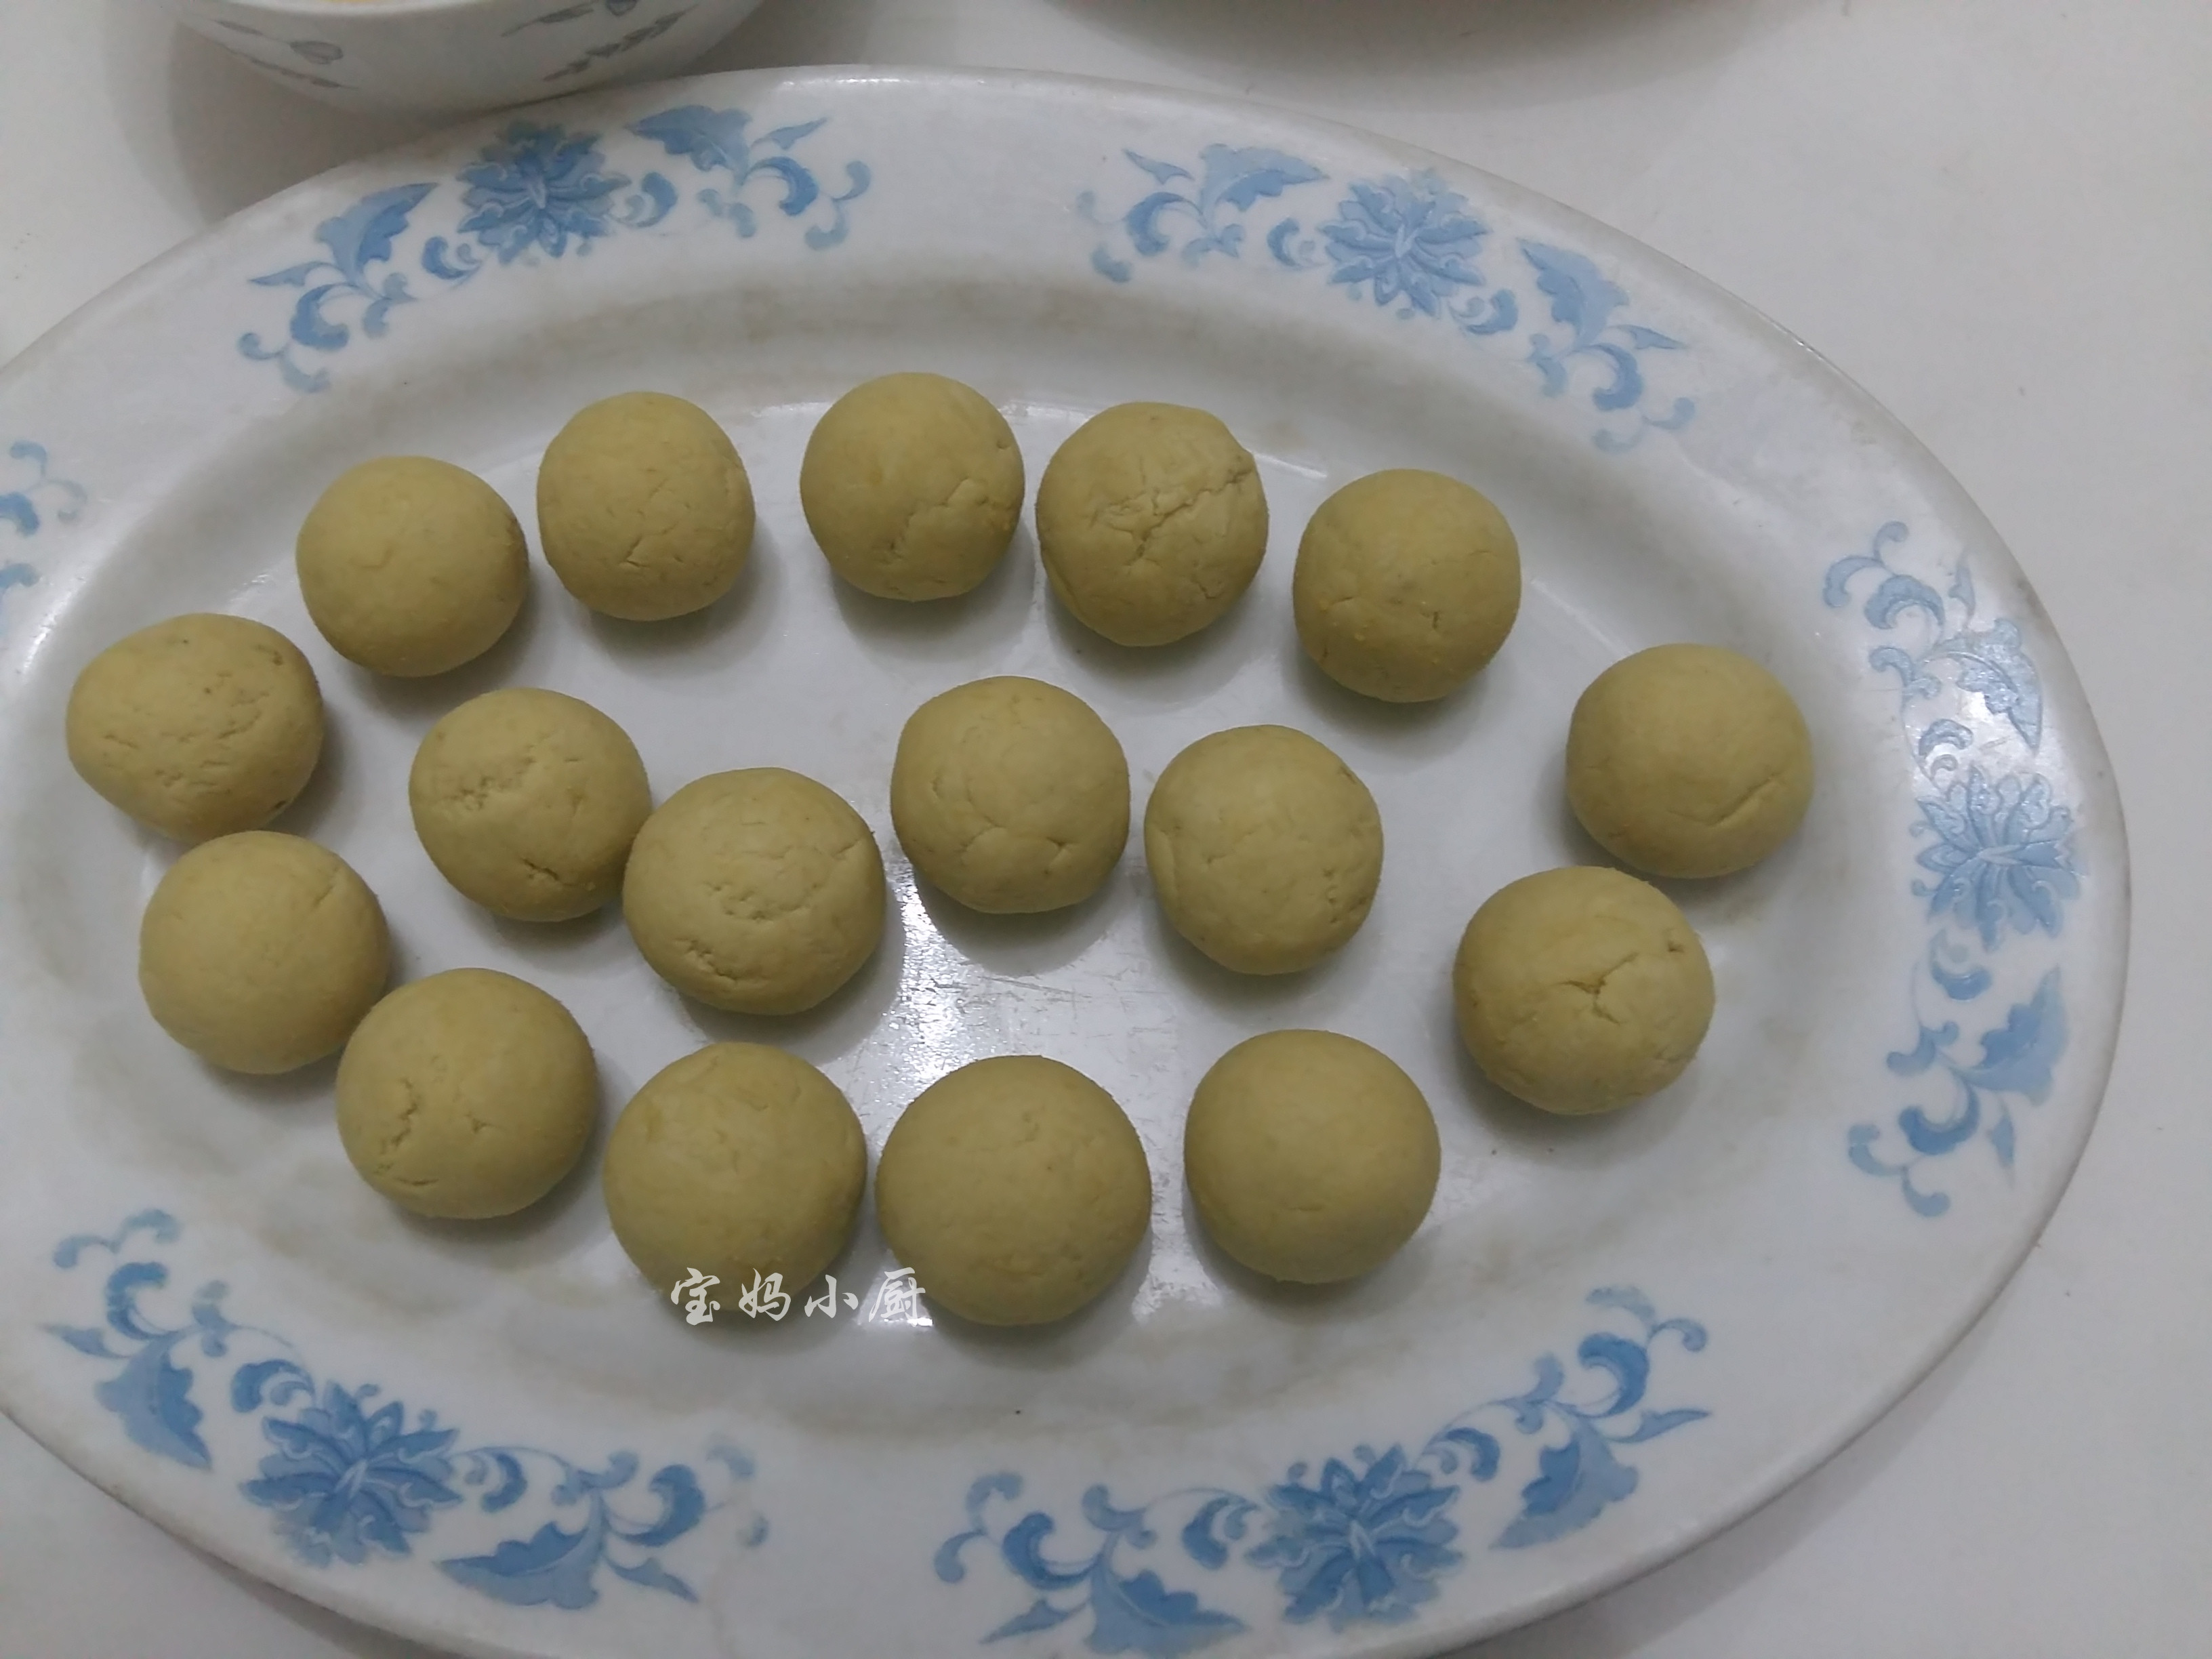
Place the balls onto a flat plate.
8. Step 8
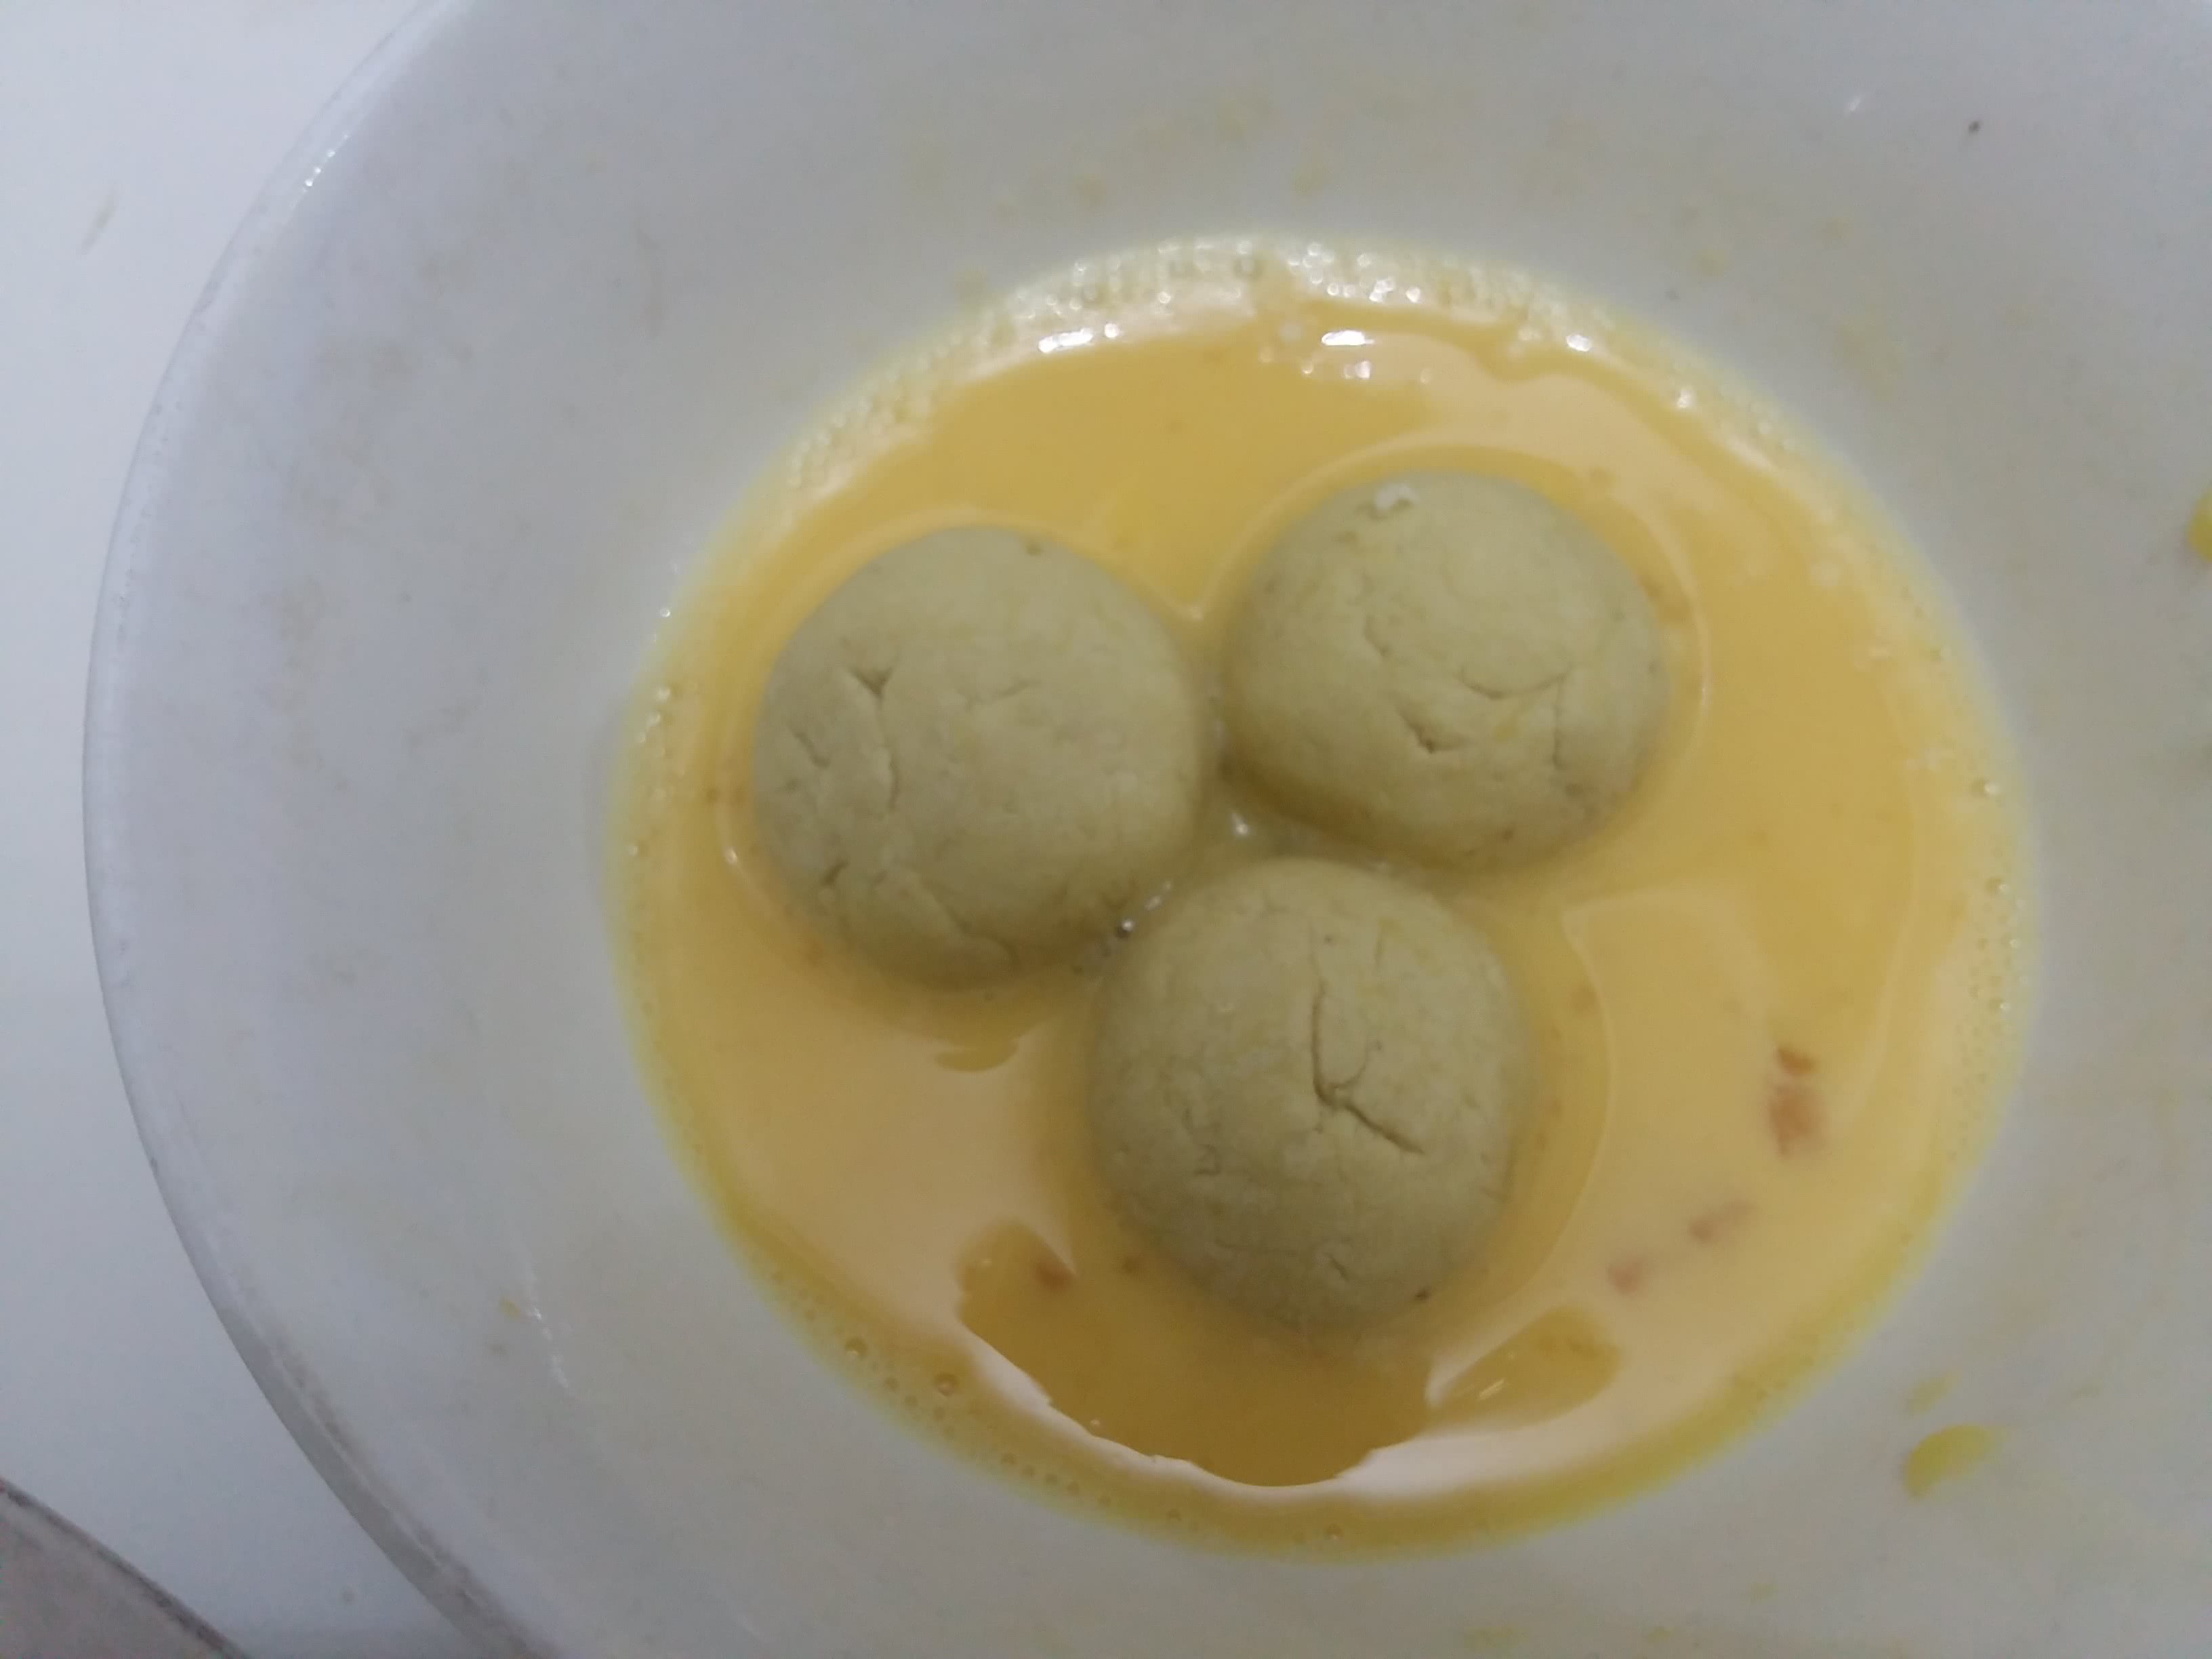
Beat the eggs until well mixed.
9. Step 9
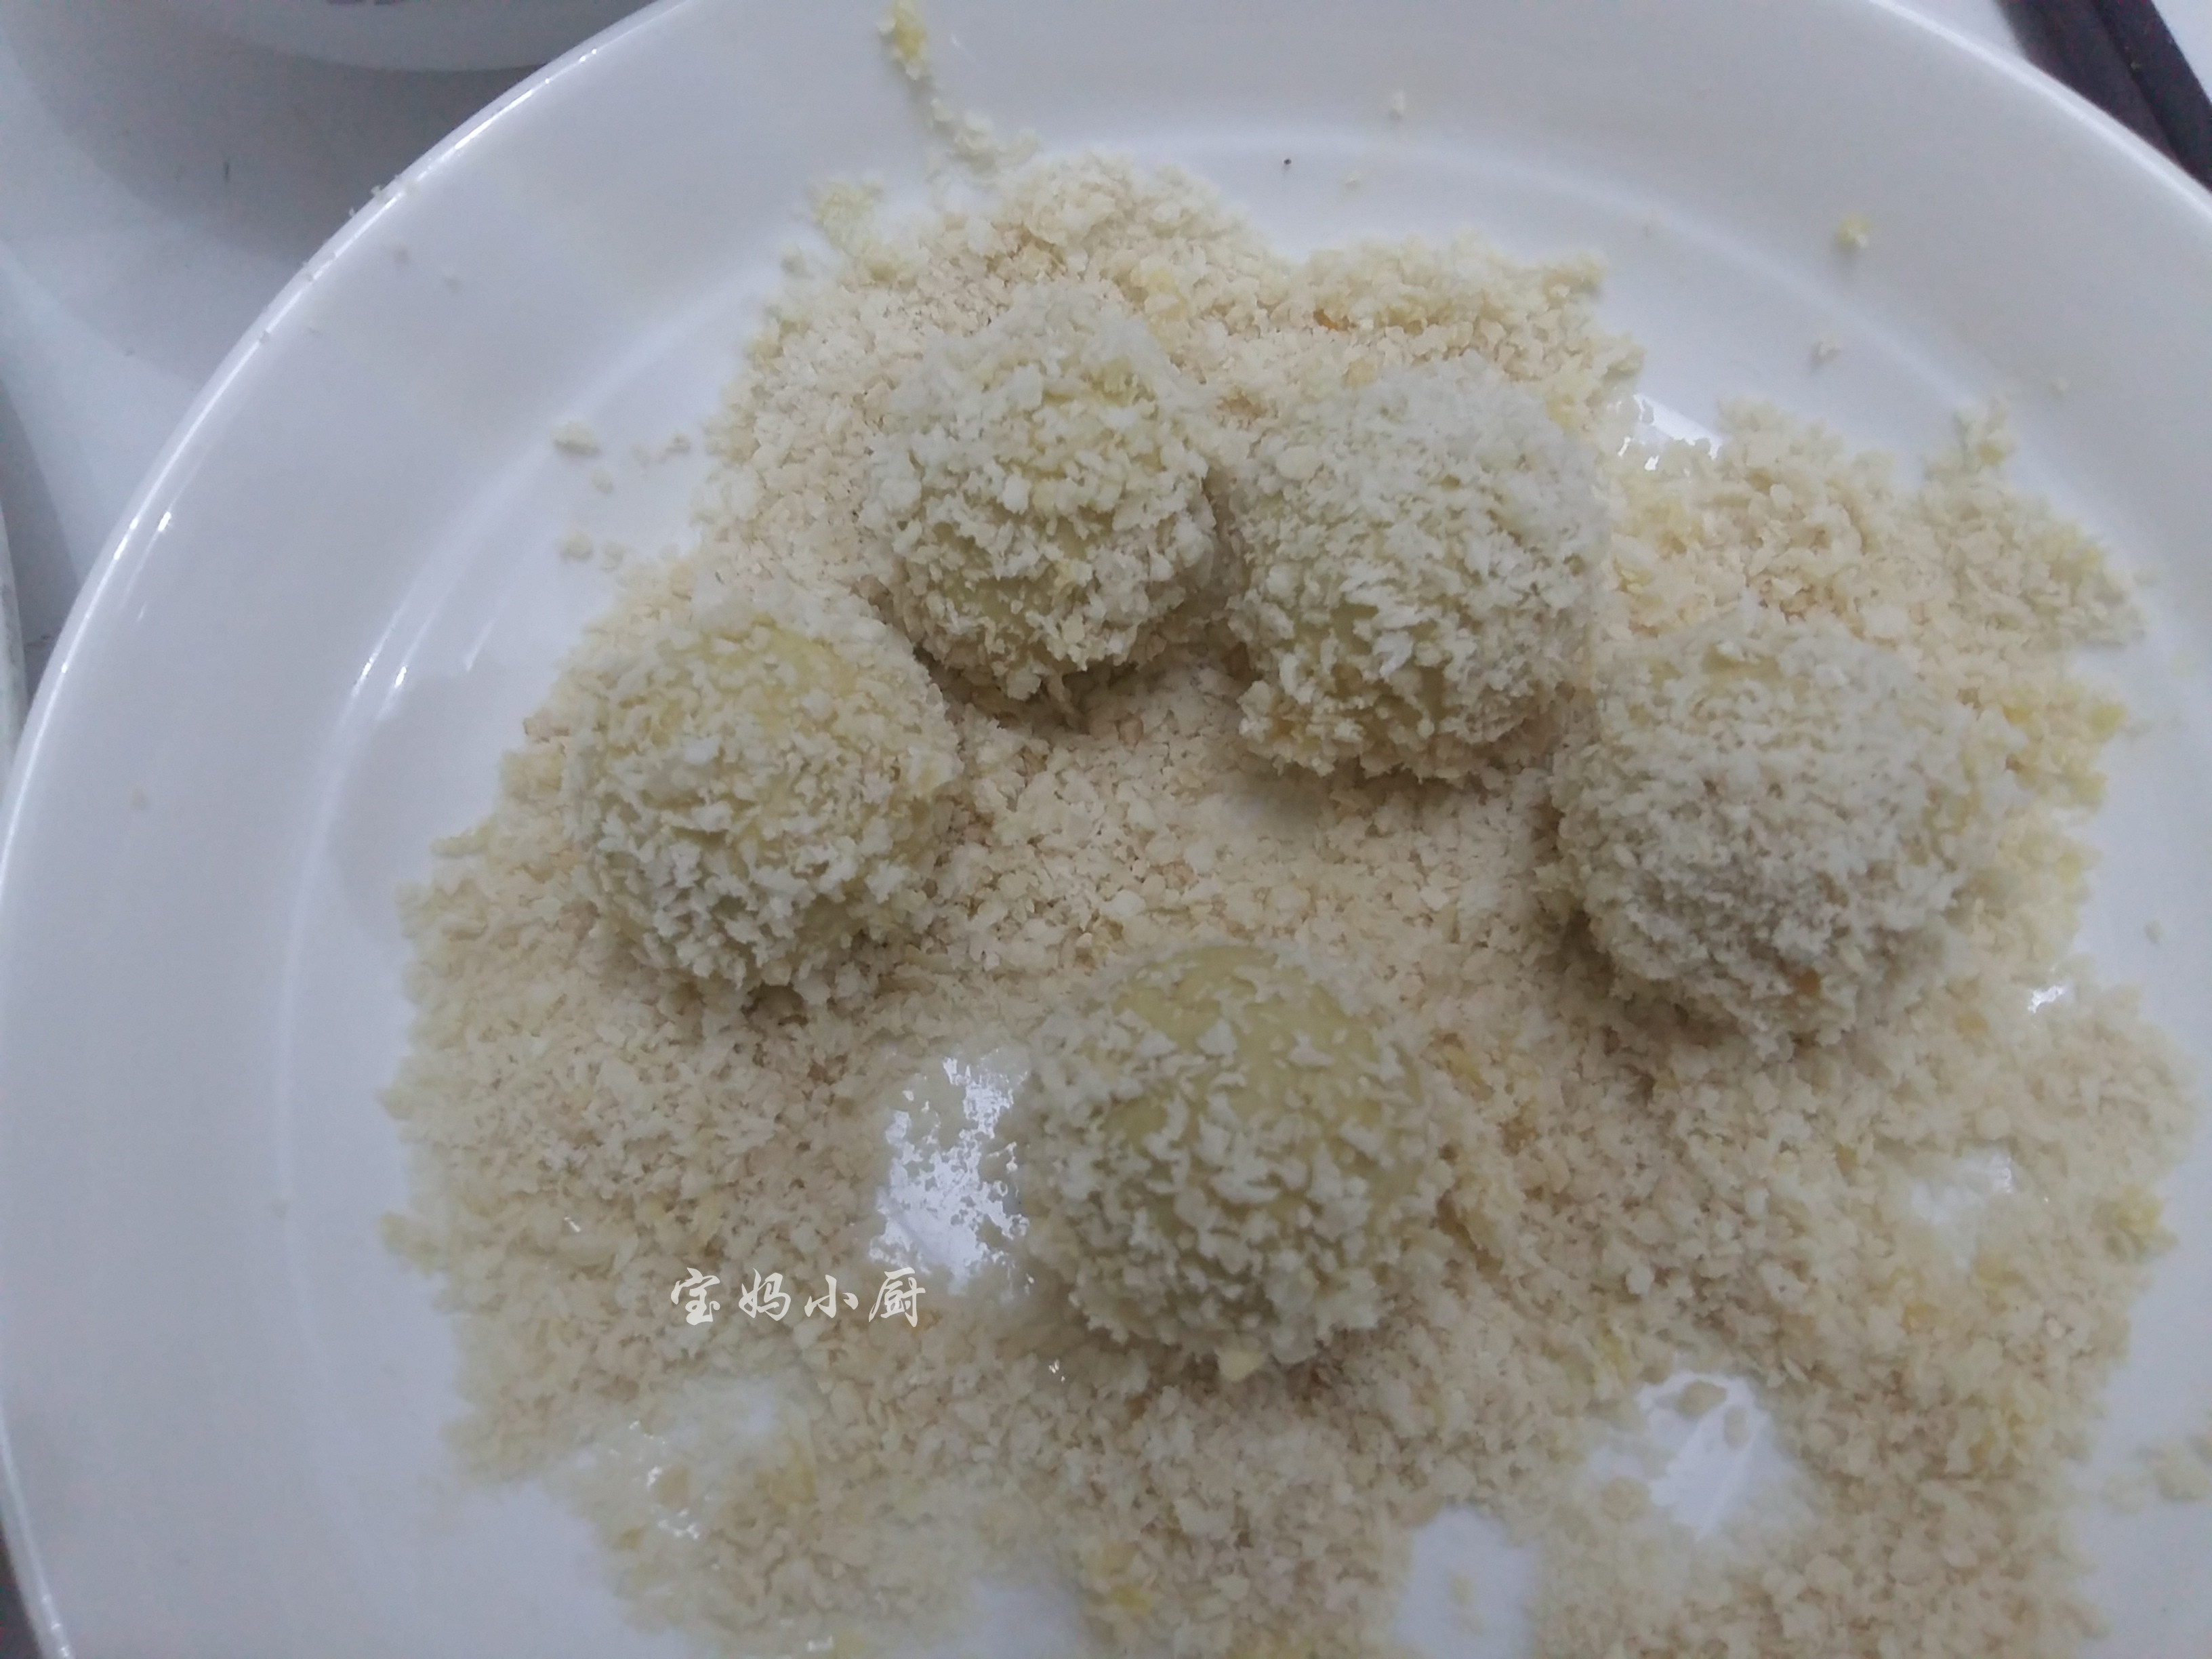
Roll the balls in the egg mixture, then coat with breadcrumbs.
10. Step 10
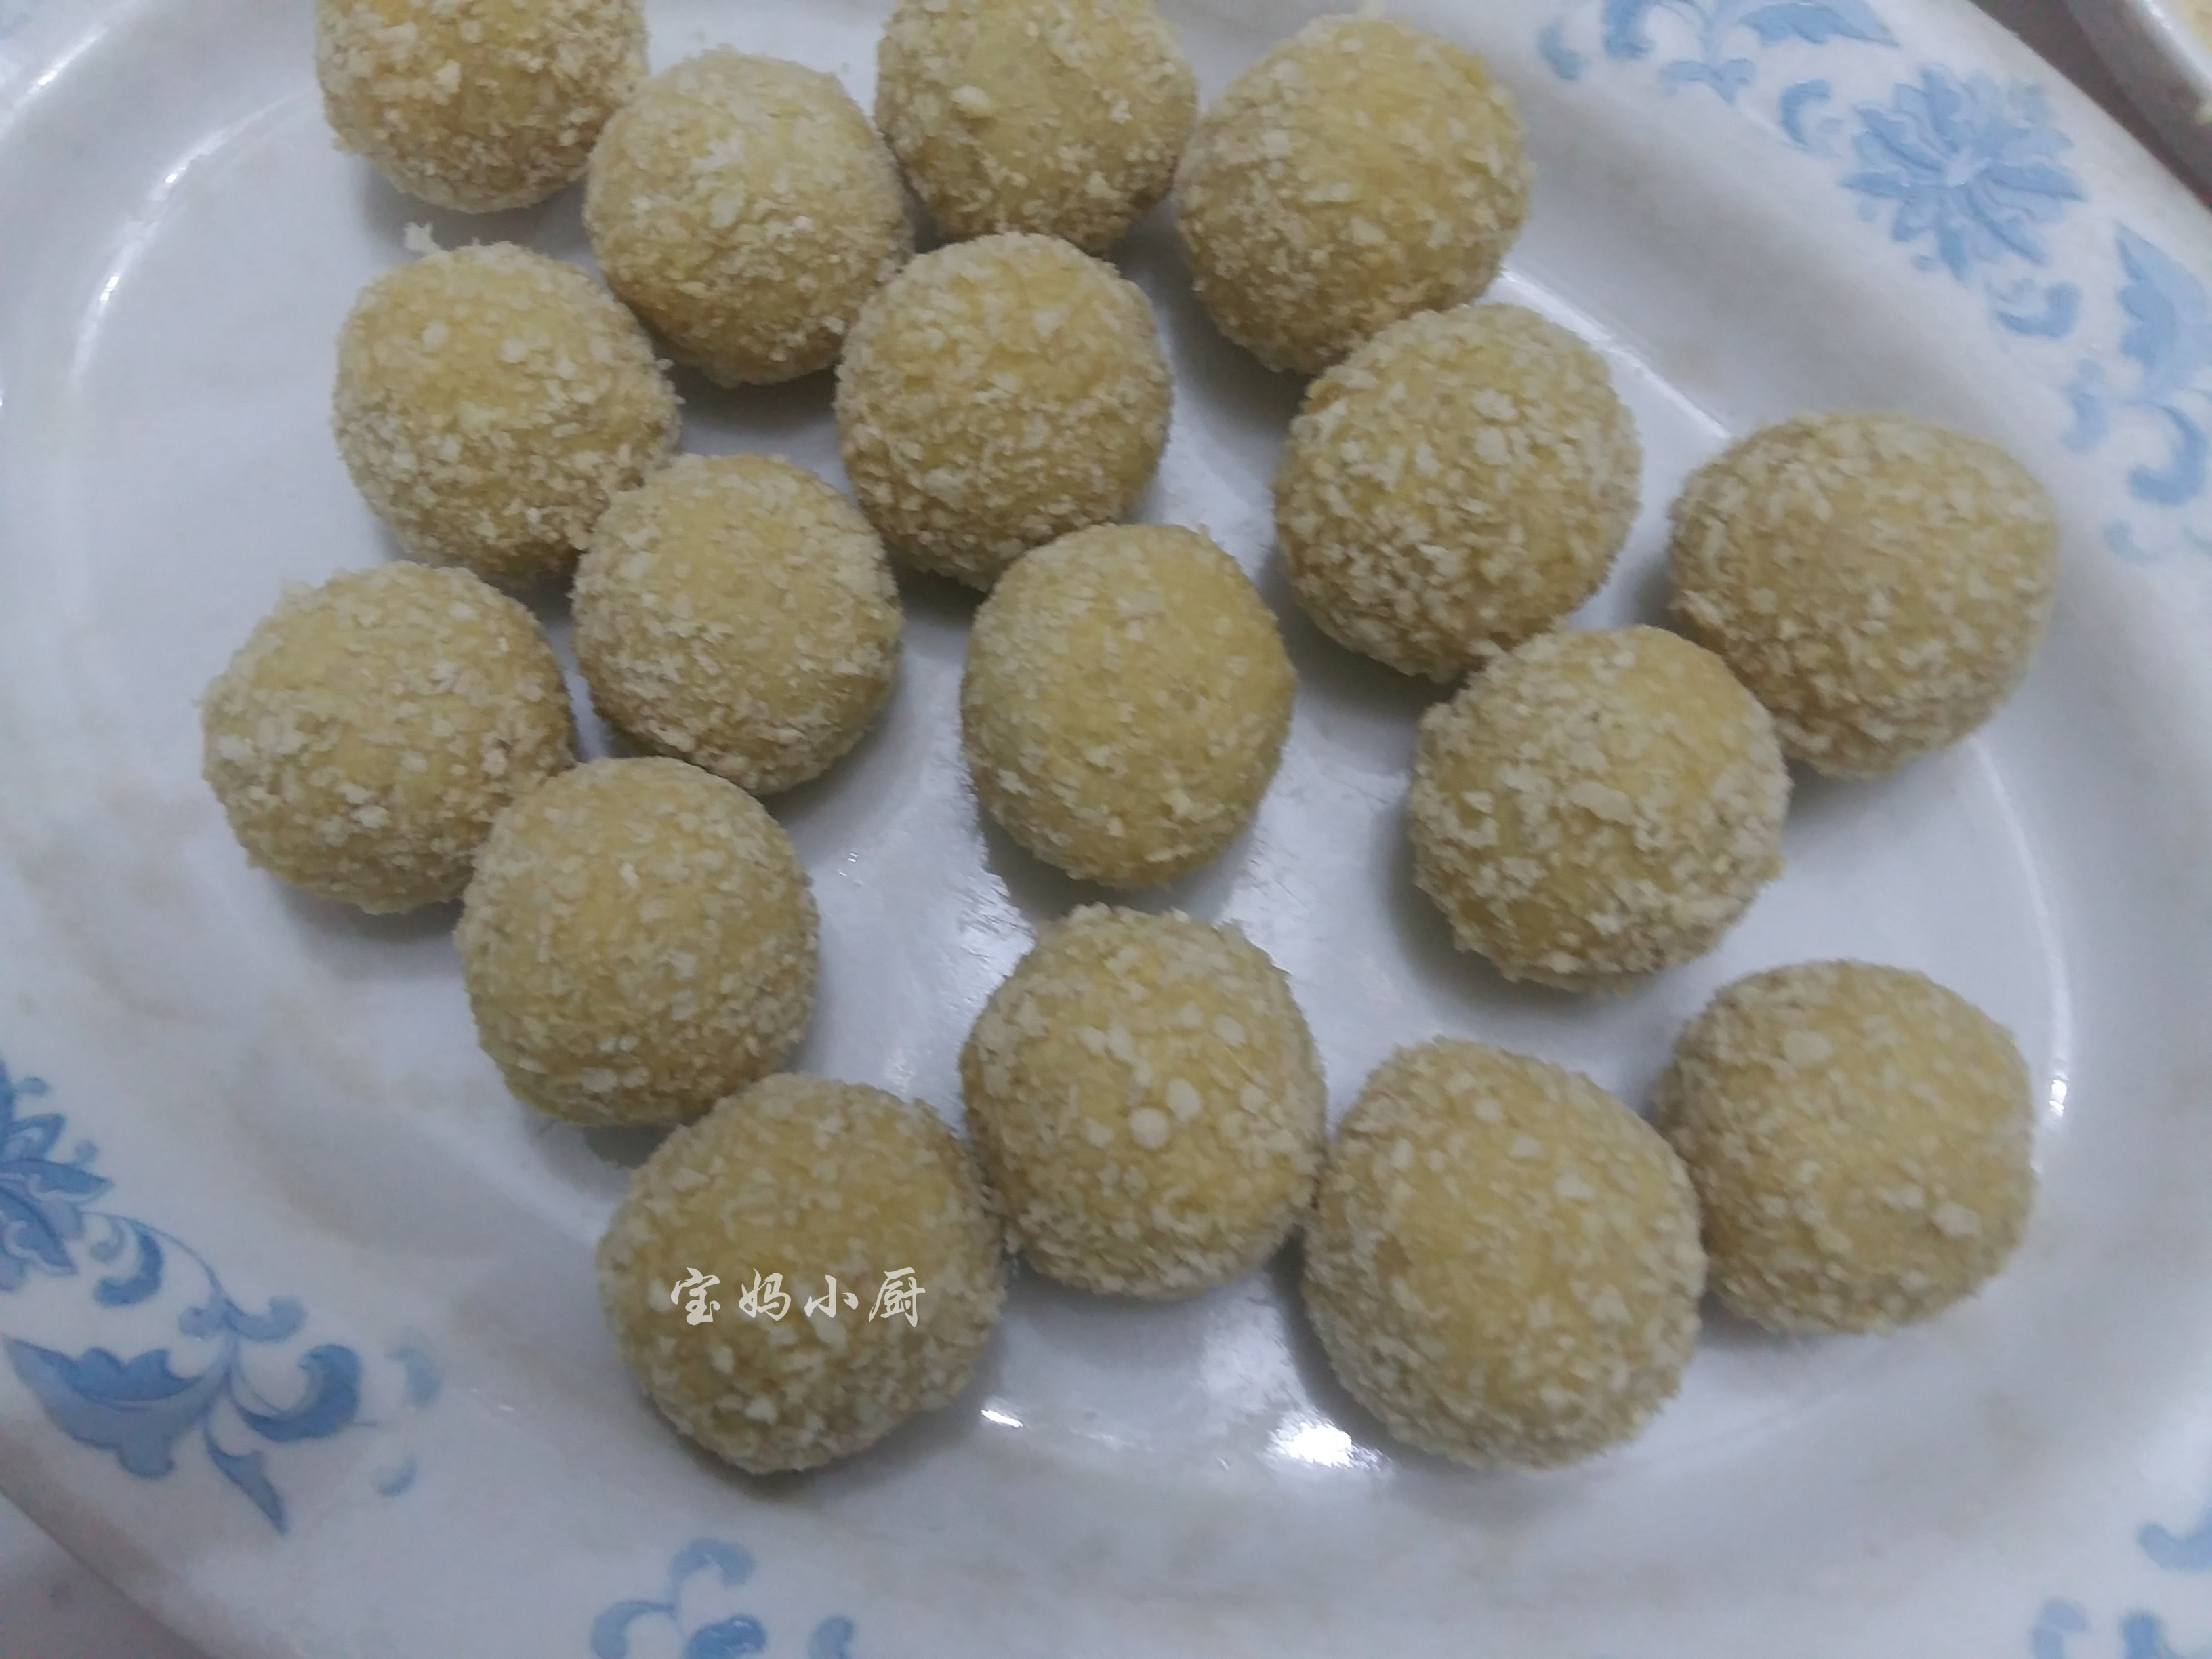
Press the breadcrumbs onto the balls to ensure they stick.
11. Step 11
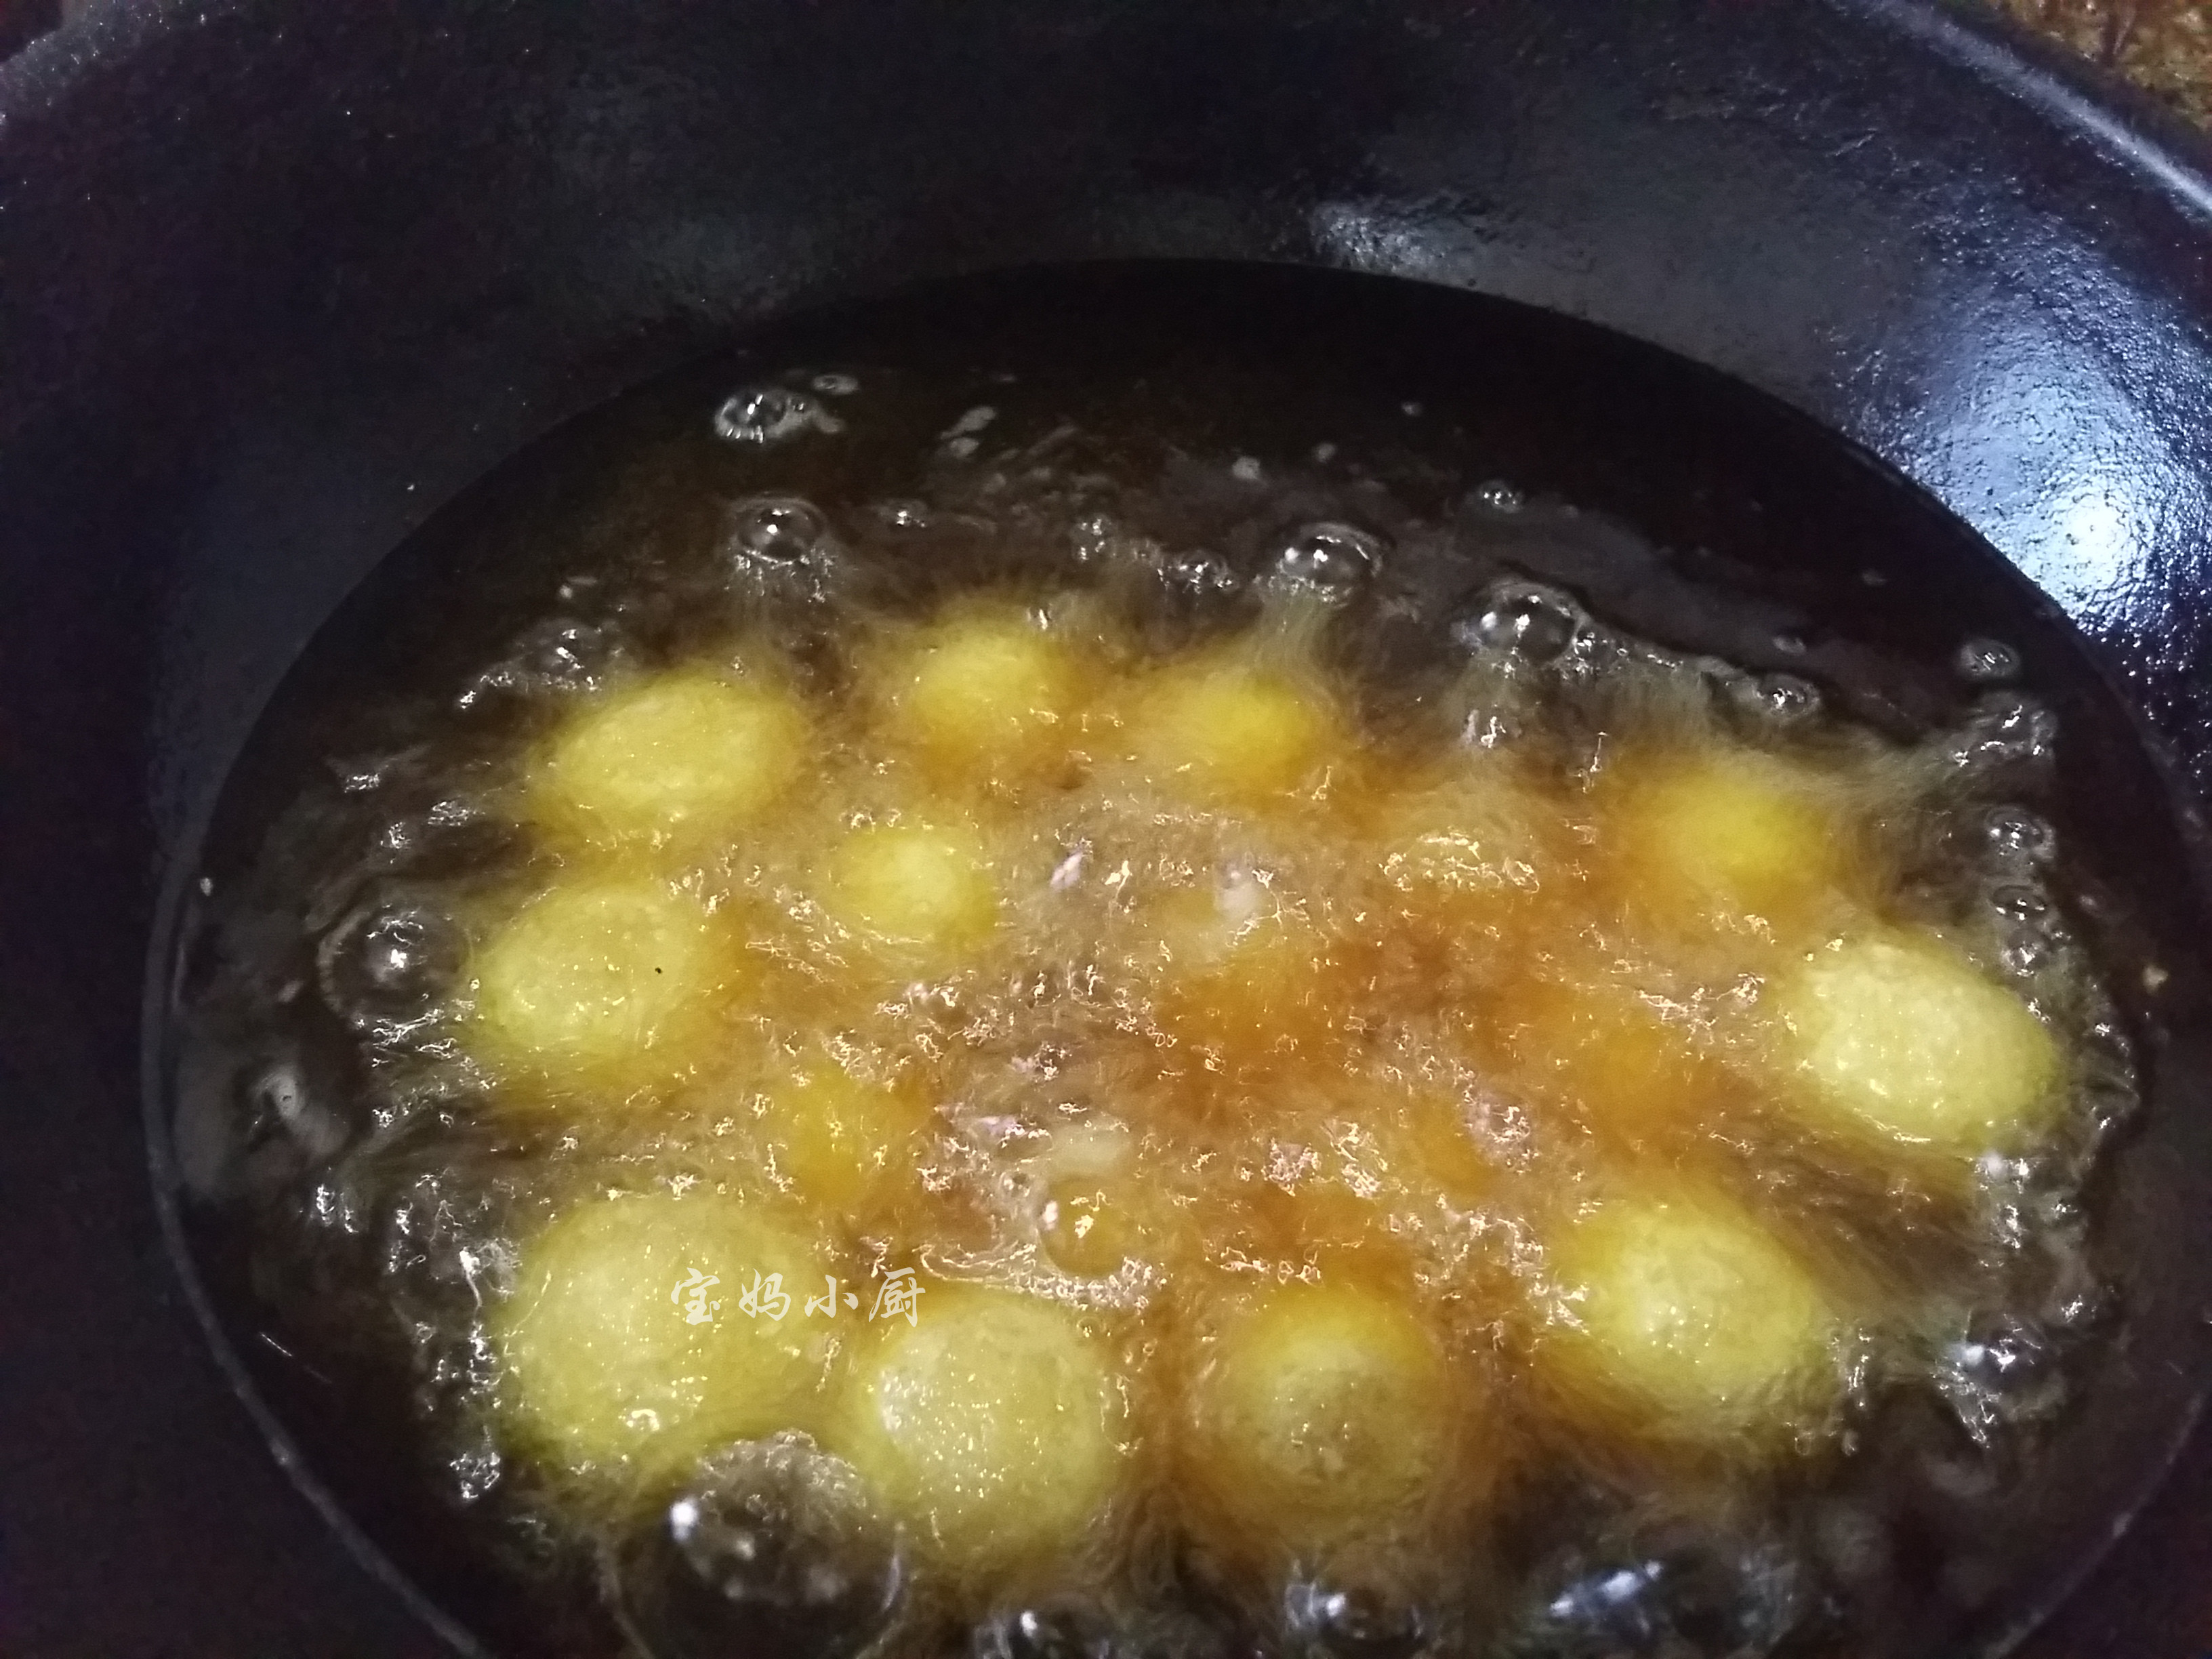
Heat the oil to 40% heat, then add the sweet potato balls.
12. Step 12
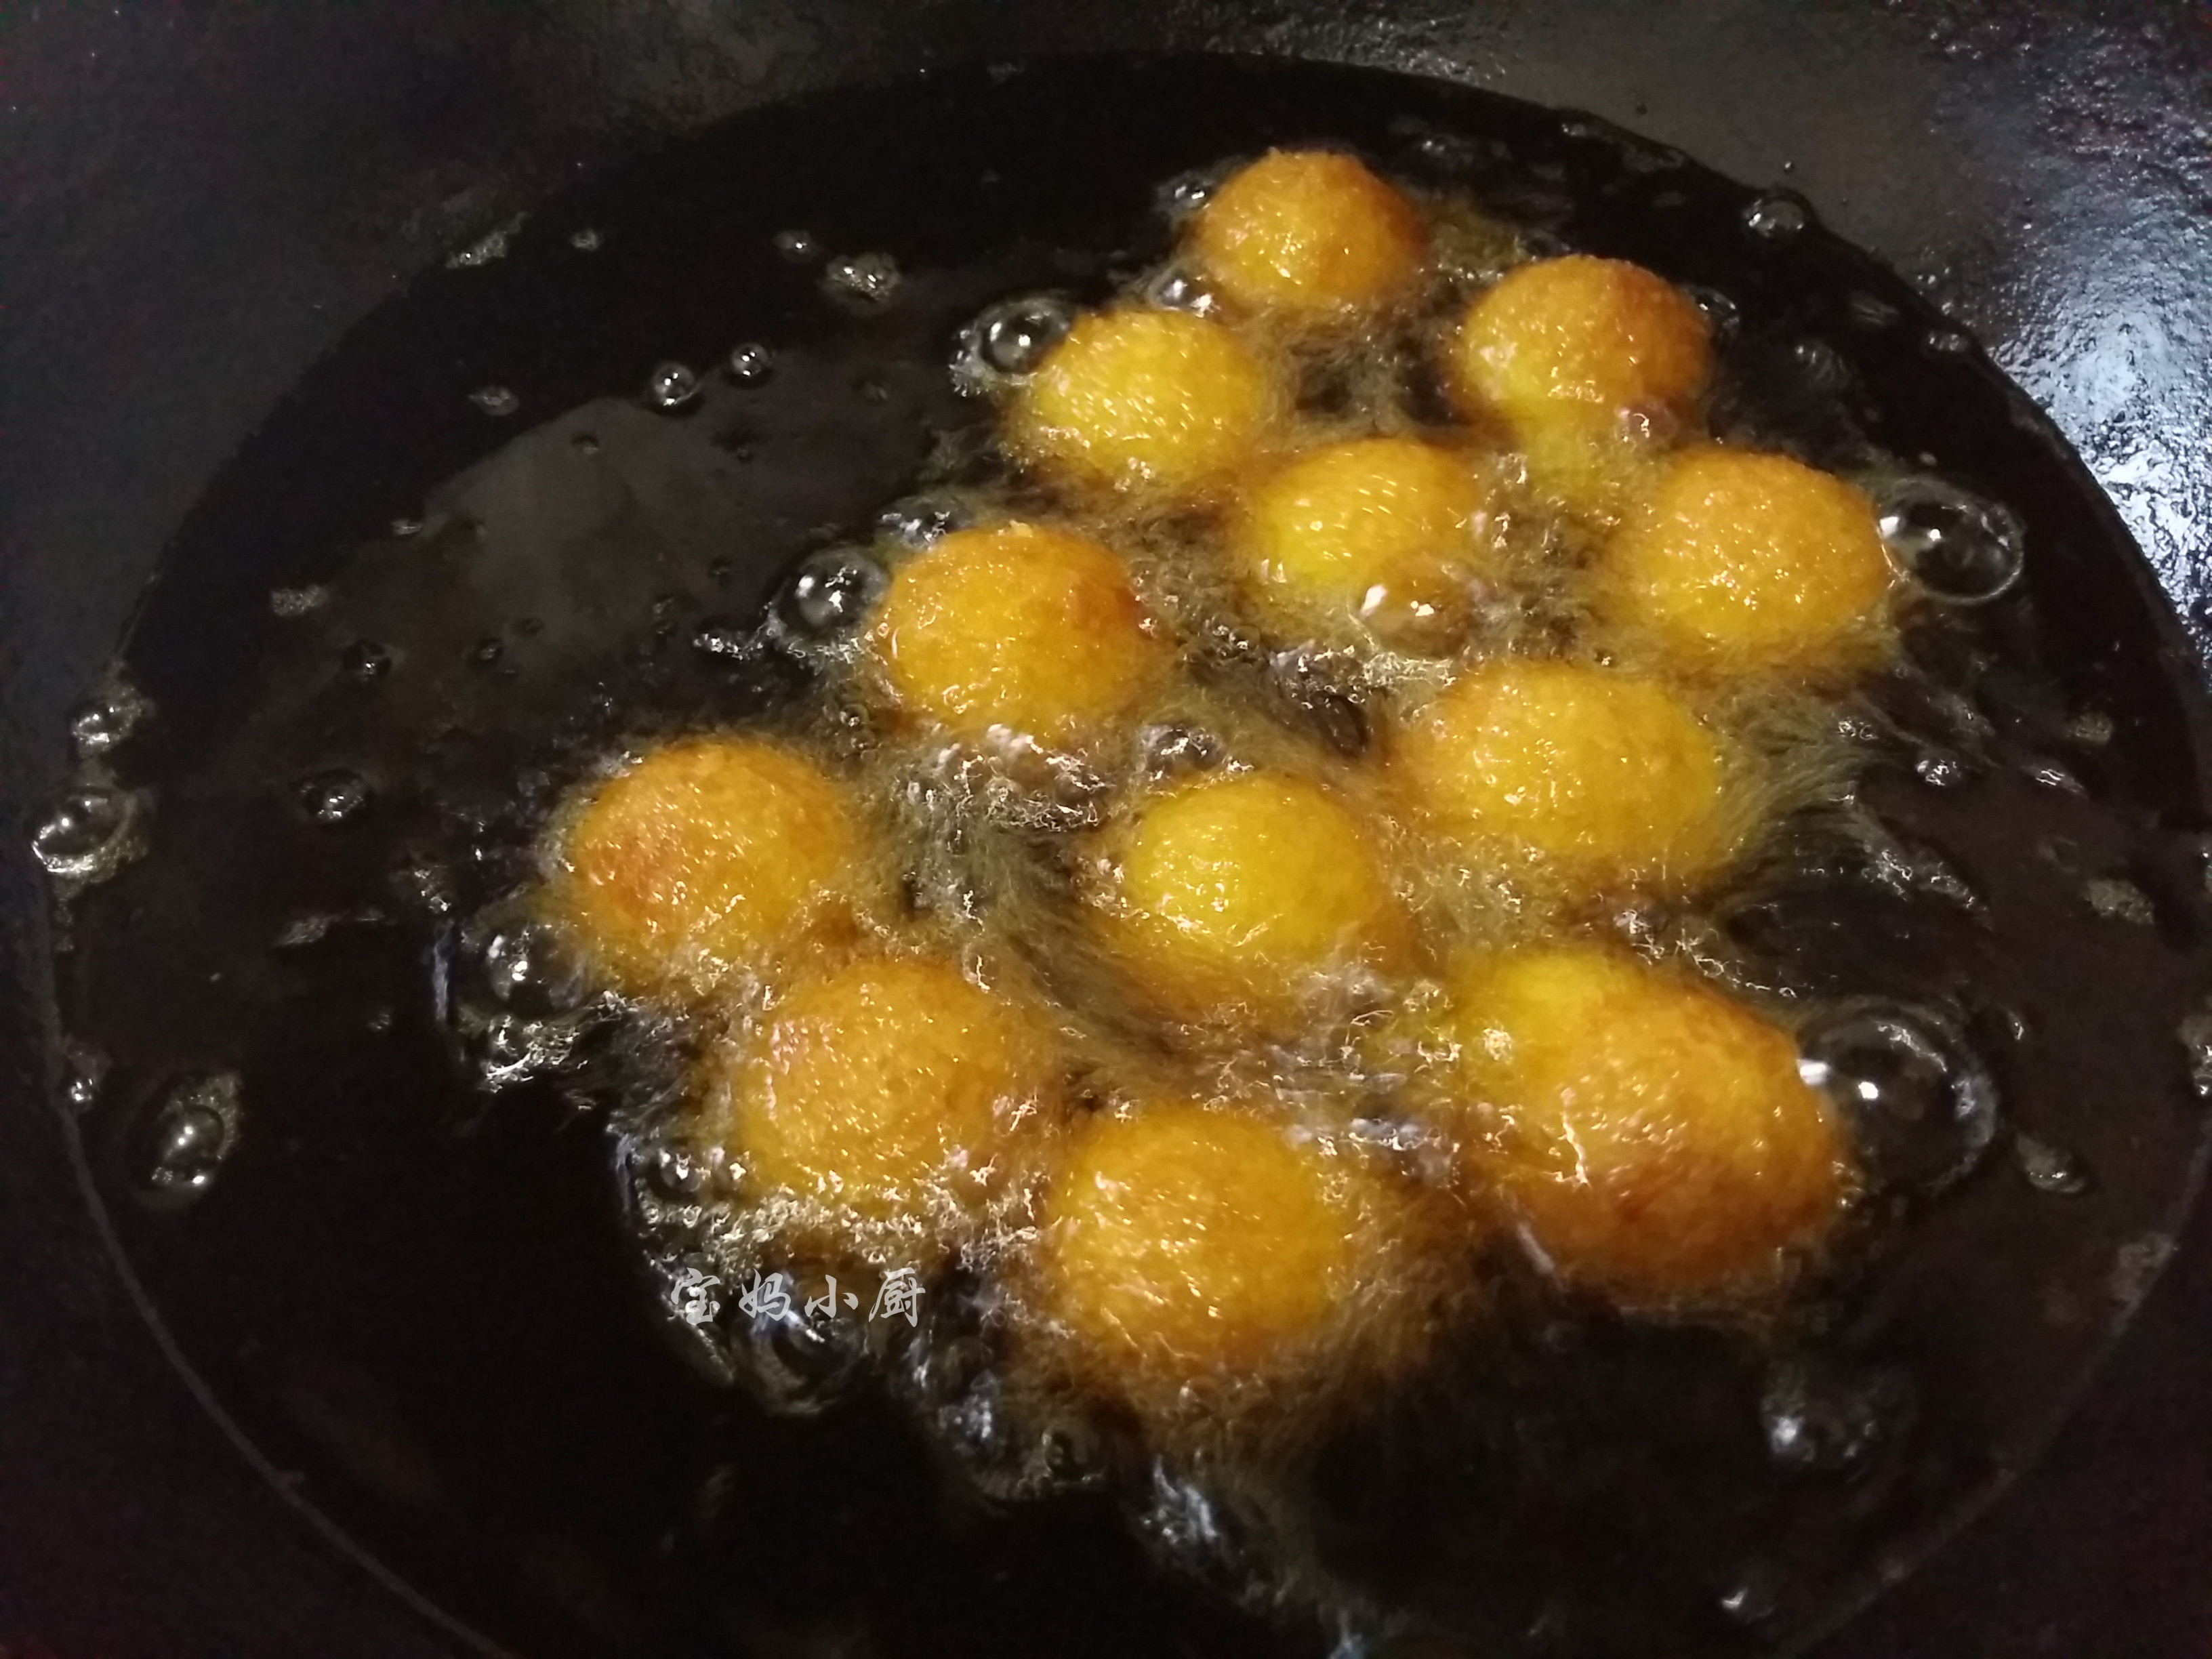
Fry the balls over medium-low heat until they are golden brown and the surface is crispy, then remove and drain excess oil.
13. Step 13
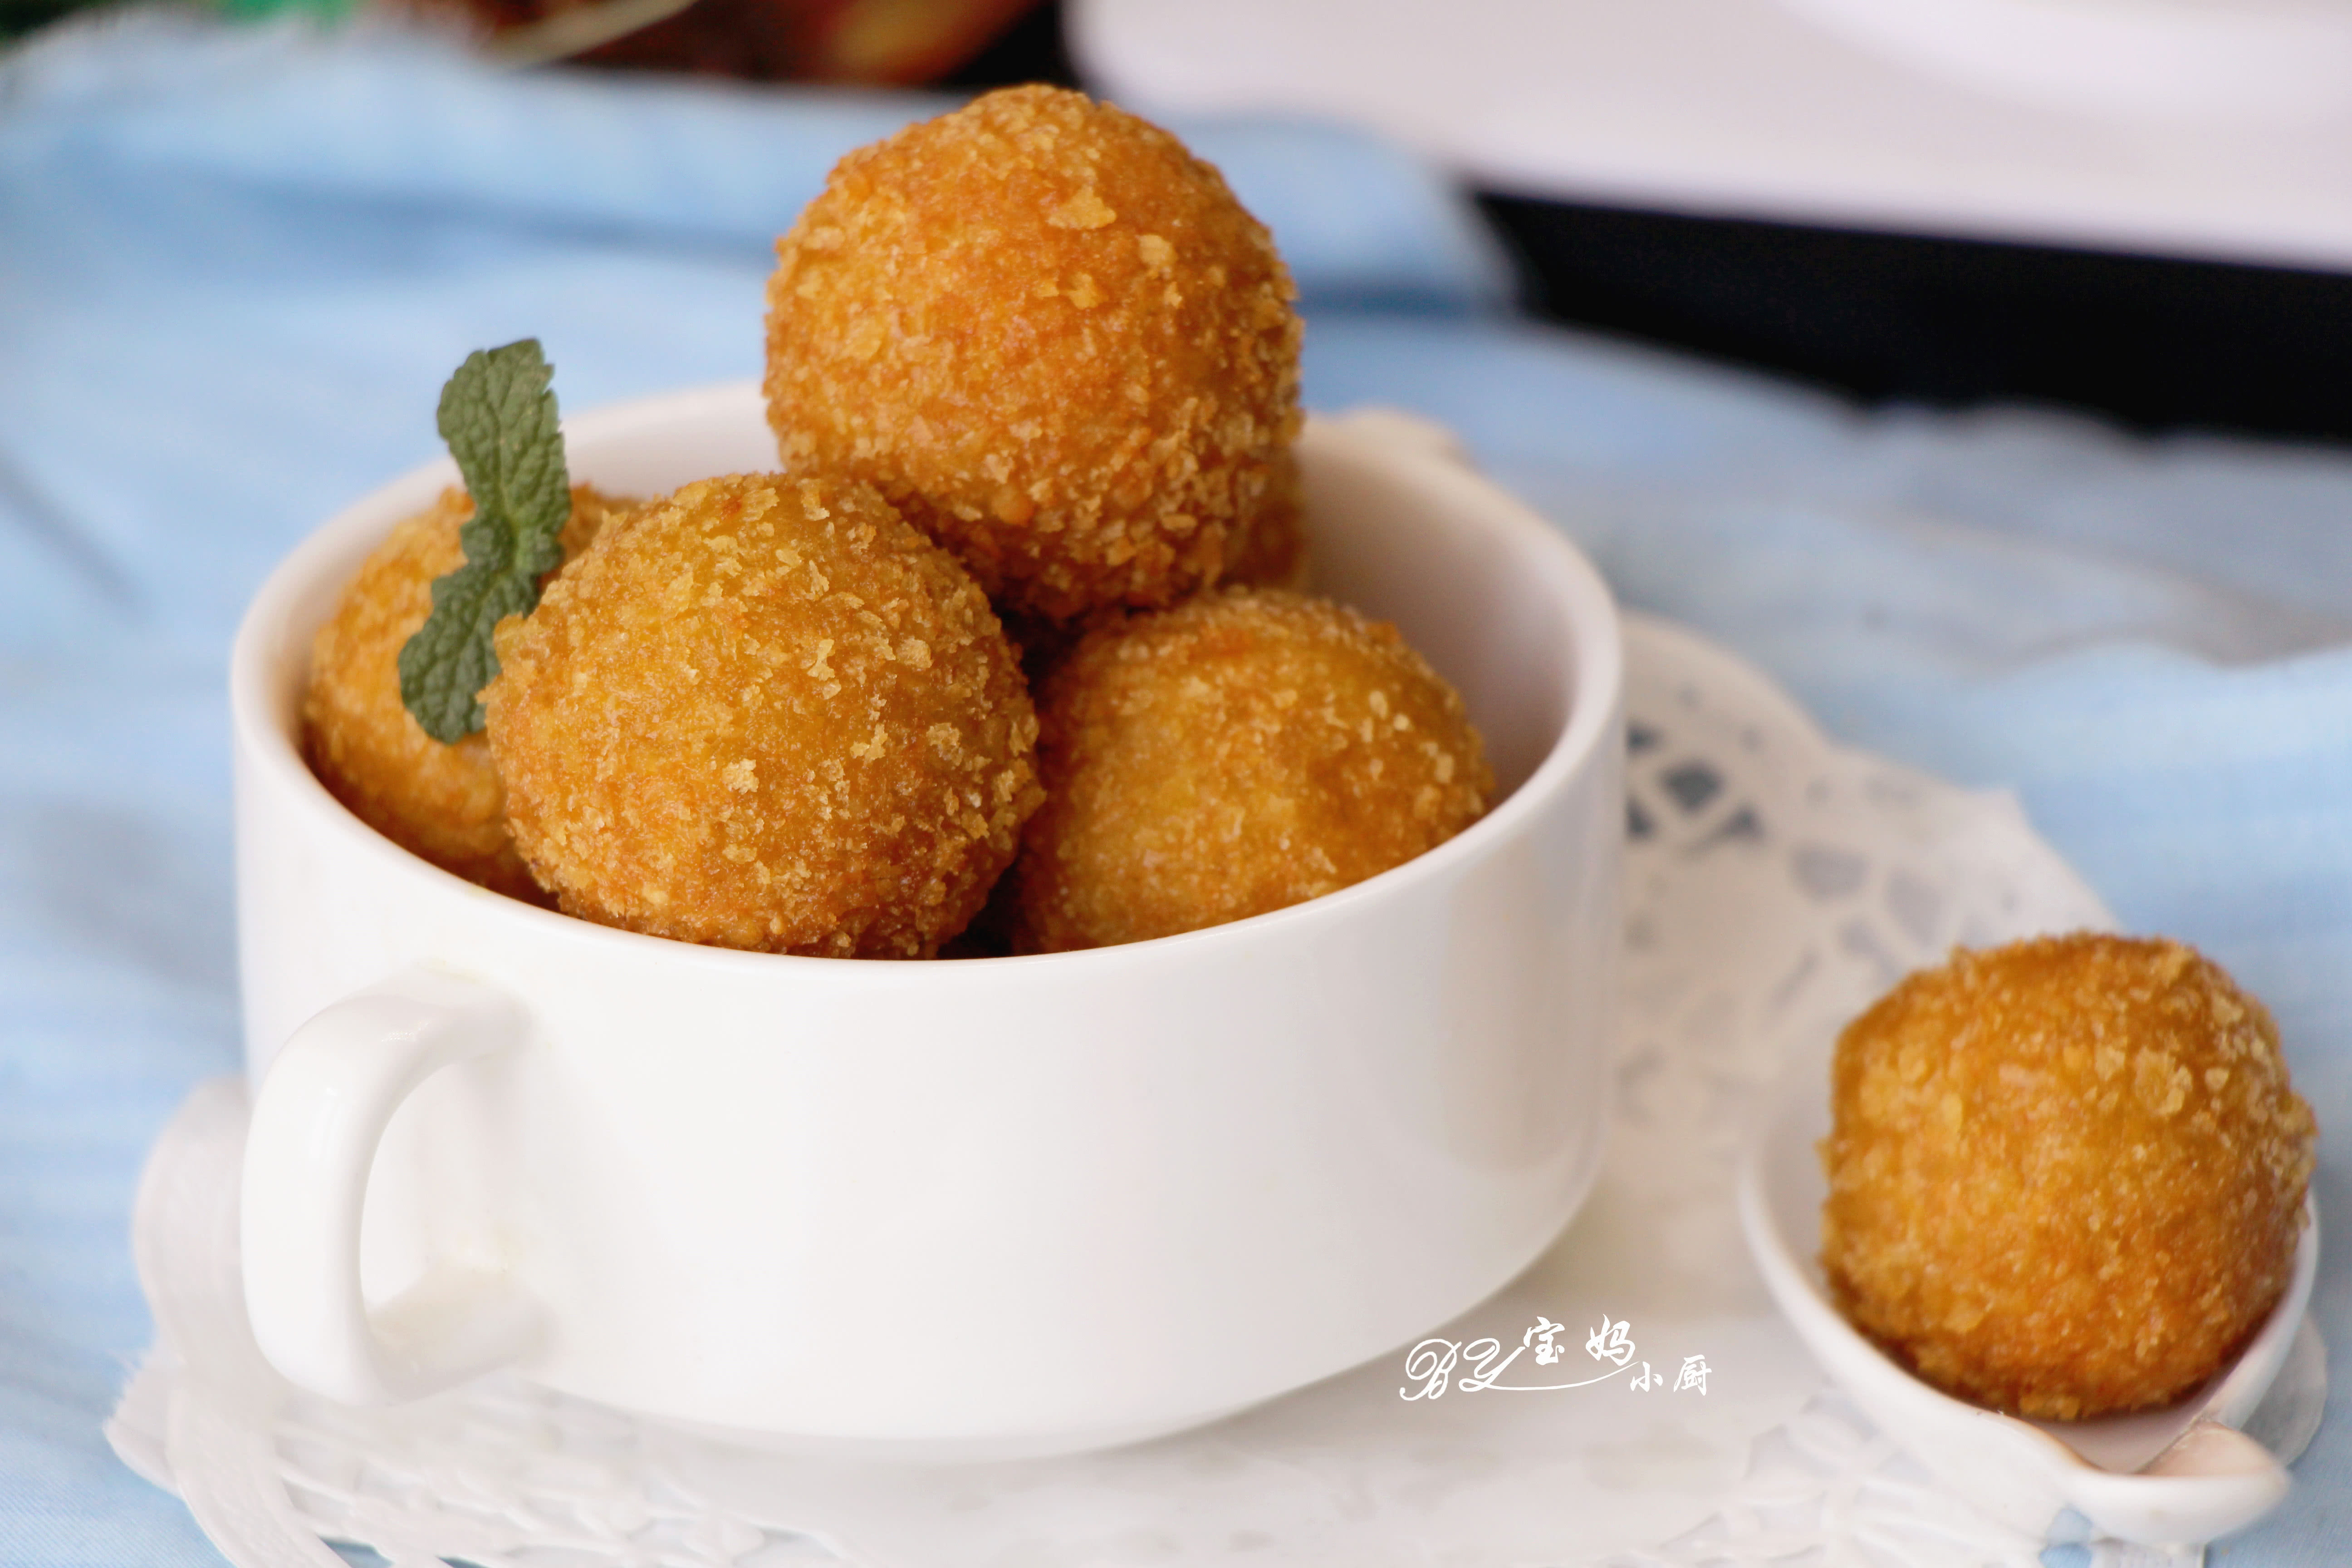
(No translation needed for this step as it’s just a product image)
14. Step 14
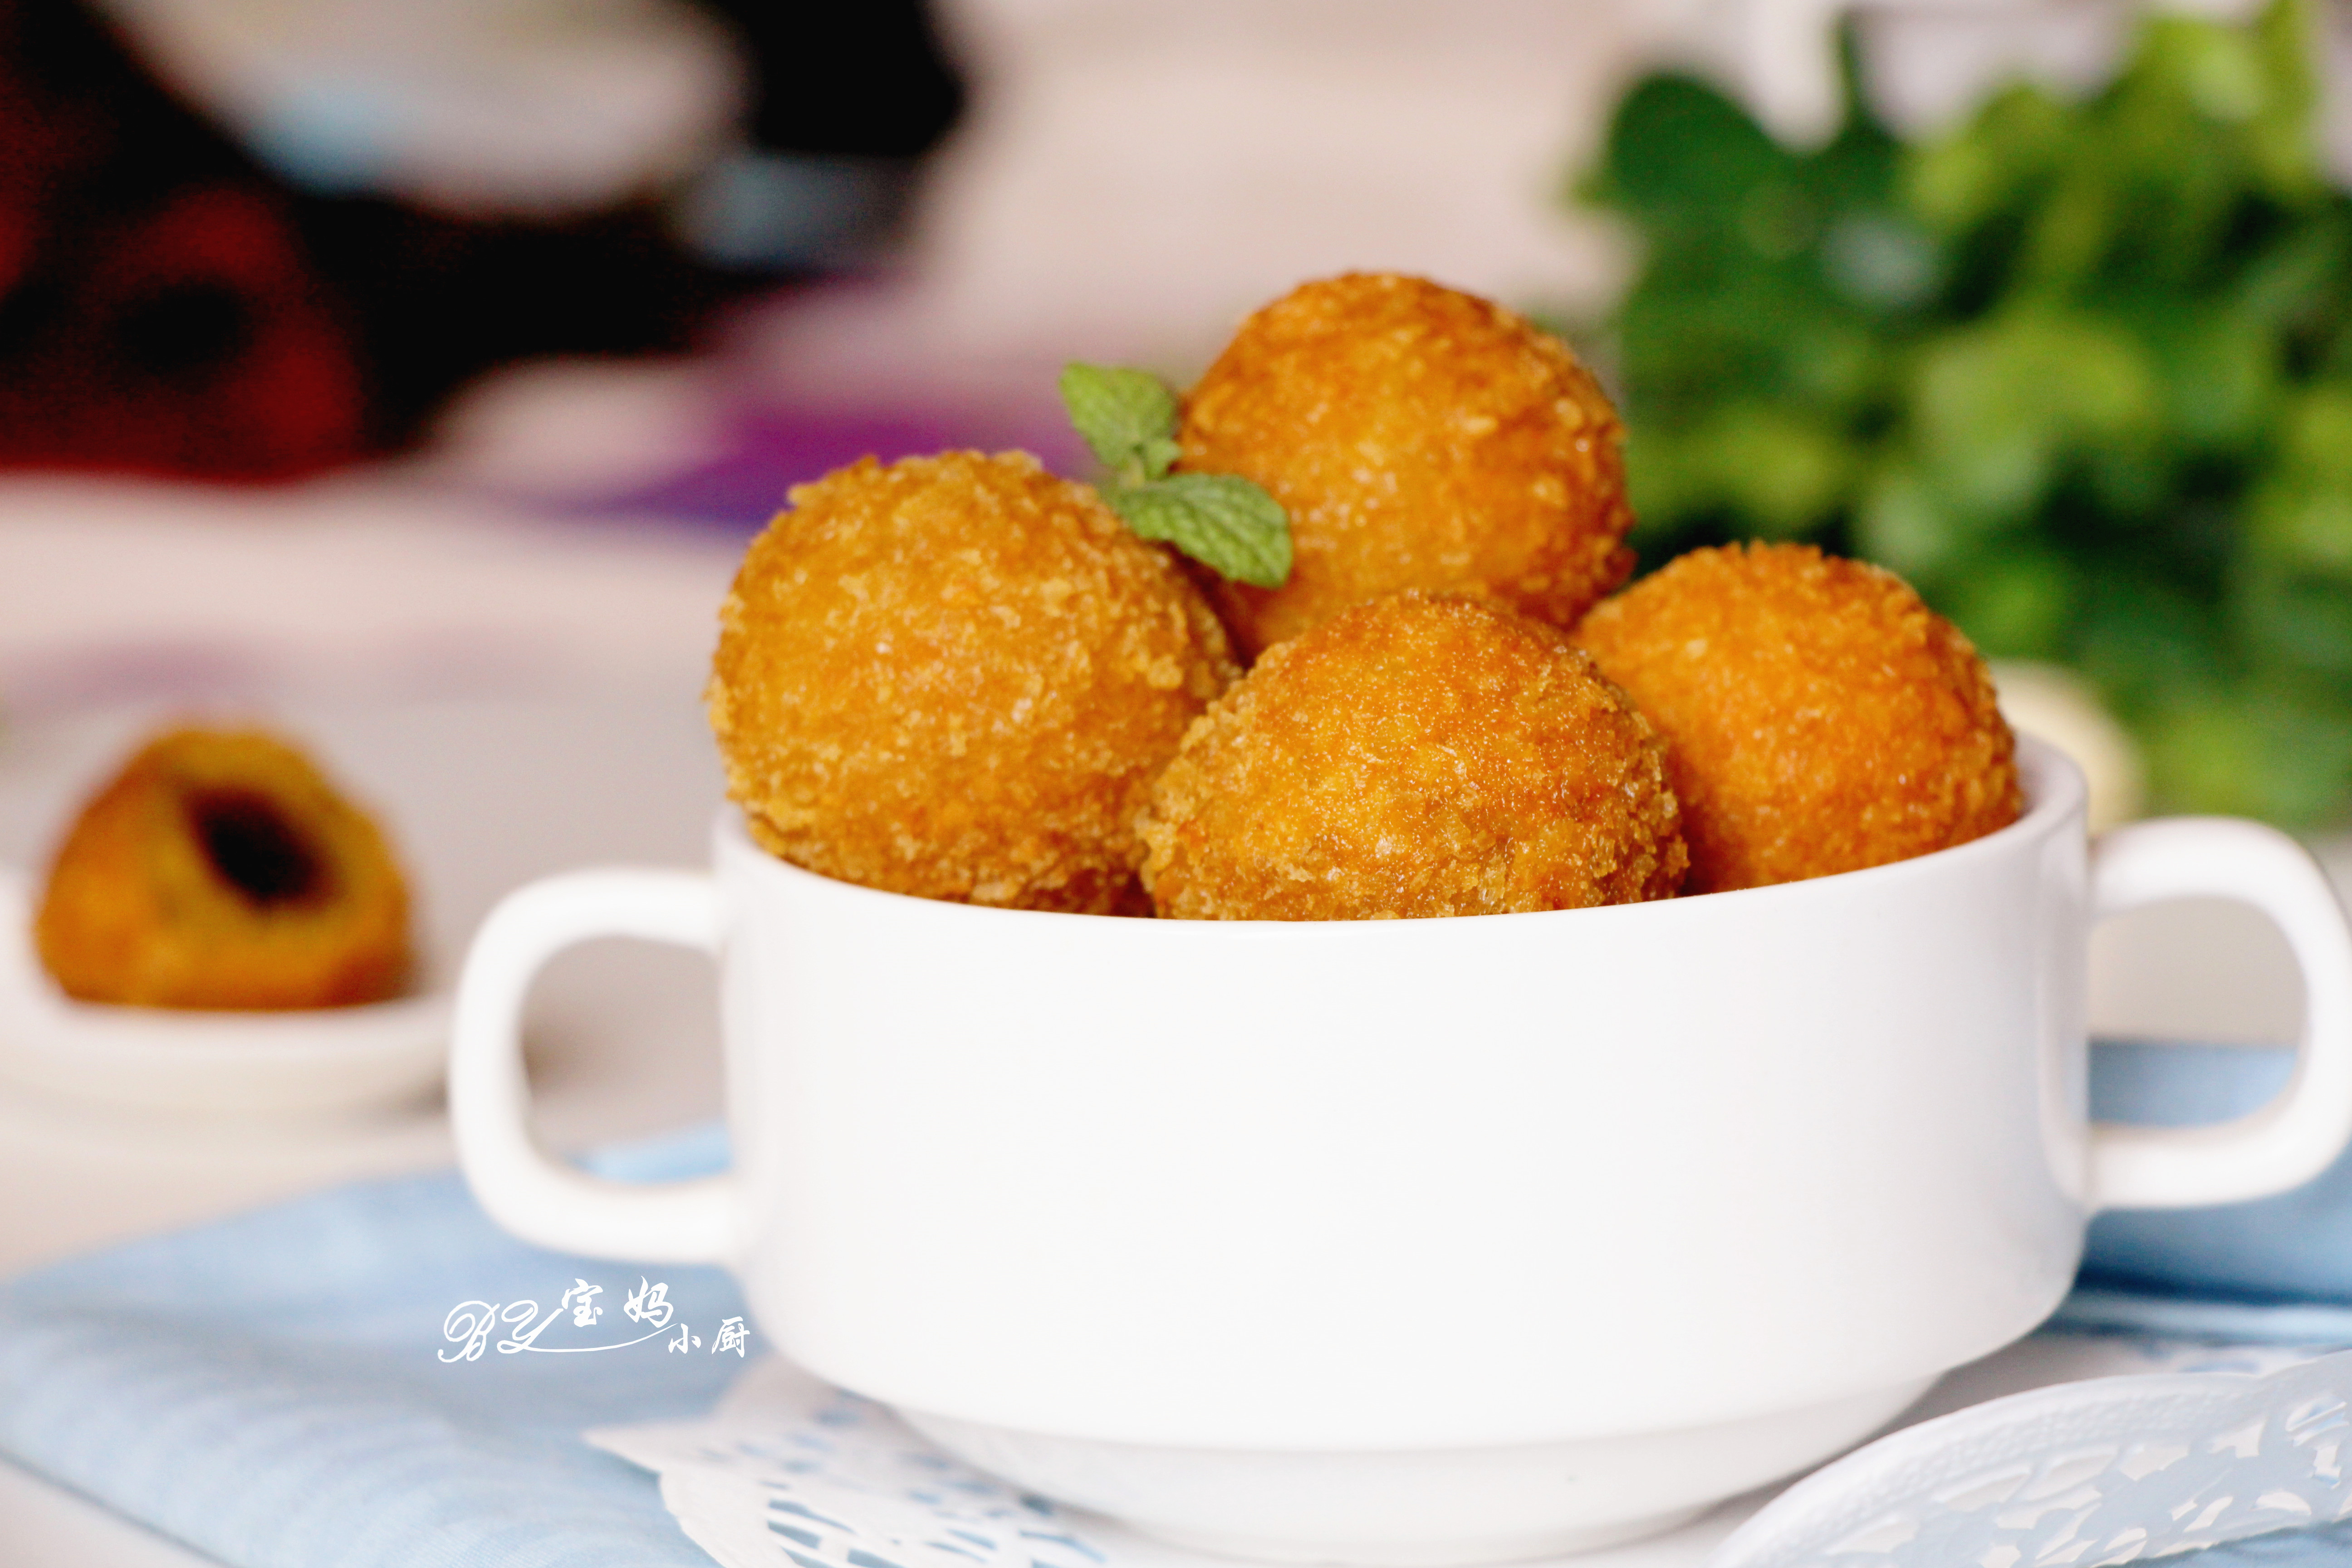
(No translation needed for this step as it’s just a product image)
15. Step 15
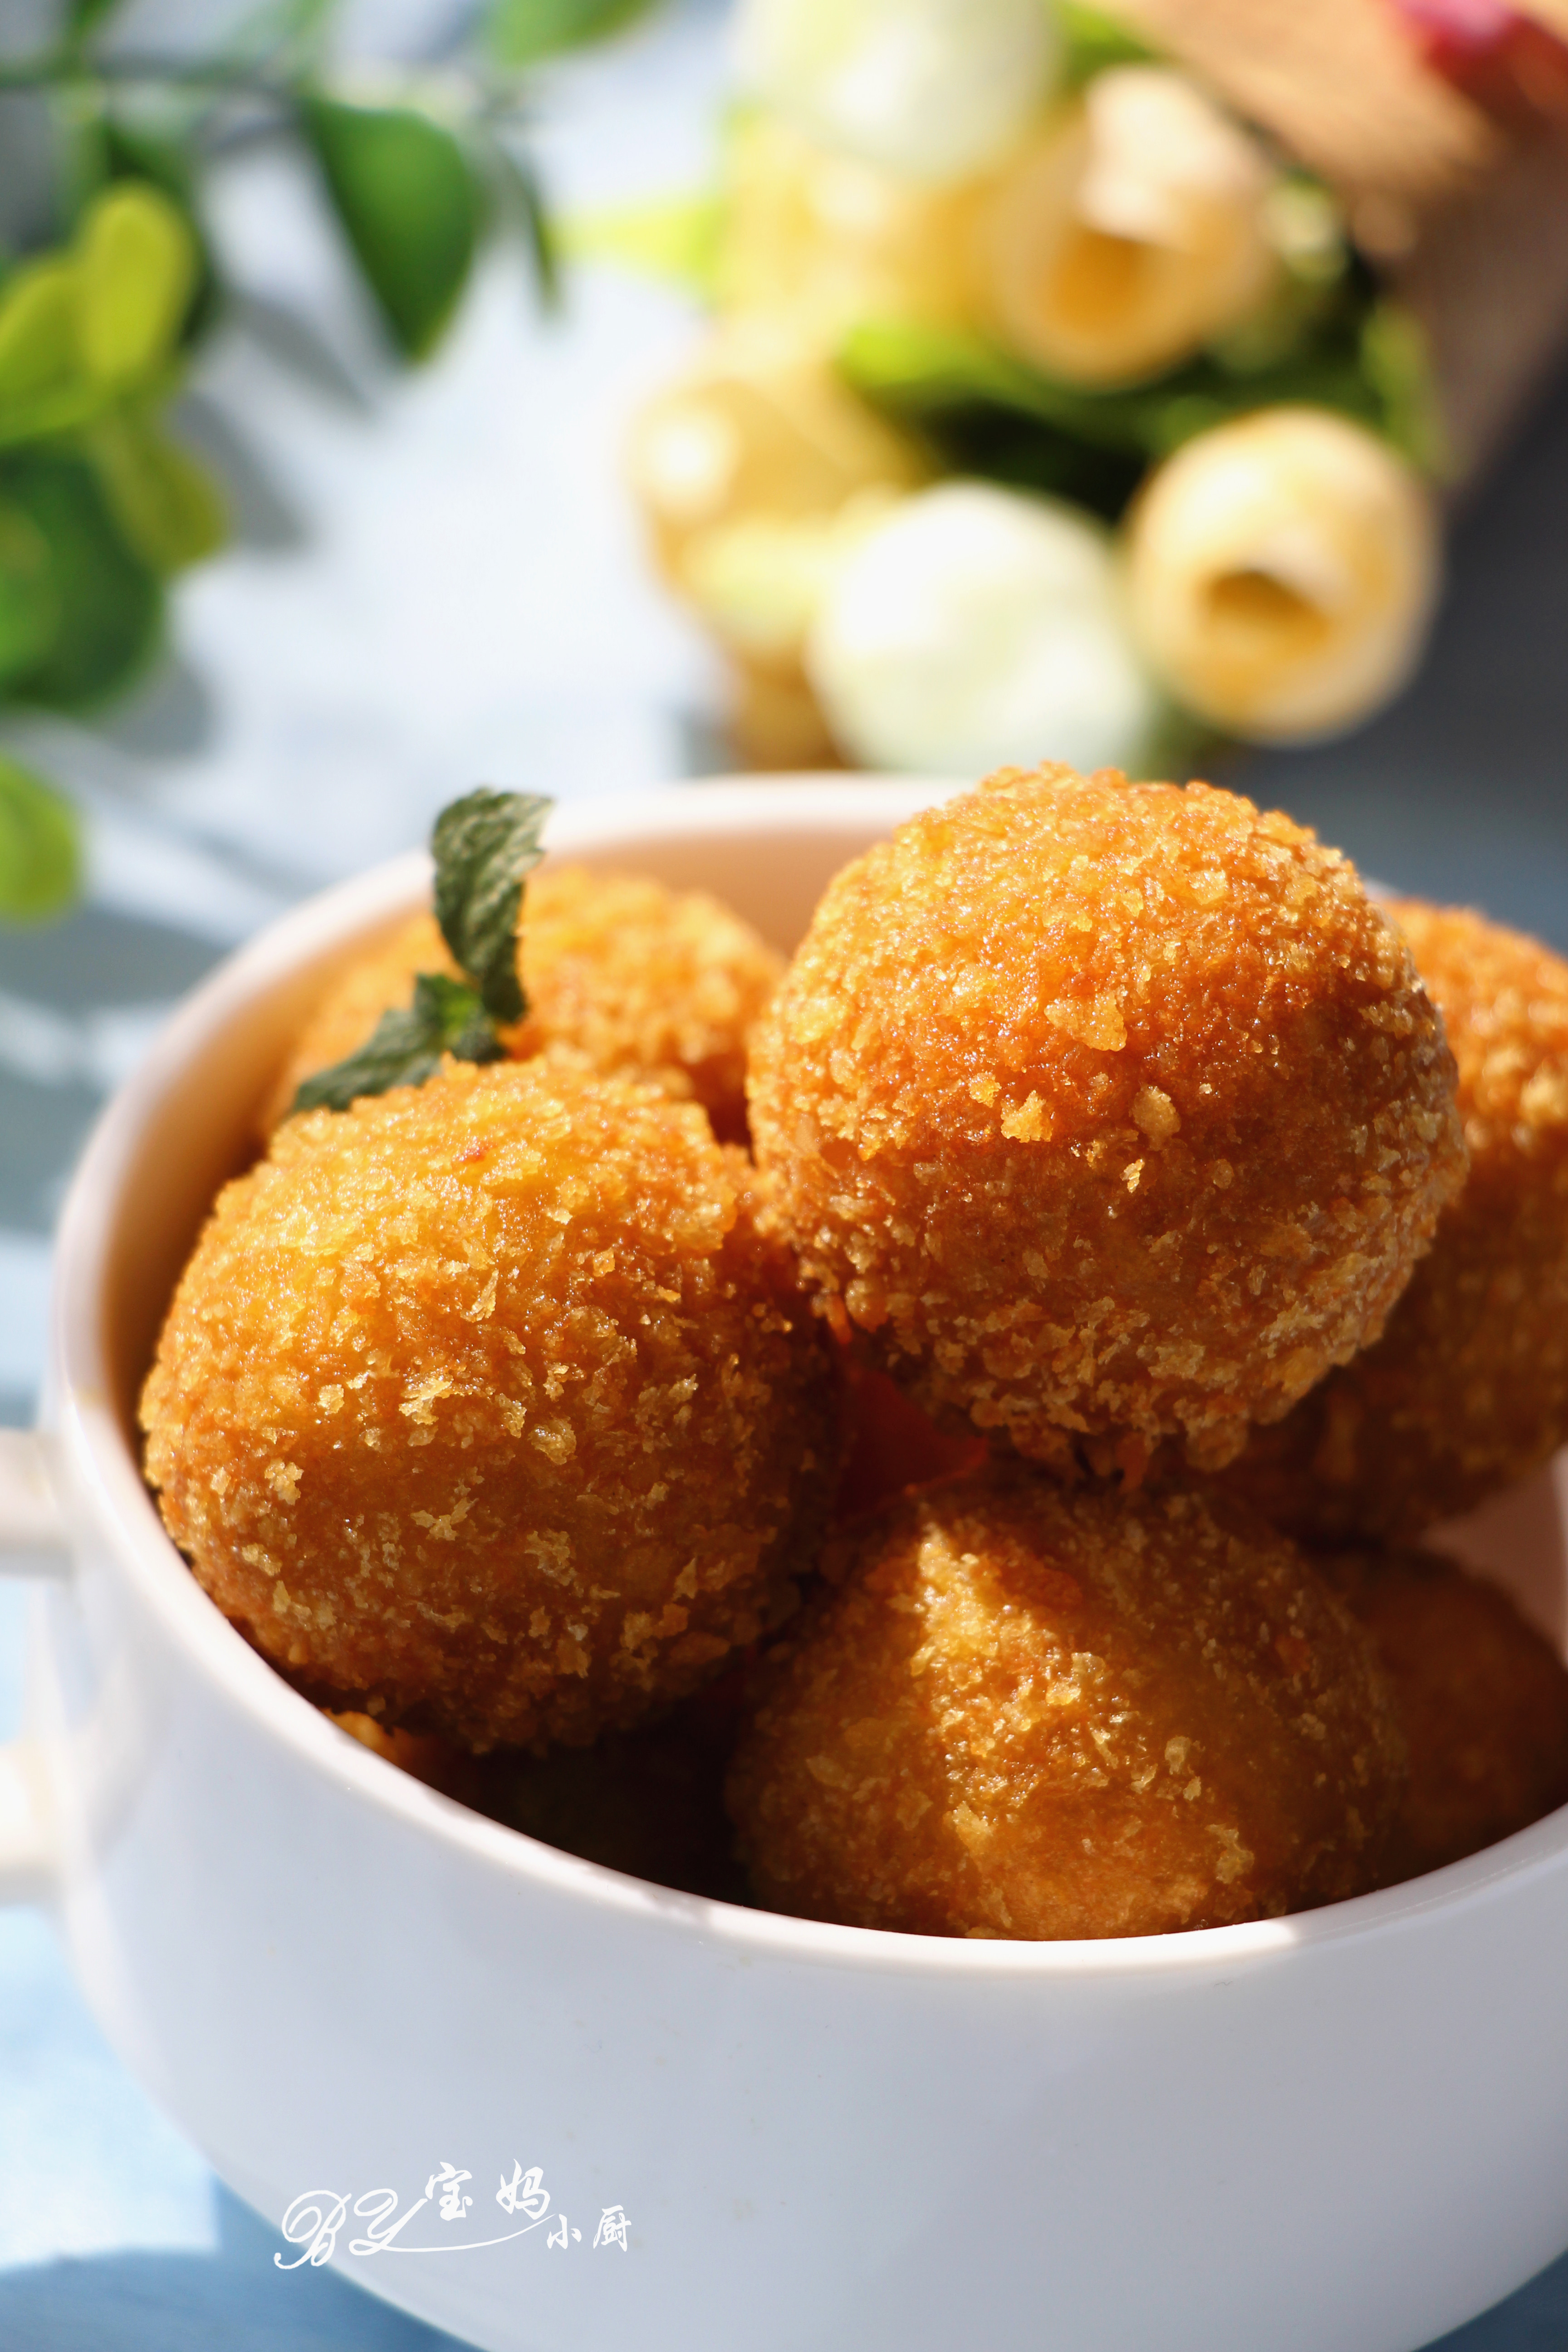
(No translation needed for this step as it’s just a product image)
16. Step 16
(No translation needed for this step as it’s just a product image)
Reviews
0.0
Please login to write a review
Write a Review
No reviews yet. Be the first to review this recipe!