
Pork Ribs with Corn
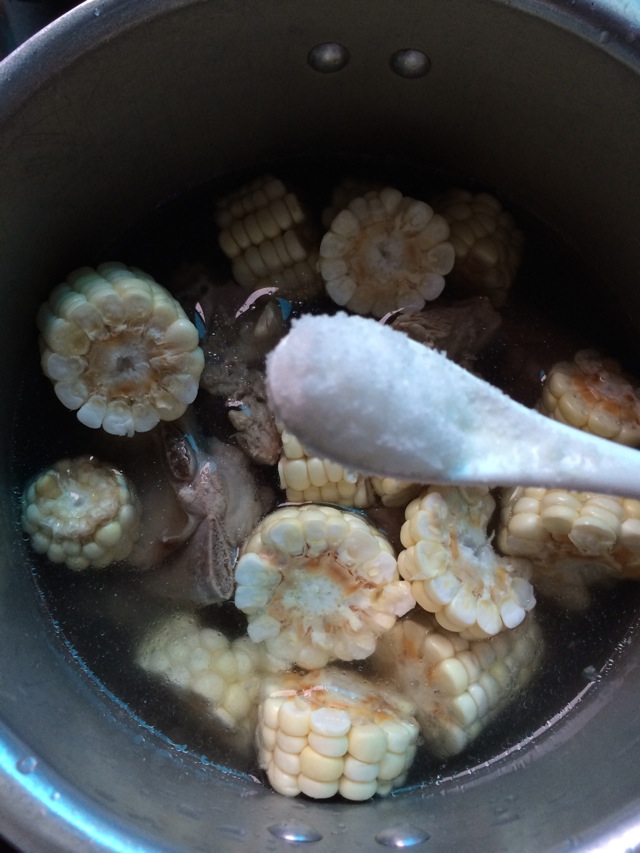
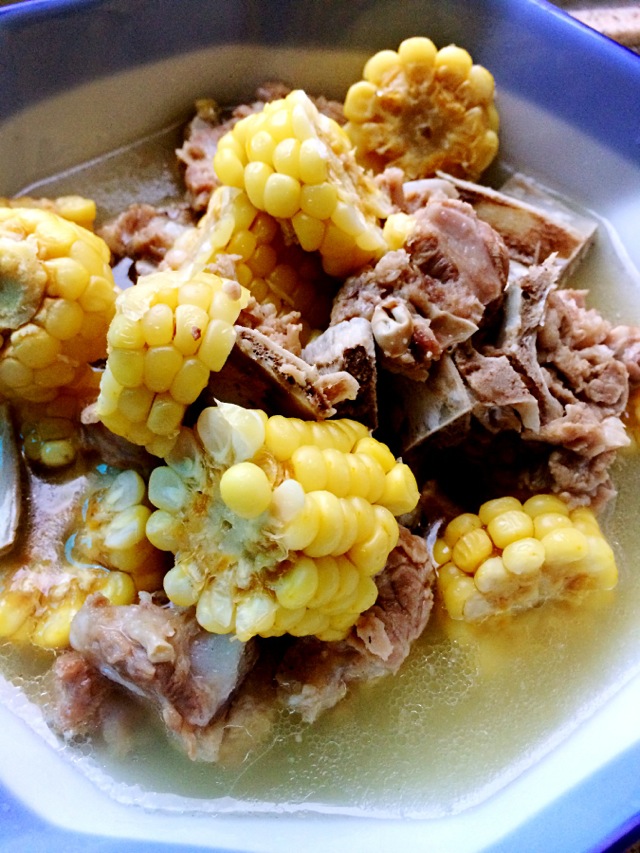
This delicious Pork Ribs and Corn Soup is a comforting and flavorful dish that combines tender pork ribs with sweet, juicy corn for a hearty meal. The key to its rich taste lies in the careful preparation—soaking and boiling the ribs to remove impurities ensures a clean, savory broth. Using a pressure cooker locks in the natural sweetness of the corn while keeping the ribs incredibly tender. The corn is broken into perfect segments to maintain texture, and the slow-cooking process allows the flavors to meld beautifully. With just a touch of salt, this soup highlights the natural goodness of its simple ingredients. Whether enjoyed as a warming weeknight dinner or a nourishing family meal, this recipe delivers a satisfying balance of savory and sweet. Perfect for any occasion, it’s an easy yet impressive dish that’s sure to become a favorite. Adjust the seasoning to taste and savor every spoonful of this wholesome, aromatic soup!
Ingredients
Main Ingredients
The aromatics
The sauce & seasonings
Instructions
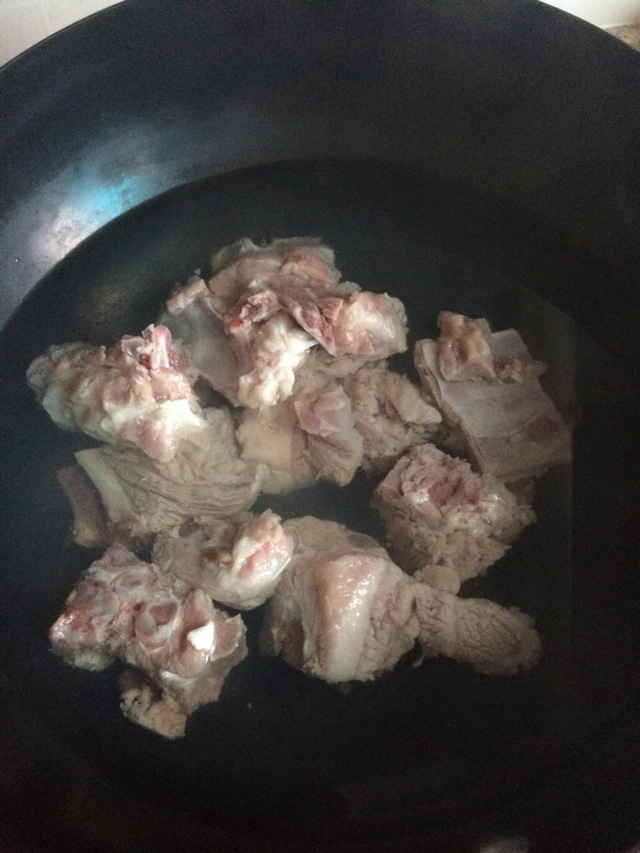
1. Step 1
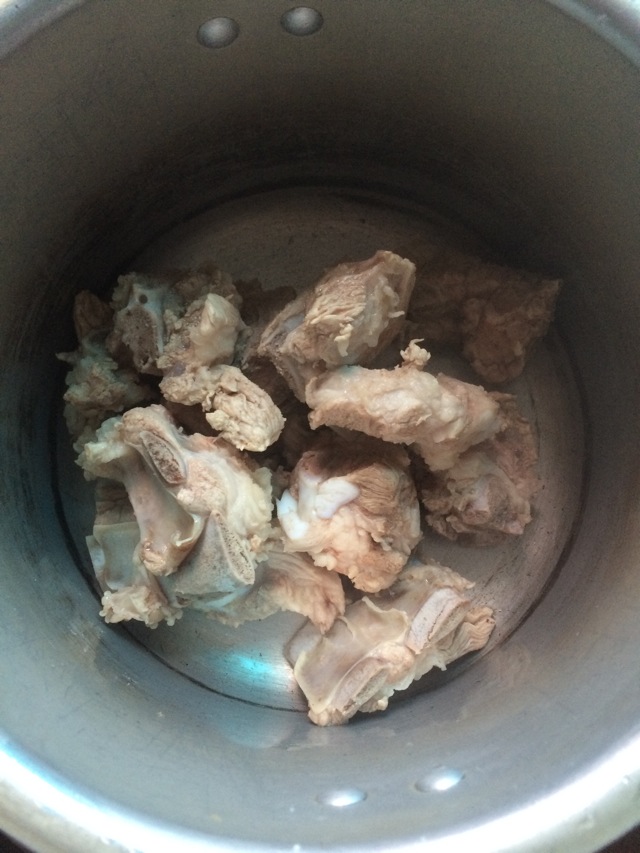
2. Step 2
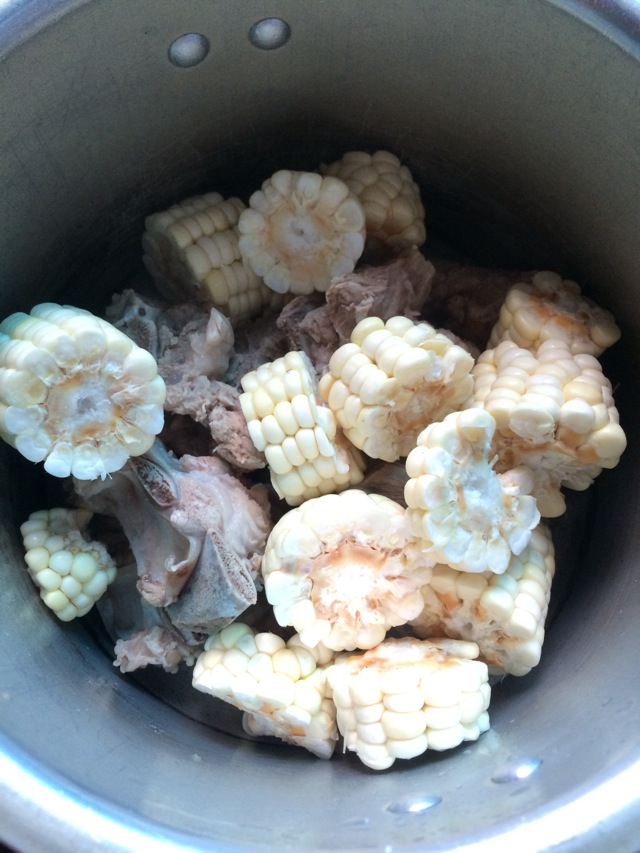
3. Step 3
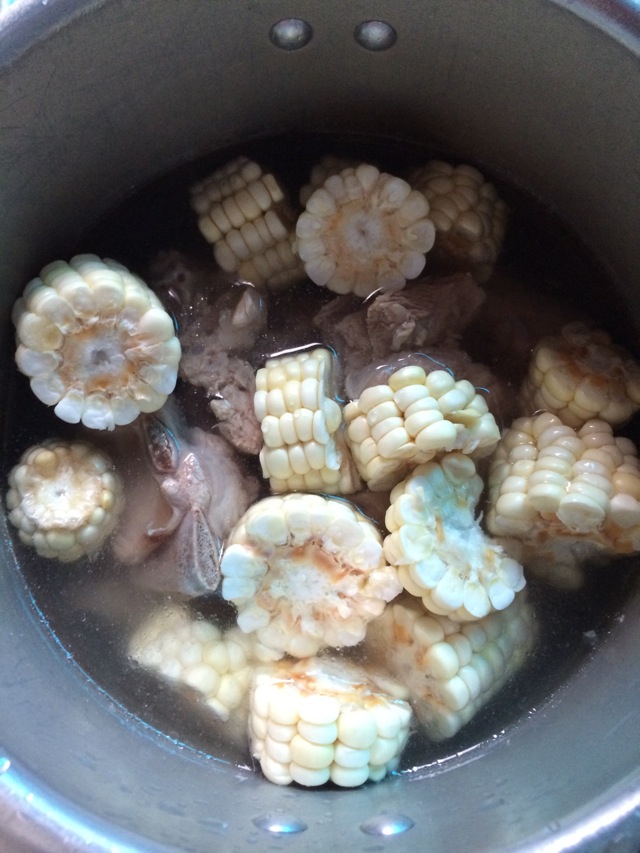
4. Step 4
5. Step 5
6. Step 6
7. Step 7
Reviews
Please login to write a review