
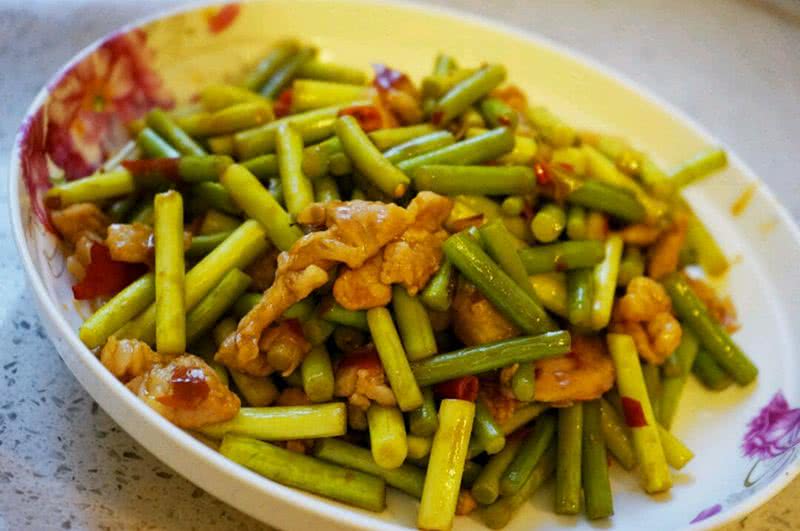
Spicy Garlic Shoots with Pork Belly
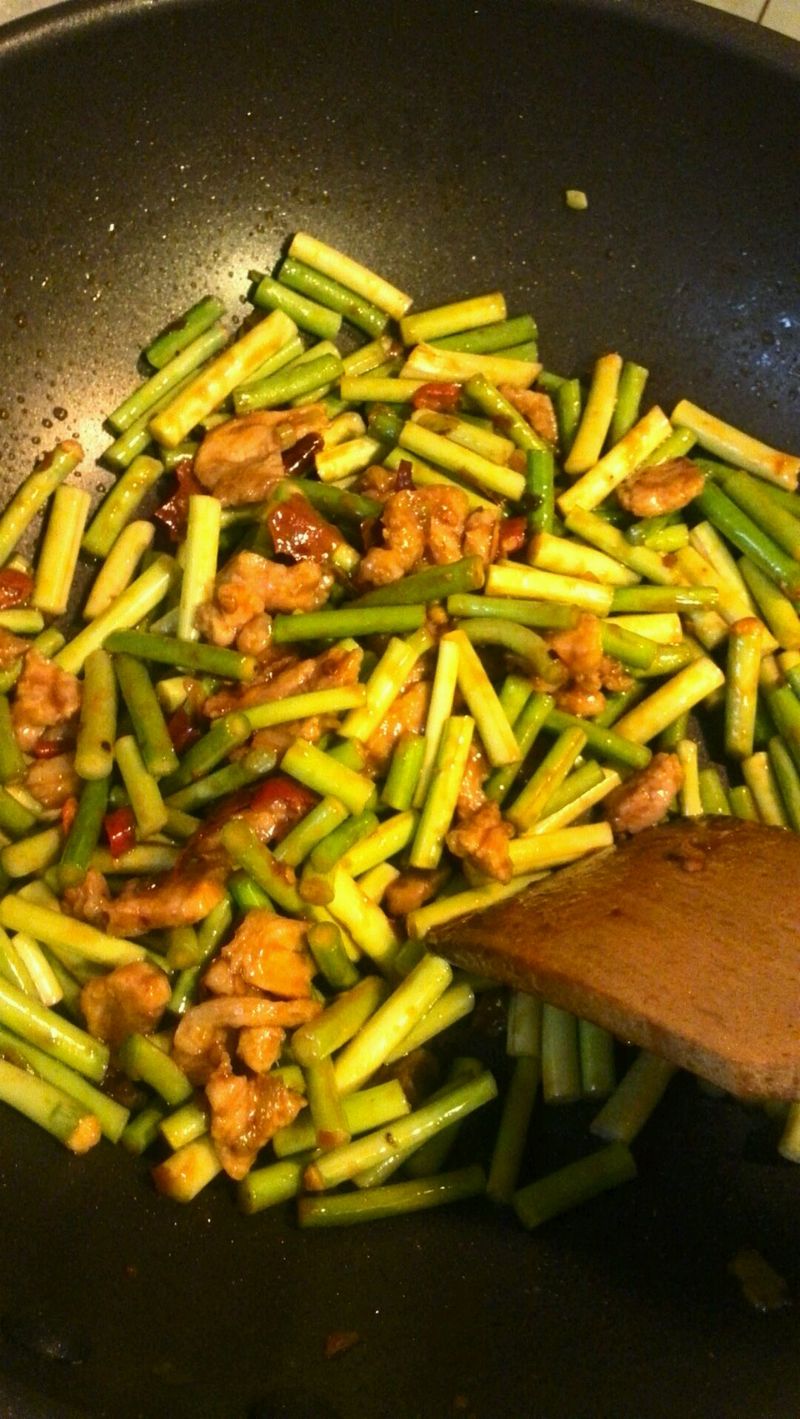
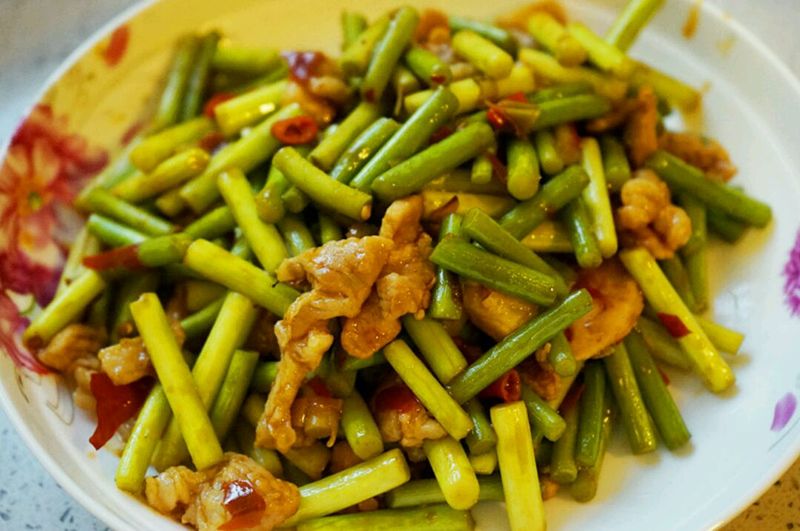
This **Stir-Fried Pork with Garlic Sprouts** is a savory, aromatic dish that brings together tender pork, crisp garlic sprouts, and bold seasonings for a mouthwatering meal. Lean pork slices are marinated with starch and cooking wine to ensure tenderness, then stir-fried with fragrant small peppers, scallions, and ginger powder for depth of flavor. The dish gets its rich umami kick from oyster sauce and **Pixian fermented bean paste**, a Sichuan staple that adds a perfect salty-spicy balance. Garlic sprouts provide a fresh crunch, making every bite irresistible. Quick-cooked over high heat, this stir-fry retains vibrant colors and textures while locking in bold flavors. Serve it hot over steamed rice for a satisfying, restaurant-quality dish that’s easy to make at home!
Ingredients
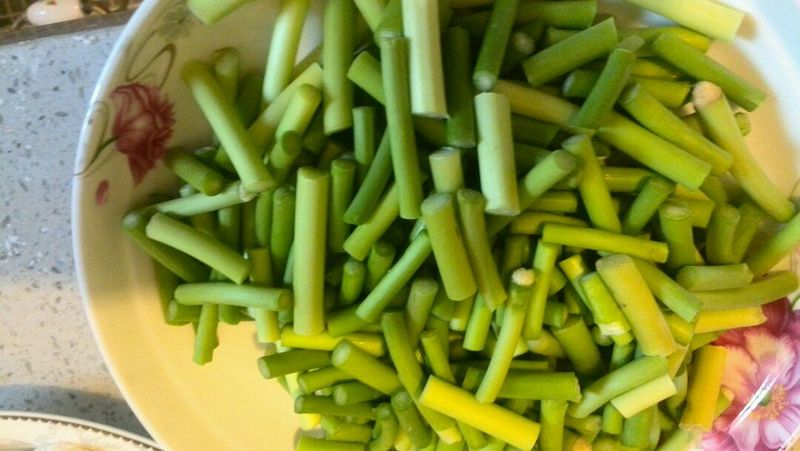
Main Ingredients
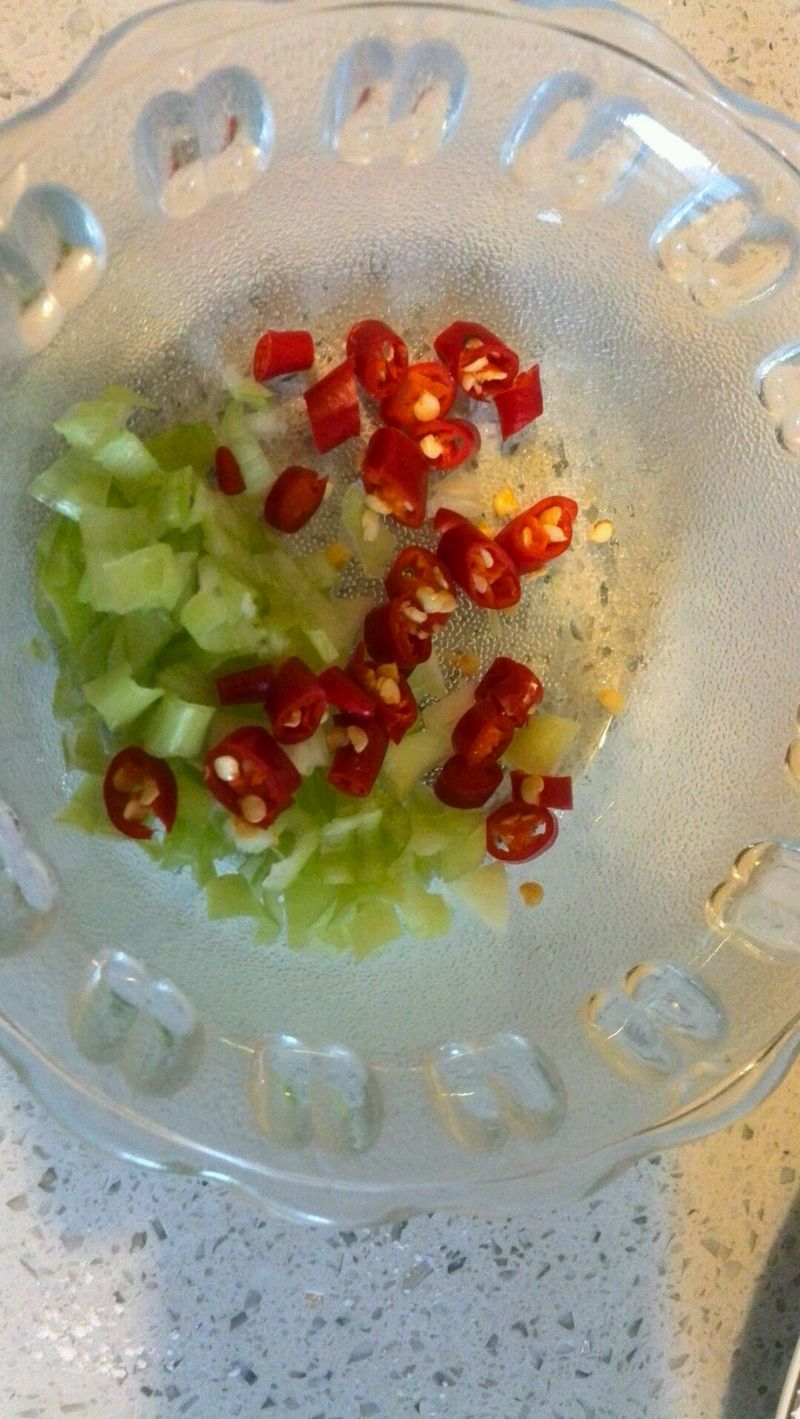
The aromatics
The sauce & seasonings
Instructions
1. Step 1
2. Step 2

3. Step 3
4. Step 4

5. Step 5

6. Step 6

7. Step 7
8. Step 8
9. Step 9
Reviews
Please login to write a review