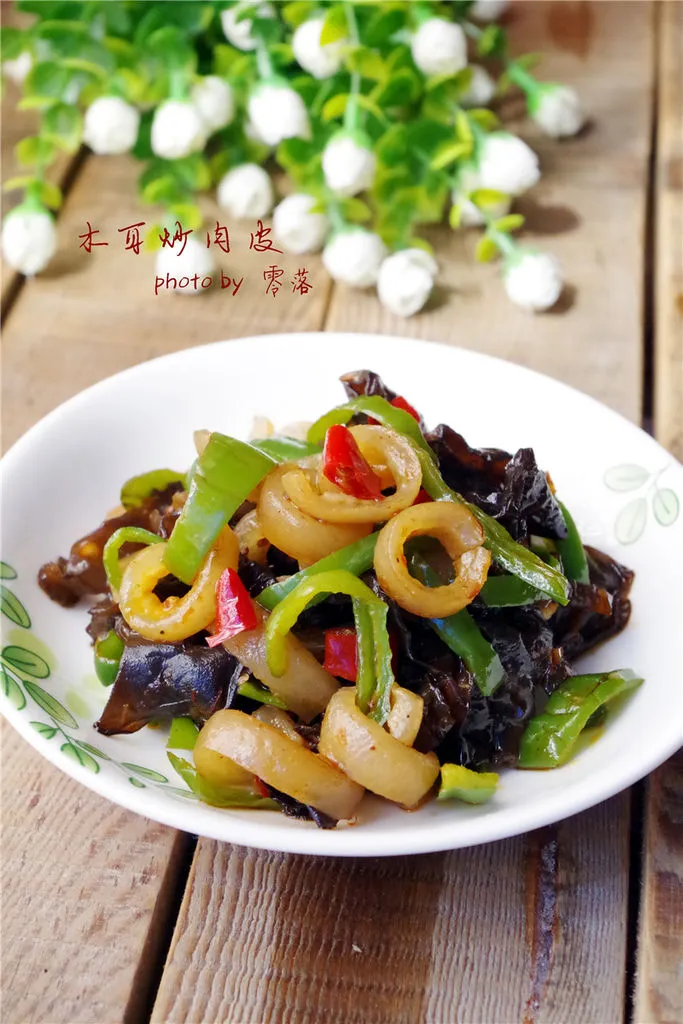
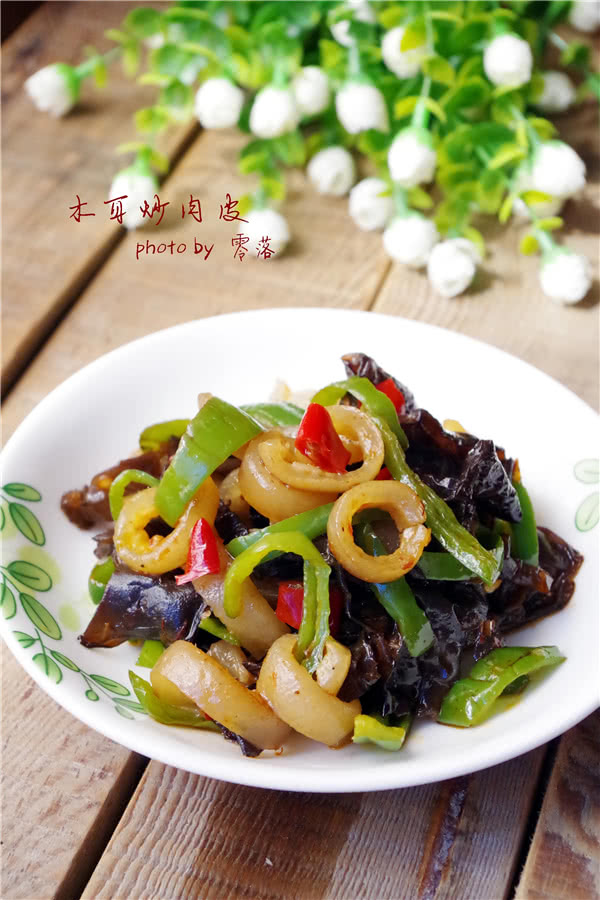
Stir-fried Wood Ear with Pork Skin
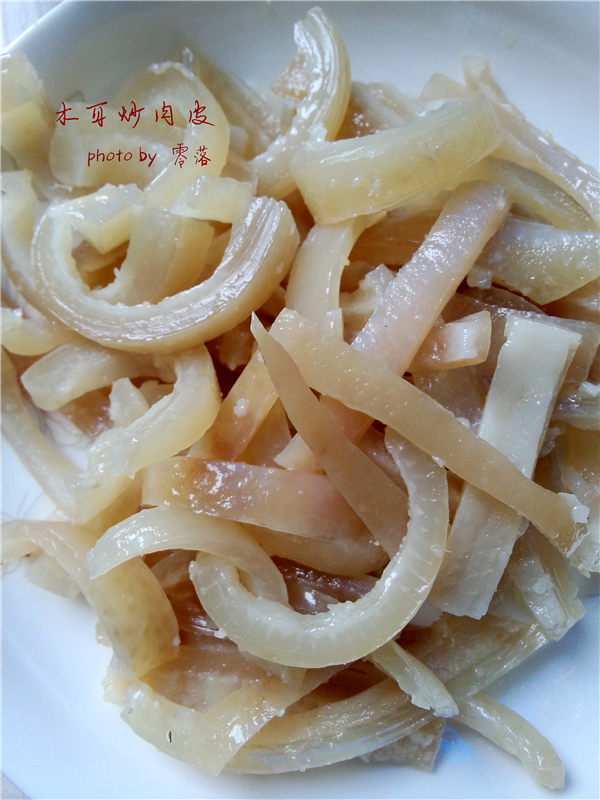
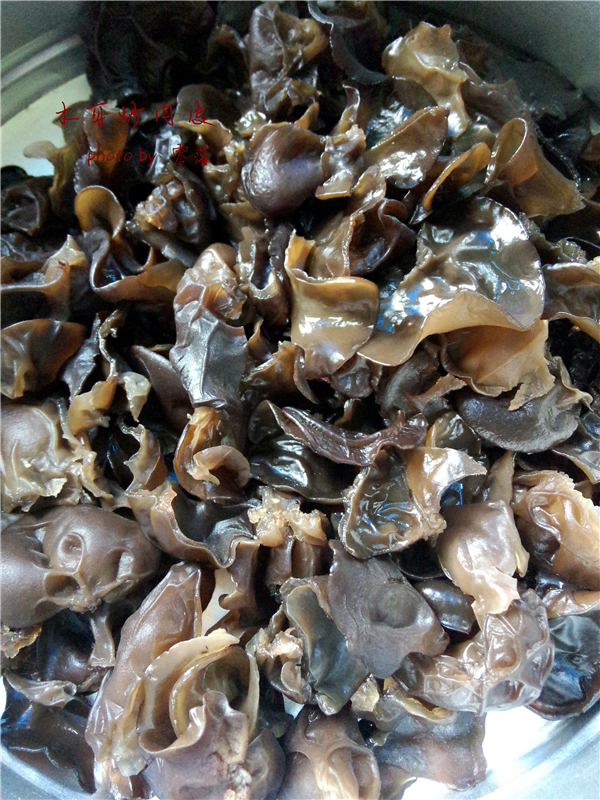
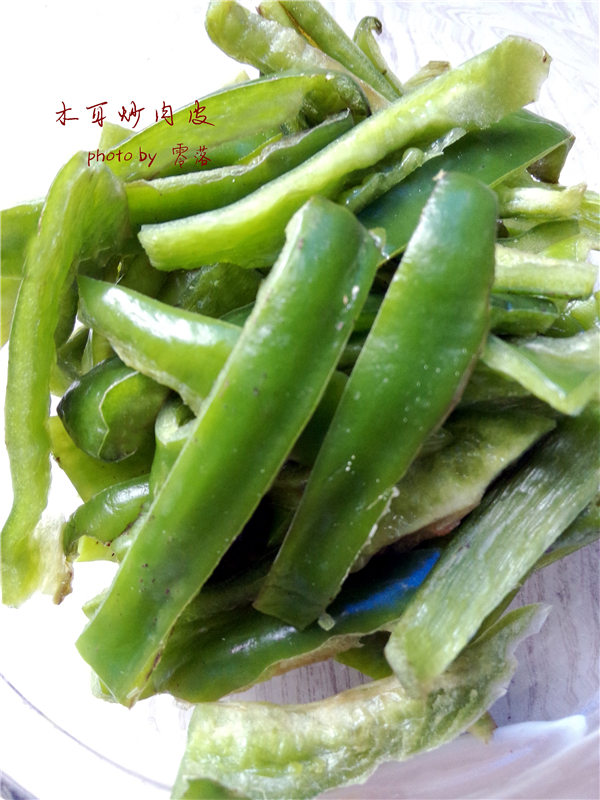
This savory stir-fried pork skin with wood ear and green pepper is a flavorful dish that combines tender pork skin, crunchy wood ear mushrooms, and crisp green peppers for a delightful texture contrast. The pork skin is first boiled with ginger for a clean taste, then stir-fried with aromatic bean paste and spicy chili for a rich, umami-packed base. Soaked in rice washing water, the wood ear adds an earthy depth, while the green pepper brings a fresh, slightly sweet balance. Quick and easy to prepare, this dish is perfect for adding a bold, satisfying touch to any meal. The combination of light soy sauce and chicken essence enhances the natural flavors, making every bite irresistible. Try this recipe for a deliciously unique twist on classic stir-fry!
Ingredients
Main Ingredients
The aromatics
The sauce & seasonings
Instructions
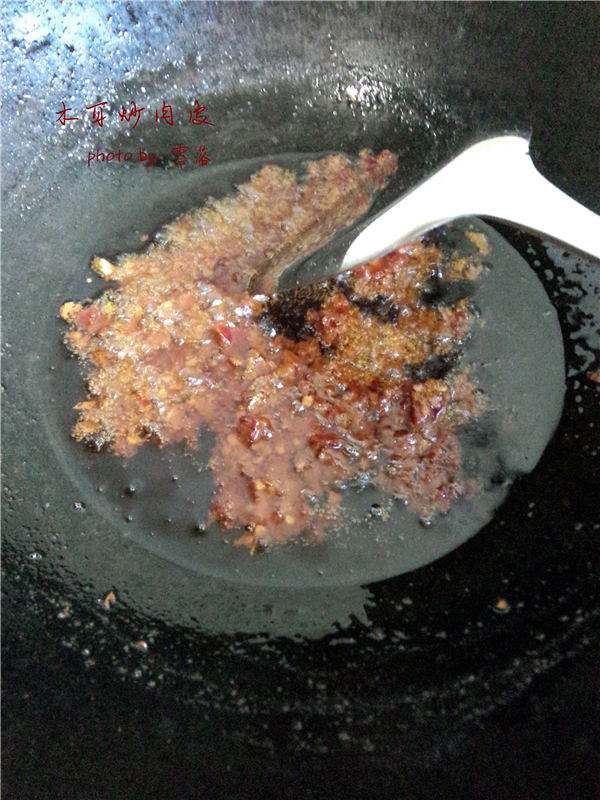
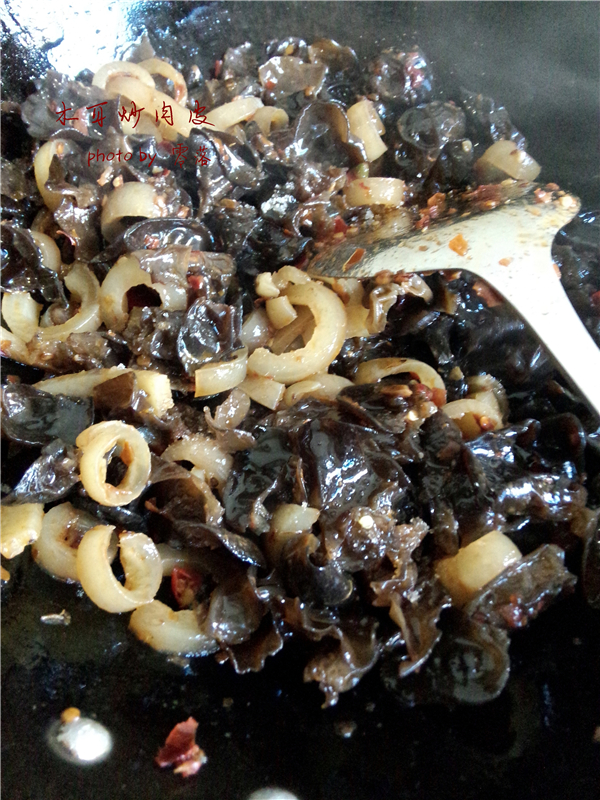
1. Step 1
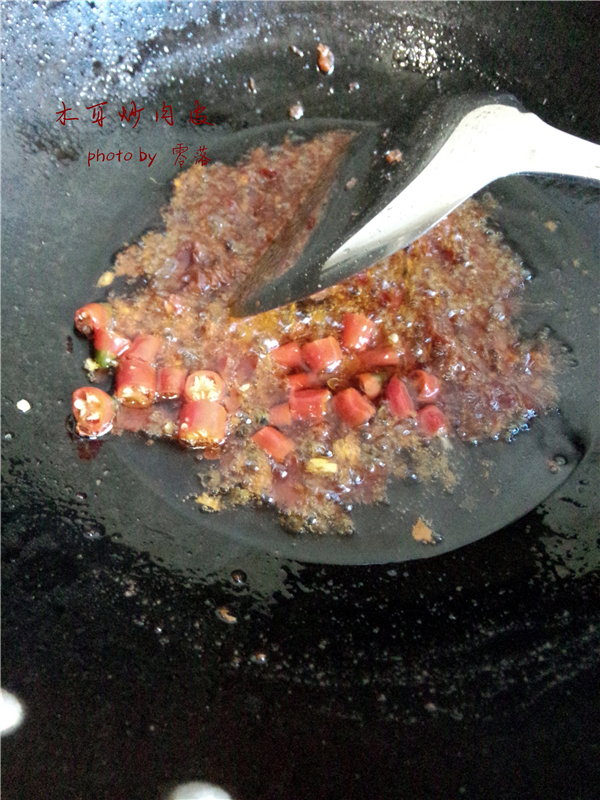
2. Step 2
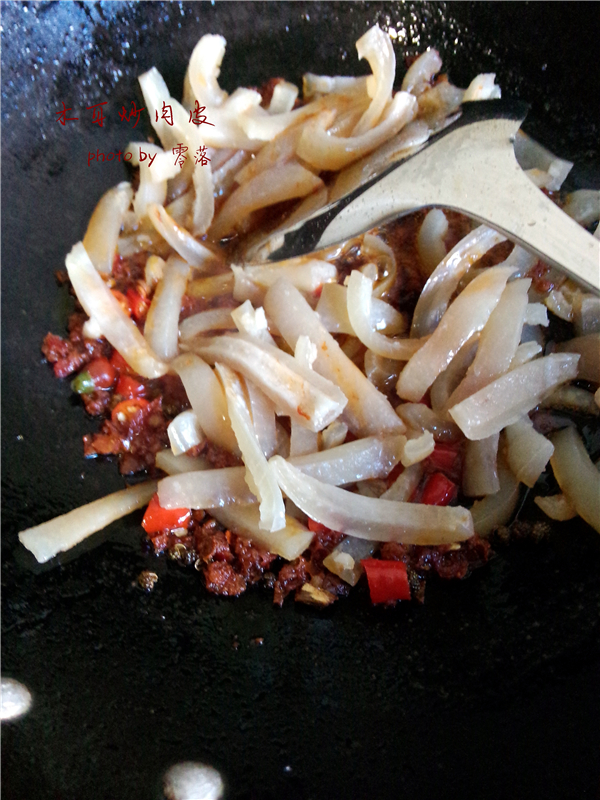
3. Step 3
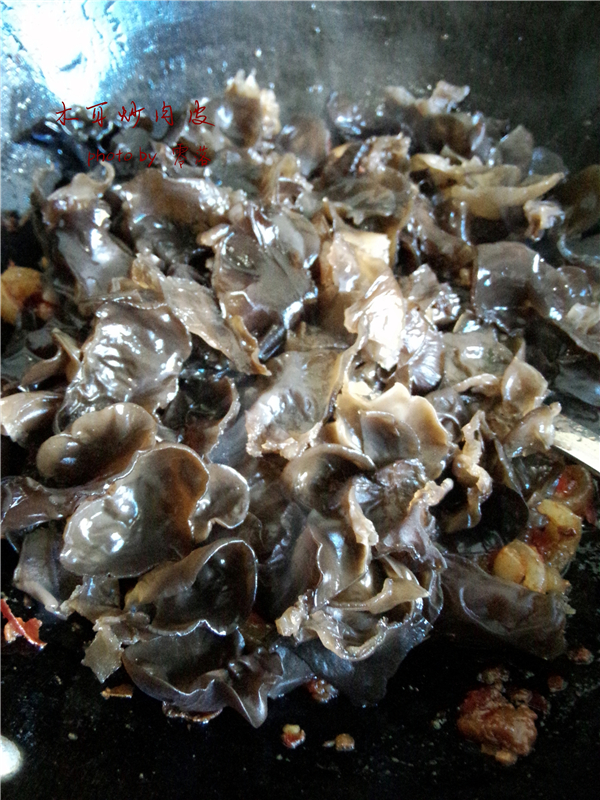
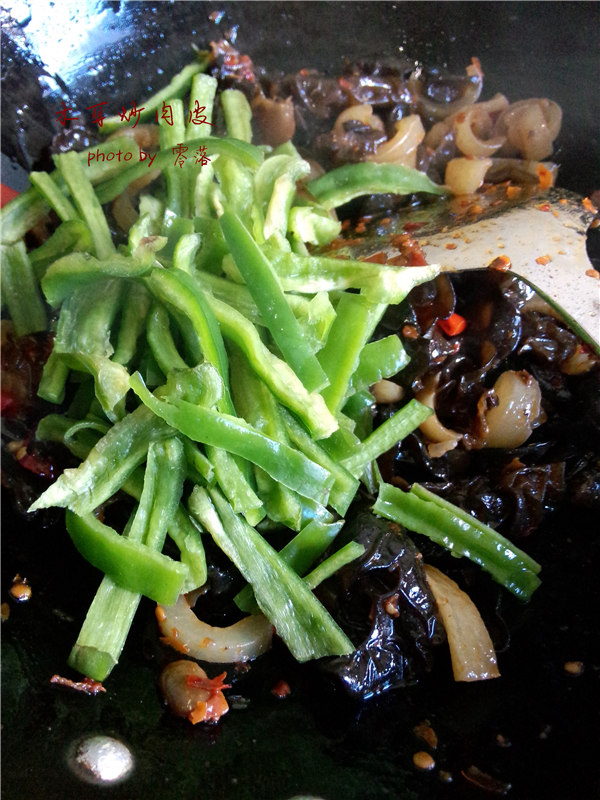
4. Step 4
5. Step 5
6. Step 6
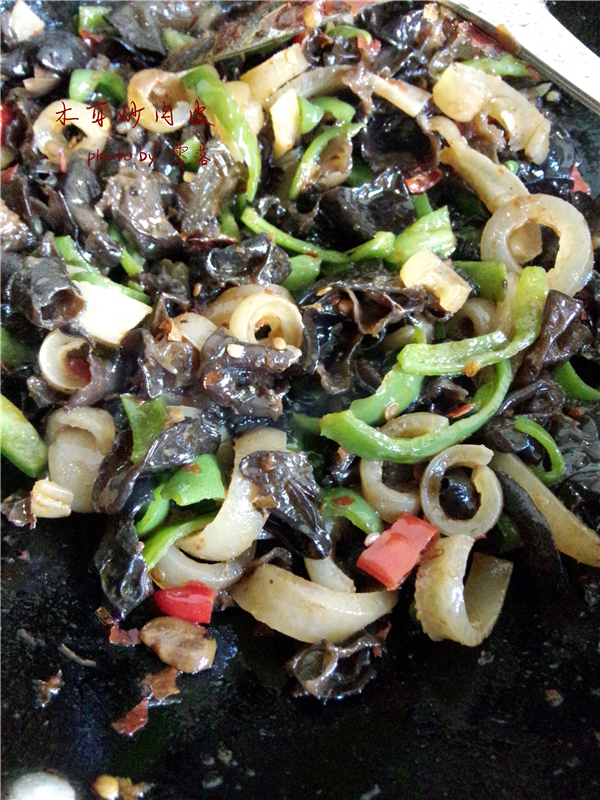
7. Step 7
8. Step 8
9. Step 9
10. Step 10
11. Step 11
Reviews
Please login to write a review