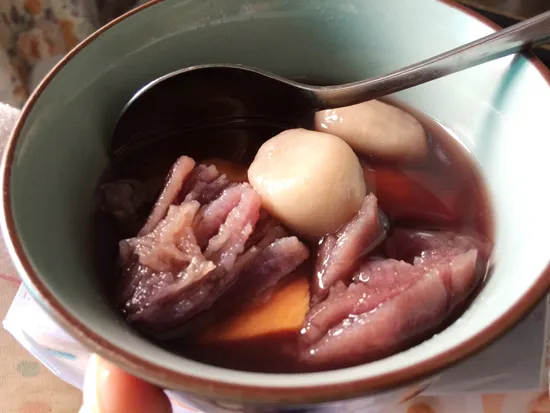
Taro Ball Dessert

March 23, 2025 10 Minutes Medium

Nutritional Information

350 kcal
Calories
4g
Protein
80g
Carbohydrates
1g
Fat
Taro Ball Dessert

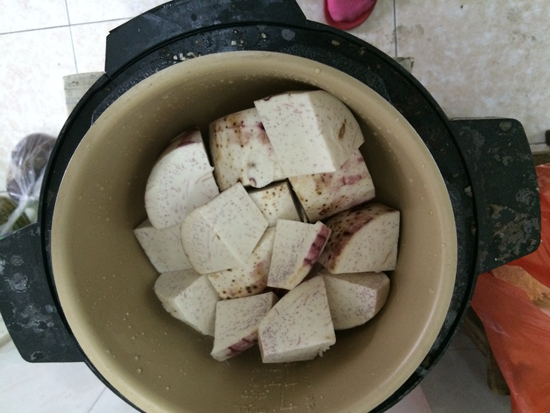
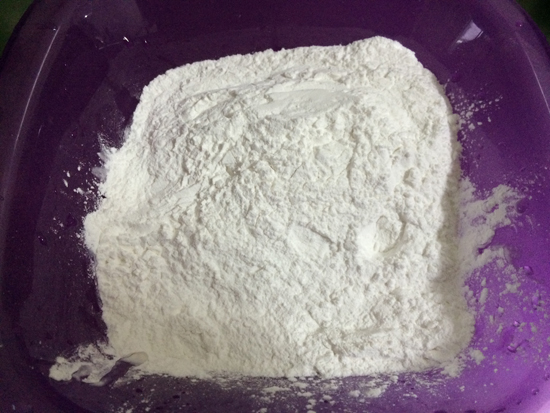
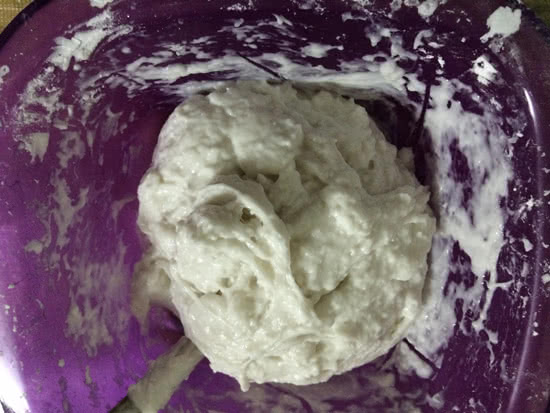
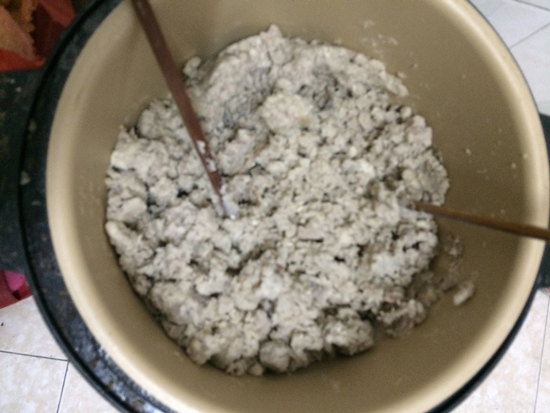
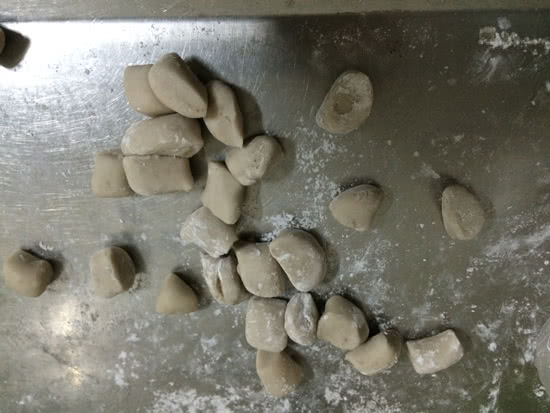
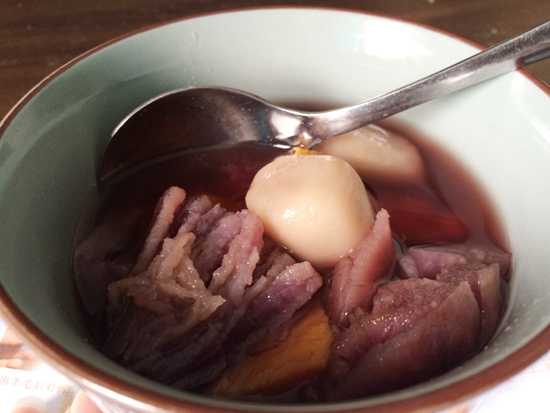
These homemade winter taro balls are a delightful, chewy treat that combines the earthy sweetness of taro with the comforting texture of tapioca starch. Perfectly soft yet slightly bouncy, these taro balls are made by steaming and mashing taro into a fine powder, then mixing it with tapioca starch, sugar, and water to form a smooth, non-sticky dough. Shaped into bite-sized pieces and boiled until they float, these irresistible balls are served over tender sweet potatoes for a cozy, satisfying dessert. The natural flavors of taro and sweet potatoes shine through, enhanced by just a touch of sugar for balance. Whether enjoyed warm or chilled, this dish is a comforting winter favorite that’s simple to make yet full of nostalgic charm. Try this recipe for a deliciously unique twist on traditional sweet treats!

Ingredients

Main Ingredients

Secondary Ingredients

Sauce and Seasonings

Instructions

0% Complete
1
Step 1
Cut the taro into blocks and put them in a pressure cooker set to the lowest level, with a small amount of water added.
Step 1
2
Step 2
Prepare the required amount of tapioca starch and pour it into a bowl.
Step 2
3
Step 3
Pour in water and sugar, and knead the tapioca starch into a ball, then wait for the taro to cook.
Step 3
4
Step 4
Open the cooker, and after the taro is cooked, mash the taro blocks into a powder.
Step 4
5
Step 5
Mix the tapioca starch and taro powder, and knead into a ball that does not stick to your hands. If the mixture is too wet, add more tapioca starch or substitute with cornstarch, then shape into long strips and cut into small pieces. The taro balls are now complete.
Step 5
6
Step 6
Cook the taro balls in boiling water, and after they float to the surface, cook for an additional 1 minute. Then, place the cooked taro balls on top of cooked sweet potatoes, and the winter taro balls dish is complete.
Step 6

Reviews

0.0
(0 reviews)
No reviews yet. Be the first to review this recipe!